
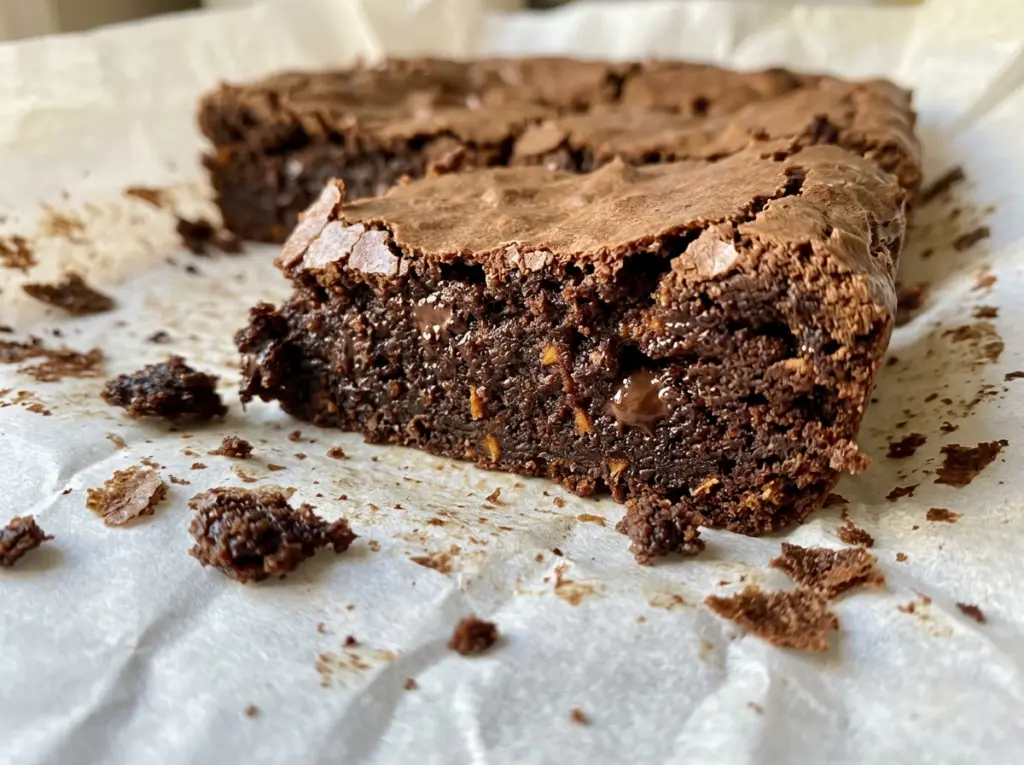
When the mashed sweet potato meets the butter and sugar, the batter turns thick and silky instead of looking like a typical brownie batter. That’s the part that can make these brownies feel a little different to mix, but it’s also what gives them a soft, moist center. Sweet Potato Brownies bring that gentle sweetness into a chocolate-forward bake without losing the familiar brownie texture.
I cook the sweet potato until a fork slides in easily, then mash and measure it before it goes into the bowl. Measuring the cooked mash matters here: too much moisture can leave the middle gummy, while too little changes the texture. Once the wet ingredients are combined, the flour and cocoa only need to be stirred in until the dry streaks disappear.
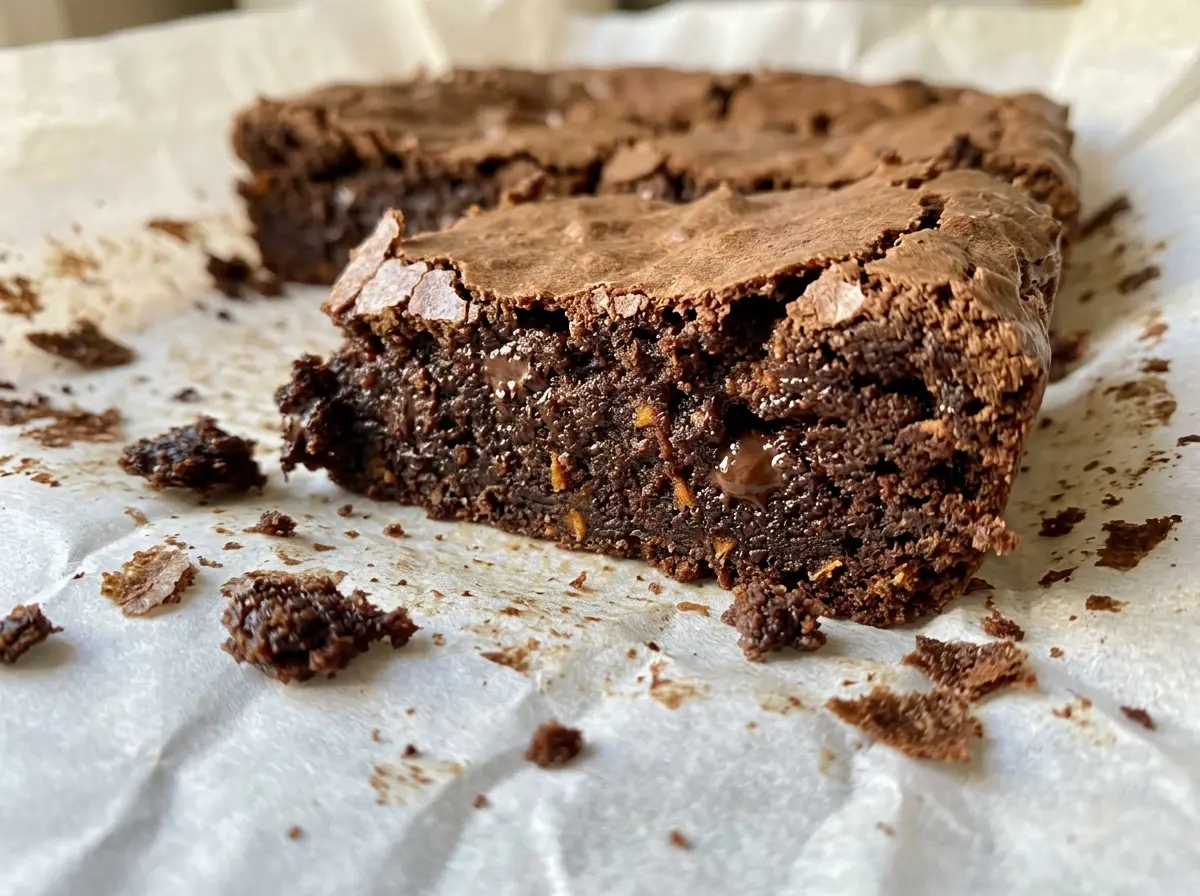
The brownies bake in an 8-inch square metal pan and need to cool completely before cutting. Look for a set top and moist crumbs on the toothpick, not wet batter and not a perfectly clean pick. The finished squares are tender, chocolatey, and sturdy enough to lift from the pan.
Kitchen Note
Turn the sweet potato halfway through microwaving, then check it with a fork. If the center still feels firm, give it more time in short increments; peeling and mashing are much easier once it’s tender and cool enough to handle.
Save these Sweet Potato Brownies for a soft, chocolatey bake with a tender center and a simple one-bowl wet mixture.
Why a Clean Toothpick Is the Wrong Goal for These Brownies
A clean toothpick usually sounds like a reliable sign that brownies are finished, but with this sweet potato batter it can mean the center has baked longer than it needs to. The sweet potato adds moisture, so the right doneness cue is a set top and moist crumbs clinging to the pick. Wet batter means the center needs more time; a few damp crumbs are what you’re looking for.
The difference matters because the pan stays warm after it comes out of the oven. The center continues to settle as the brownies cool, and cutting while they’re warm can make the squares look soft or messy even when they’ve baked properly. Let the pan cool completely on a wire rack before lifting the brownies out by the parchment overhang.
Use the full baking range as a guide rather than expecting every pan to finish at the same minute. Start checking at the earlier end, and judge the center rather than the edges alone. If the surface is set but the toothpick still carries wet batter, return the pan to the oven and check again shortly.
How Sweet Potato, Cocoa, and Flour Shape the Texture
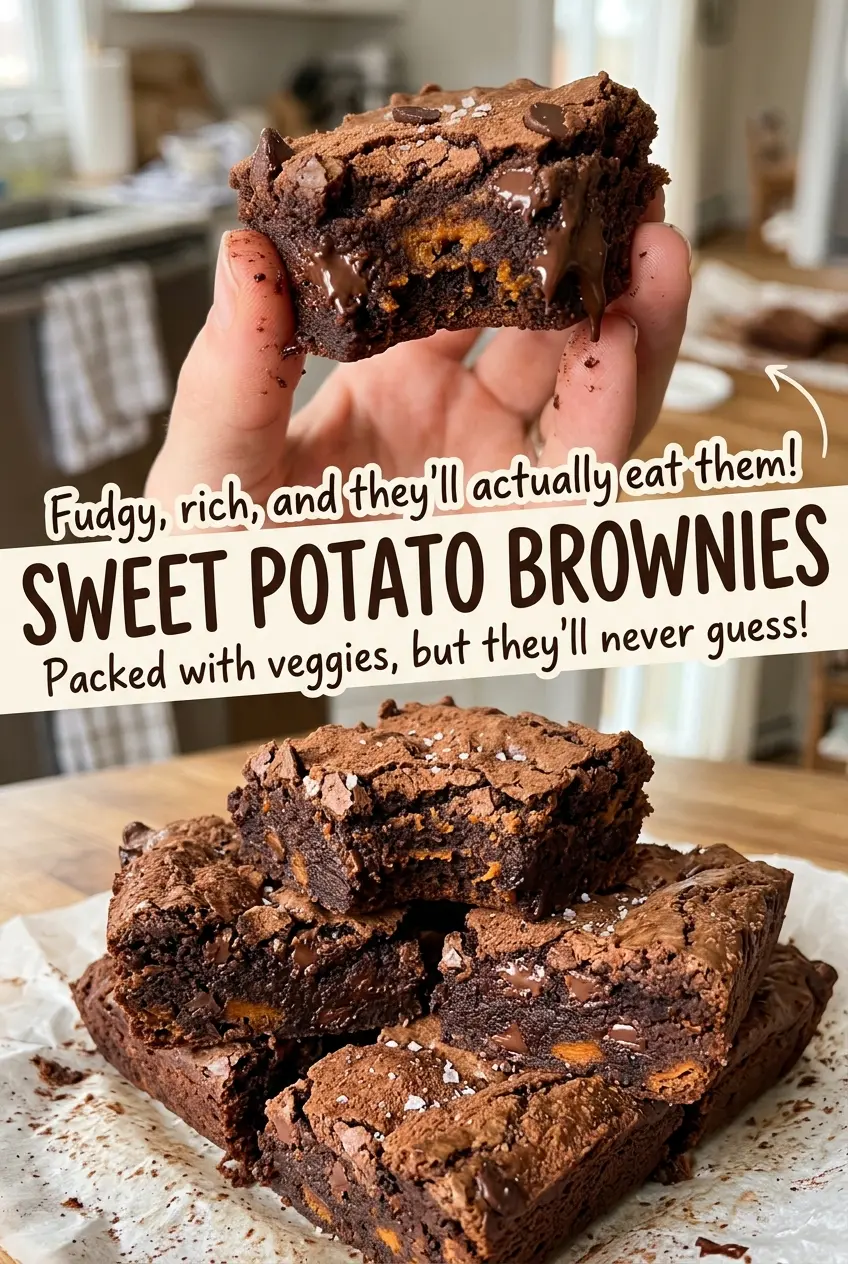
- Sweet potato — A medium sweet potato should give you the measured cup of cooked, peeled mash this batter needs. Its moisture and mild sweetness are part of the brownie’s texture, so another vegetable puree won’t behave exactly the same way. Choose one that feels firm, and mash it thoroughly so there aren’t large pieces in the finished squares.
- Unsweetened cocoa powder — Cocoa brings the main chocolate flavor without adding extra liquid. A standard unsweetened cocoa powder works well; there’s no need to use a specialty brand, but cocoa that smells flat will taste flat in the brownies too.
- All-purpose flour — Flour gives the moist batter enough structure to hold together after cooling. Measure carefully rather than packing it into the cup; too much flour can make the brownies dry and less tender.
- Butter and granulated sugar — Melted butter makes the batter easy to whisk, while granulated sugar sweetens and helps create the familiar brownie crumb. The butter should be cooled slightly before mixing so it doesn’t hit the eggs hot.
- Eggs and vanilla — The eggs help bind the sweet potato mixture and give the brownies structure. Adding them one at a time makes them easier to whisk in evenly, and vanilla rounds out the cocoa without competing with it.
From Fork-Tender Potato to Brownie Squares
Cook and Mash the Sweet Potato
Prick the sweet potato several times with a fork and microwave it on high until fork-tender, turning it halfway through. The timing varies with the potato, so use the fork as your cue rather than stopping just because the outside feels soft. Let it cool, peel it, mash it, and measure one cup. A few unmashed lumps can leave uneven pockets in the batter, so mash until the texture looks consistent.
Whisk the Butter, Sugar, and Eggs
Heat the oven to 350°F and line an 8-inch square metal baking pan with parchment, leaving an overhang on two sides. In a medium bowl, whisk the melted butter and sugar, then add the eggs one at a time. Whisk in the vanilla and mashed sweet potato after the eggs are incorporated. If the butter is still hot, give it a little longer to cool before adding the eggs.
Stir in the Cocoa and Flour
In a separate bowl, whisk together the flour, cocoa powder, and kosher salt so the cocoa is evenly distributed. Add that dry mixture to the sweet potato mixture and stir just until no dry streaks remain. The batter will be thick; keep scraping the bottom and sides of the bowl instead of continuing to mix once the flour disappears. Overmixing at this stage can make the brownies tougher.
Bake Until Set, Then Cool Completely
Spread the batter evenly in the lined pan so the center and edges bake at a similar pace. Bake for 35–42 minutes, until the top is set and a toothpick inserted in the center comes out with moist crumbs rather than wet batter. Cool the pan completely on a wire rack. Then use the parchment overhang to lift out the slab and cut it into 16 brownies.
Two Reliable Swaps for Different Needs
Gluten-Free Brownies with a 1:1 Baking Blend
Replace the all-purpose flour with the same measure of a cup-for-cup gluten-free flour blend made for baking. The cocoa and sweet potato keep the brownies moist, while the blend supplies the structure; choose one that already includes a binder for the closest texture. The crumb may be a little more delicate, so let the pan cool completely before lifting and cutting.
Dairy-Free Brownies with Plant-Based Butter
Use an equal measure of unsalted plant-based butter in place of the dairy butter. Choose a stick-style baking butter rather than a soft tub spread, which can contain more water and change the batter’s texture. The brownies will still be tender and chocolate-forward, though the butter flavor will be less pronounced.
Storage and Reheating
- Refrigerator: Keep the cooled brownies in an airtight container for up to 4 days. Chilling firms the centers, so let a square sit at room temperature briefly if you prefer a softer bite.
- Freezer: Freeze individually wrapped squares in an airtight freezer container for up to 2 months. Thaw in the refrigerator or at room temperature while still wrapped to limit drying.
- Reheating: These are good at room temperature, but a brief 5- to 8-second microwave warm-up softens a chilled square. Avoid heating it for too long; the sweet potato center can turn gummy.
Questions That Come Up When Baking Sweet Potato Brownies
Sweet Potato Brownies
Ingredients
Equipment
Method
- Prick the sweet potato several times with a fork.
- Microwave on high until fork-tender, 6-10 minutes, turning halfway through.
- Cool the sweet potato.
- Peel and mash the sweet potato, then measure 1 cup.
- Heat the oven to 350°F.
- Line an 8-inch square metal baking pan with parchment paper, leaving overhang on two sides.
- Whisk the melted butter and sugar in a medium bowl.
- Whisk in the eggs one at a time.
- Whisk in the vanilla and mashed sweet potato.
- Whisk together the flour, cocoa powder, and salt in a separate bowl.
- Add the dry ingredients to the sweet potato mixture and stir just until no dry streaks remain.
- Spread the batter evenly in the prepared pan.
- Bake for 35-42 minutes, until the top is set and a toothpick inserted in the center comes out with moist crumbs, not wet batter.
- Cool completely in the pan on a wire rack.
- Lift out using the parchment and cut into 16 brownies.




