
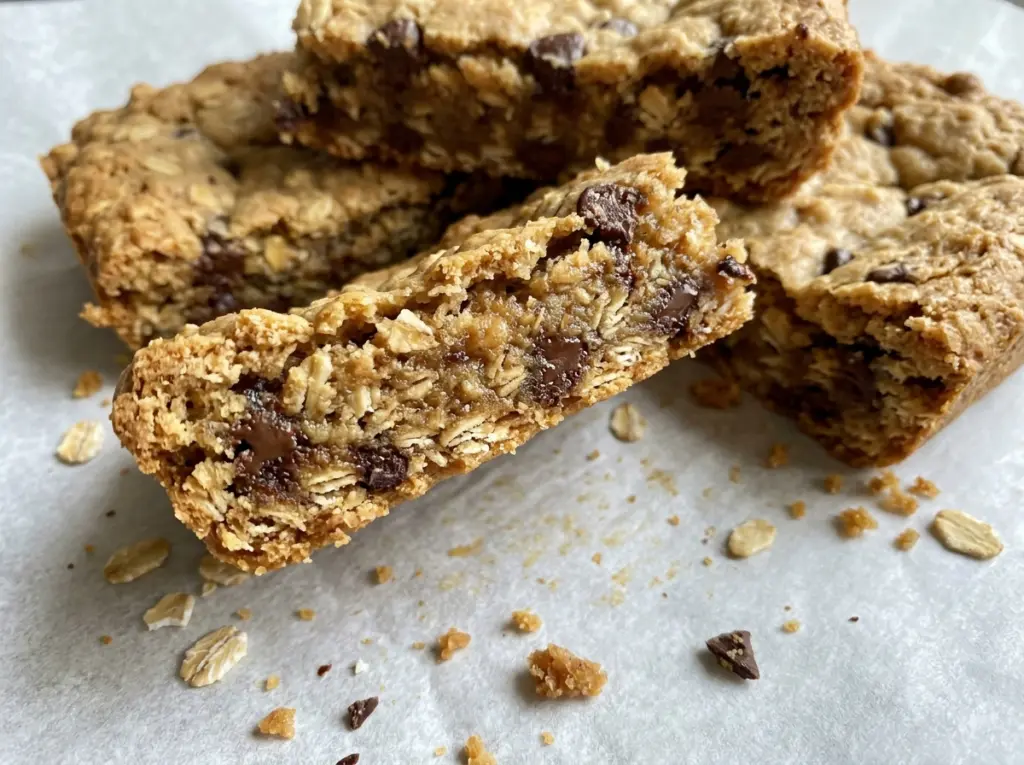
The edges turn golden first, while the middle still looks a little softer—that’s the moment I watch for with these chocolate chip oatmeal cookie bars. They bake in one pan instead of asking you to portion out tray after tray of cookies, and every square gets a chewy oat base with chocolate in the middle of it.
I like the balance here: old-fashioned oats give the bars something to bite into, while brown sugar keeps the crumb tender and adds a gentle caramel note. Creaming the butter and sugars until creamy gives the dough an even start, and mixing the flour in only until combined keeps the finished bars from turning tough.
The dough is thick enough to press into the pan, so take a moment to spread it all the way into the corners. Once the pan comes out of the oven, let the bars cool completely before cutting; that wait gives you squares that hold together instead of crumbling into warm-cookie pieces.
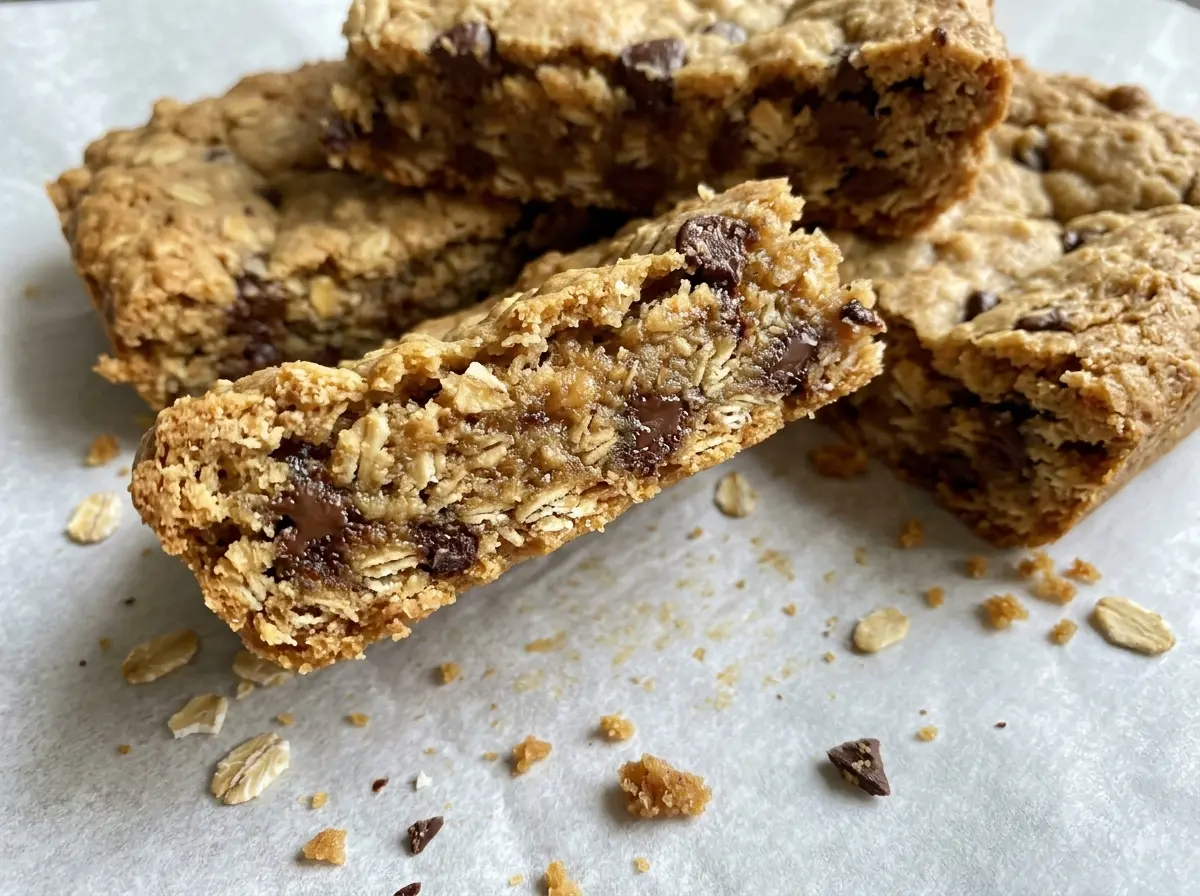
Kitchen Note
Give the pan the full hour to cool before you cut into it. The bars are still settling as they cool, and slicing too soon can turn clean squares into crumbly warm pieces.
Save these chocolate chip oatmeal cookie bars for a bake-ahead treat with chewy oats and chocolate in every square.
Why Even Thickness Matters More Than a Longer Bake
A pan of cookie bars bakes differently from individual cookies: the dough is all together, so the middle and edges need to finish at nearly the same time. If one side of the pan has a thicker layer of dough, that part takes longer to set while the thinner areas get more heat and turn darker. Pressing the dough into a level layer is what helps the edges become golden as the center sets.
Resist the urge to keep baking just because the center looks softer than the edges. The visual cue to use is both parts together: golden edges and a center that looks set. A very dark edge is not a useful trade for a slightly underbaked-looking middle; it can leave the outside dry before the center has a chance to finish properly.
As you spread the dough, pay particular attention to the corners and the strip along the sides of the pan. Those spots are easy to leave thin when you push the dough outward. A quick look across the pan before it goes into the oven helps you catch uneven patches, and the bars will bake more evenly from edge to center.
Why Old-Fashioned Oats Give These Bars Their Bite
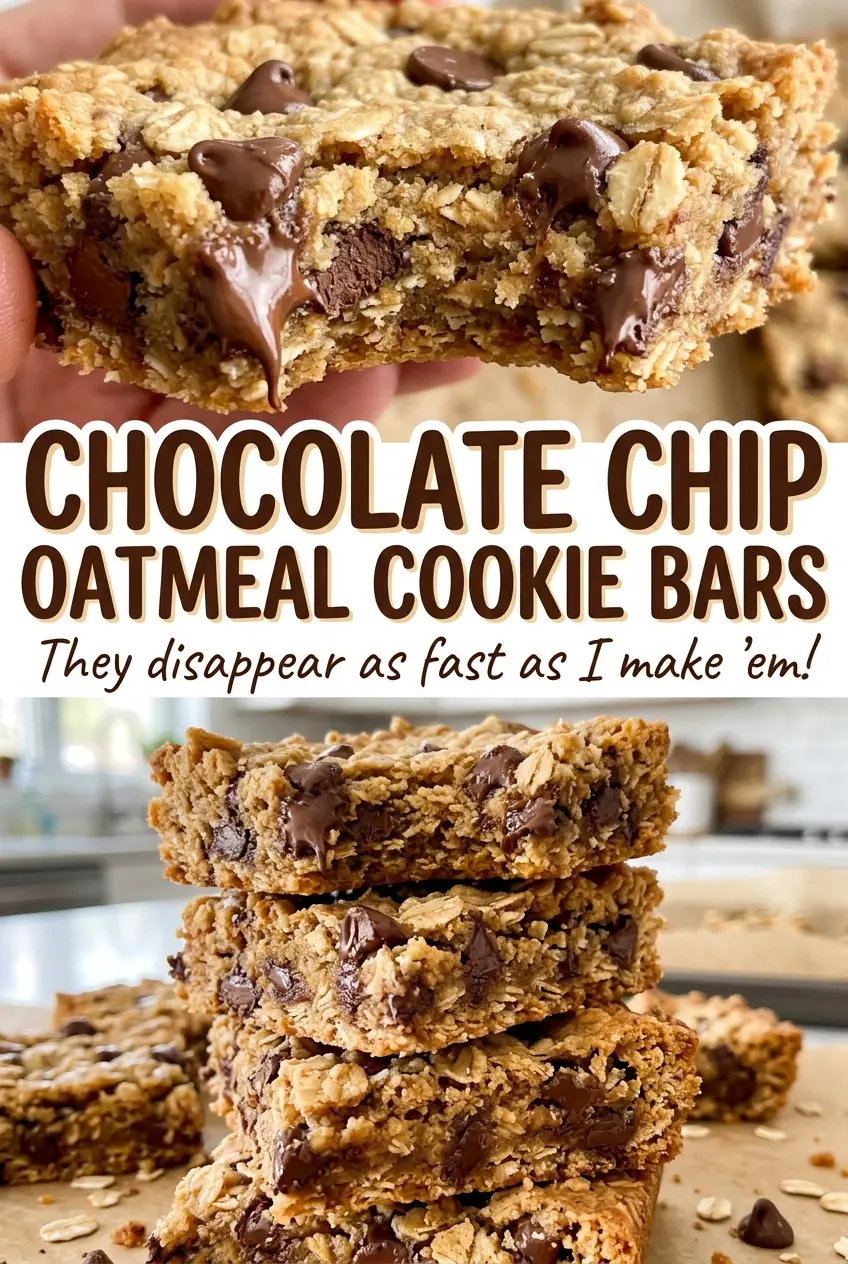
- Old-fashioned rolled oats — Their broad flakes give the bars distinct, chewy texture rather than disappearing into the dough. Use rolled oats for the texture this version is built around; quick oats absorb and soften differently.
- All-purpose flour — It gives the oat mixture enough structure to hold together in squares. Spoon flour into the measuring cup and level it rather than scooping and packing it, which can leave you with a dry, stiff dough.
- Unsalted butter — Softened butter creams smoothly with the sugars and gives you control over the salt level. It should yield when pressed but not look melted or greasy; melted butter won’t cream the same way.
- Light brown sugar and granulated sugar — Brown sugar brings moisture and a mellow molasses note, while granulated sugar helps keep the bars from becoming too dense. Pack the brown sugar into its measuring cup so the amount stays consistent.
- Semisweet chocolate chips — Semisweet chocolate balances the sweet dough and keeps its shape in pockets as the bars bake. A fresh bag from the grocery store works well; there’s no need to buy specialty chocolate for this pan.
- Eggs and vanilla — The eggs bind the dough, and vanilla rounds out the chocolate and brown sugar. Add the eggs one at a time so they mix evenly into the creamed butter and sugar.
Mixing and Baking the Bars Without Tough Edges
Whisk the oats into the dry ingredients
Heat the oven to 350°F and grease a 9×13-inch baking pan. In a medium bowl, whisk together the flour, old-fashioned rolled oats, baking soda, and kosher salt so the leavener is spread throughout the mixture. This quick whisk helps avoid a concentrated patch of baking soda in one part of the pan. Set the bowl aside while you cream the butter and sugars.
Cream the butter and sugars until smooth
Beat the softened butter with the packed light brown sugar and granulated sugar in a large bowl for about 2 minutes. The mixture should look creamy, with the butter and sugar evenly blended instead of sitting in separate streaks. Beat in the eggs one at a time, letting each disappear into the mixture before adding the next. Mix in the vanilla, scraping down the bowl if butter or sugar is clinging to the sides.
Stop mixing once the flour disappears
Add the flour mixture to the butter mixture and mix just until combined. The dough will be thick, and a few visible oat flakes are normal; keep mixing only if you still see pockets of dry flour. Fold in the chocolate chips so they’re distributed without beating the dough further. Overmixing after the flour goes in can make the finished bars less tender.
Spread the dough and bake to the visual cues
Press the dough evenly into the prepared pan, bringing it into the corners and smoothing the top. Bake for 25 to 30 minutes, until the edges are golden and the center looks set. The edge color is easy to see, so check the middle as well rather than relying on the edges alone. Cool completely in the pan before cutting the bars.
Two Easy Ways to Change the Bars, Plus Storage
Cut a batch into bite-size squares
Once the pan is completely cool, cut the bars into smaller squares instead of standard snack-size bars. The ingredients and bake stay the same, but the smaller portions are handy for a dessert tray or when you want a couple of bites with coffee.
Make a dairy-free batch
Replace the butter with the same amount of plant-based baking sticks, and use dairy-free semisweet chocolate chips. Choose baking sticks rather than a soft tub spread, which contains more water and can change the dough’s texture. The bars will have a slightly different buttery flavor, but the oat-and-chocolate combination still works.
Storage and Reheating
- Refrigerator: Store the cooled bars in an airtight container for up to 5 days. They’ll firm up in the refrigerator, so let a bar sit at room temperature briefly if you prefer a softer bite.
- Freezer: Freeze the cooled bars for up to 3 months in an airtight container, with parchment between layers to keep them from sticking together.
- Reheating: Warm an individual bar in the microwave for about 10 seconds, then add a few seconds if needed. Avoid heating it for too long at once; the chocolate can get very hot before the bar itself feels warm.
Questions That Come Up While Baking These Oatmeal Bars
Chocolate Chip Oatmeal Cookie Bars
Ingredients
Equipment
Method
- Heat the oven to 350°F and grease a 9x13-inch baking pan.
- Whisk the flour, oats, baking soda, and salt together in a medium bowl.
- Beat the butter, brown sugar, and granulated sugar in a large bowl until creamy, about 2 minutes.
- Beat in the eggs one at a time, then mix in the vanilla.
- Add the flour mixture and mix just until combined, then fold in the chocolate chips.
- Press the dough evenly into the prepared pan and bake for 25 to 30 minutes, until the edges are golden and the center looks set.
- Cool completely in the pan, about 1 hour, before cutting into bars.




