
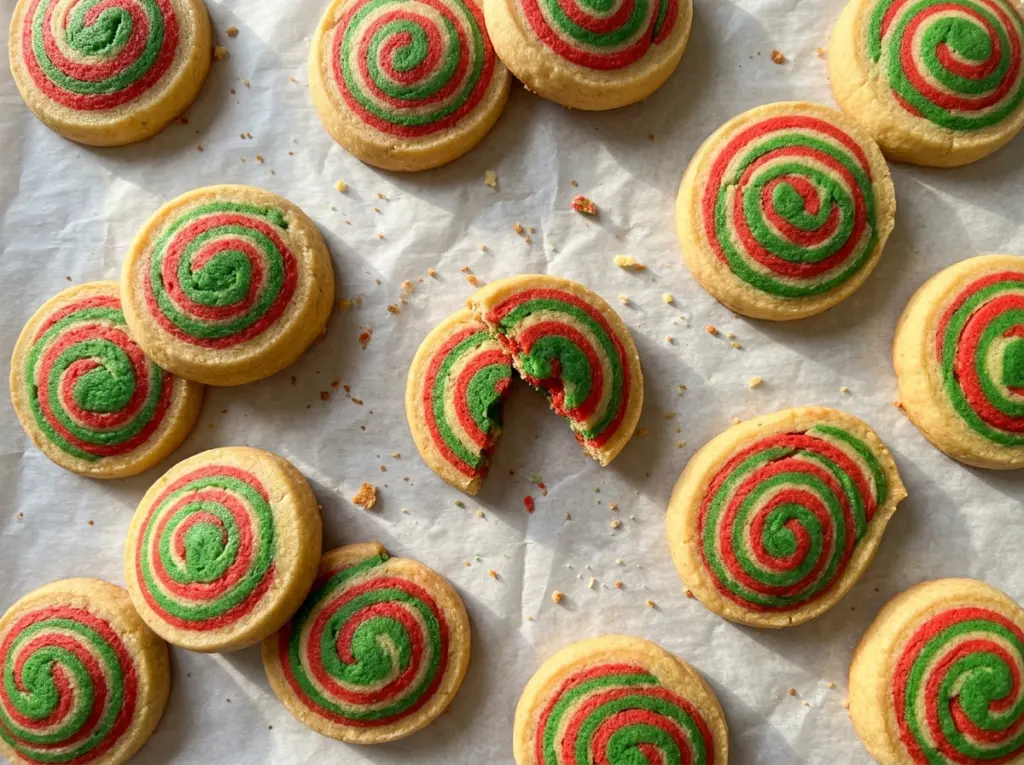
The first thing I watch with pinwheel cookies is the dough, not the swirl. If the colored sheets are too soft when they meet, they drag and blur; if the rolled log is too soft when you slice it, the rounds lose their crisp edges. These Christmas Pinwheels are worth that little bit of chilling because each cookie comes out with a clear red-and-green spiral and a tender, buttery bite.
I cream the butter and sugar until they look pale and fluffy, then stop mixing the flour in as soon as a soft dough forms. That keeps the cookies tender and makes the dough easier to roll into even sheets. Two separate chills do different jobs: the first firms the sheets enough to stack, and the longer one helps the finished log hold its shape. The cookies bake until their edges just start to turn golden, leaving the colored swirls bright against the pale dough.
Kitchen Note
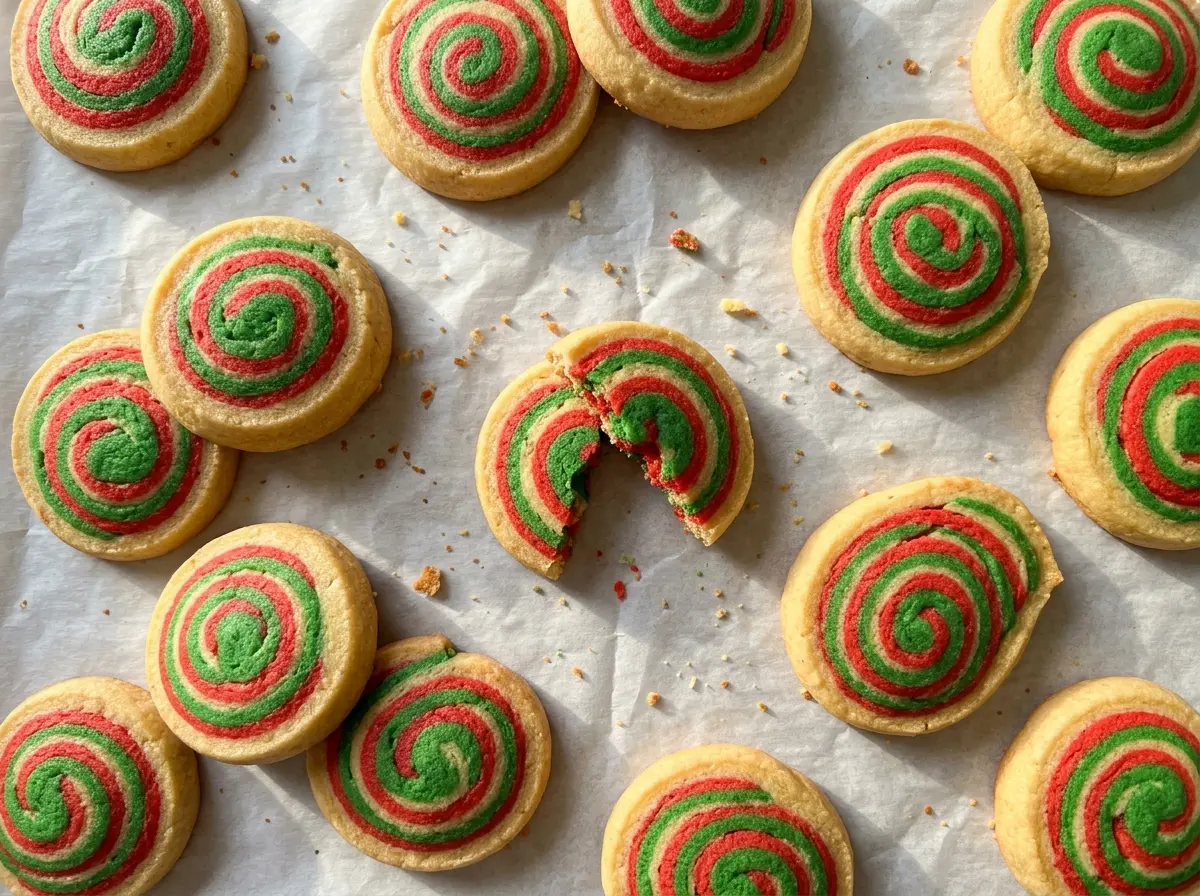
If the chilled log feels too hard to slice cleanly, give it about 5 minutes at room temperature. It should soften just enough for the knife to pass through without squashing the spiral.
Save these Christmas Pinwheels for a festive cookie plate, with their bright red-and-green spirals and buttery, tender centers.
Why These Pinwheels Need Two Chills, Not One Long One
The two rests in this dough solve different problems. The colored rectangles need a short chill before stacking because a freshly rolled sheet is soft and easy to stretch. Once the sheets are firm but still flexible, they lift away from the parchment and lie together without smearing the colors or tearing at the edges. If you chill them until rigid, they’re harder to handle neatly.
The finished log needs a much longer rest. Rolling creates a soft cylinder, and refrigeration firms the whole shape so it can be cut into rounds instead of compressed into ovals. That pause also gives you a chance to bake later: the log is ready when it’s firm enough to slice cleanly. Treating those rests as two separate stages is easier than trying to make one long chill do both jobs.
There’s no need to chase a perfectly seamless spiral. Even rectangles, a snug roll, and a sealed seam give you the defining pinwheel pattern. A little natural variation from cookie to cookie is part of the charm.
What Keeps the Dough Soft Enough to Swirl and Slice

- Unsalted butter and granulated sugar — Softened butter creams smoothly with the sugar, creating a light base before the flour goes in. Use butter that yields when pressed but isn’t melted; melted butter makes the dough greasy and difficult to roll. Granulated sugar keeps the cookie’s flavor clean and lets the colored pattern stand out. Brown sugar isn’t a one-for-one swap here because it adds moisture and changes the dough’s color and texture.
- Egg and vanilla — The egg binds the dough so the layers stay together when sliced, while vanilla rounds out the buttery flavor. Use a large egg and add it after creaming the butter and sugar. There isn’t a dependable egg-free swap that keeps this dough equally easy to roll and slice.
- All-purpose flour, baking powder, and salt — All-purpose flour gives the dough enough structure to hold its spiral. Baking powder adds a little lift without turning the cookies cakey, and salt keeps the sweetness balanced. Cake flour or self-rising flour isn’t a direct substitute; each changes the structure or leavening balance.
- Red and green gel food coloring — Gel coloring gives the dough strong color without adding much liquid. Knead each color through its portion until no streaks remain; liquid food coloring is less concentrated and can soften the dough if used as a direct replacement.
How to Shape the Layers Into Clean Pinwheels
Cream the Butter Before Adding the Flour
Beat the softened butter and sugar until light and fluffy, about 2 minutes. The mixture should look paler and feel airy rather than dense. Beat in the egg and vanilla until combined, scraping the bowl if needed so the mixture is even. Once the flour mixture goes in, mix only until a soft dough forms; continuing to beat after that can make the cookies tougher.
Color Each Portion Evenly
Whisk the flour, baking powder, and salt together first so the leavening and salt are distributed through the dough. Mix that blend into the butter mixture just until no dry flour remains, then divide the dough evenly between two bowls. Knead red gel coloring into one portion and green into the other until each color looks even throughout. If you see streaks, keep folding and pressing the dough rather than adding more coloring immediately.
Roll and Stack the Chilled Sheets
Roll each colored portion between parchment into a 10-by-12-inch rectangle about 1/8 inch thick. Chill the sheets for 15 to 20 minutes, until they feel firm but can still bend without cracking. Peel away the top parchment, stack one sheet over the other, and trim the edges even. Starting at a 10-inch edge, roll the layers tightly into a log and press the seam closed.
Slice, Bake, and Cool Without Smushing the Swirls
Wrap the log and refrigerate it until firm for at least 2 hours. Heat the oven to 350°F and line two large baking sheets with parchment, then cut the log into 1/4-inch rounds and space them about 2 inches apart. Bake for 10 to 12 minutes, swapping the sheets’ rack positions and rotating them front to back halfway through; the cookies are ready when set and the edges just begin to turn golden. Let them sit on the baking sheets for 5 minutes before moving them to a wire rack to cool completely.
Two Simple Ways to Change the Color Pattern
Make Red-and-White Pinwheels
Knead the red gel coloring into one portion and leave the other portion plain. Stack the sheets and roll them into the same log shape. The pale layer makes the red spiral pop, with a gentler color contrast than the two-color version.
Make Green-and-White Pinwheels
Color one portion green and keep the second plain for a green-and-cream spiral. This keeps the same buttery cookie and rolling method while giving you a softer, simpler look. Knead the coloring in thoroughly so the green layer has an even shade.
Storage and Reheating
- Room temperature: Keep completely cooled cookies in an airtight container for up to 5 days. They’ll soften a little as they sit.
- Freezer: Freeze baked cookies in an airtight container for up to 2 months, separating layers with parchment. Thaw at room temperature in the closed container to limit condensation on the cookies.
- Reheating: These cookies are best at room temperature and don’t need reheating. Warming them can soften the edges and make the swirls less crisp.
Questions That Come Up While Making Christmas Pinwheels
Christmas Pinwheels
Ingredients
Equipment
Method
- Heat the oven to 350°F and line two large baking sheets with parchment paper.
- Whisk together the flour, baking powder, and salt in a medium bowl.
- Beat the butter and sugar in a large bowl until light and fluffy, about 2 minutes.
- Beat in the egg and vanilla until combined.
- Mix in the flour mixture just until a soft dough forms, then divide the dough evenly between two bowls.
- Knead the red food coloring into one portion and the green food coloring into the other until the colors are even.
- Roll each portion between sheets of parchment into a 10x12-inch rectangle about 1/8 inch thick.
- Refrigerate the dough sheets until firm but still flexible, 15 to 20 minutes.
- Peel off the top parchment, stack one colored dough sheet on the other, and trim the edges even.
- Starting at a 10-inch edge, roll the dough tightly into a log and press the seam to seal.
- Wrap the log and refrigerate until firm, at least 2 hours.
- If the log is too firm to slice cleanly, let it stand at room temperature for about 5 minutes.
- Cut the log into 1/4-inch-thick rounds and arrange them about 2 inches apart on the prepared baking sheets.
- Bake for 10 to 12 minutes, swapping the sheets’ rack positions and rotating them front to back halfway through, until the cookies are set and the edges are just beginning to turn golden.
- Cool the cookies on the baking sheets for 5 minutes, then transfer them to a wire rack to cool completely.




