
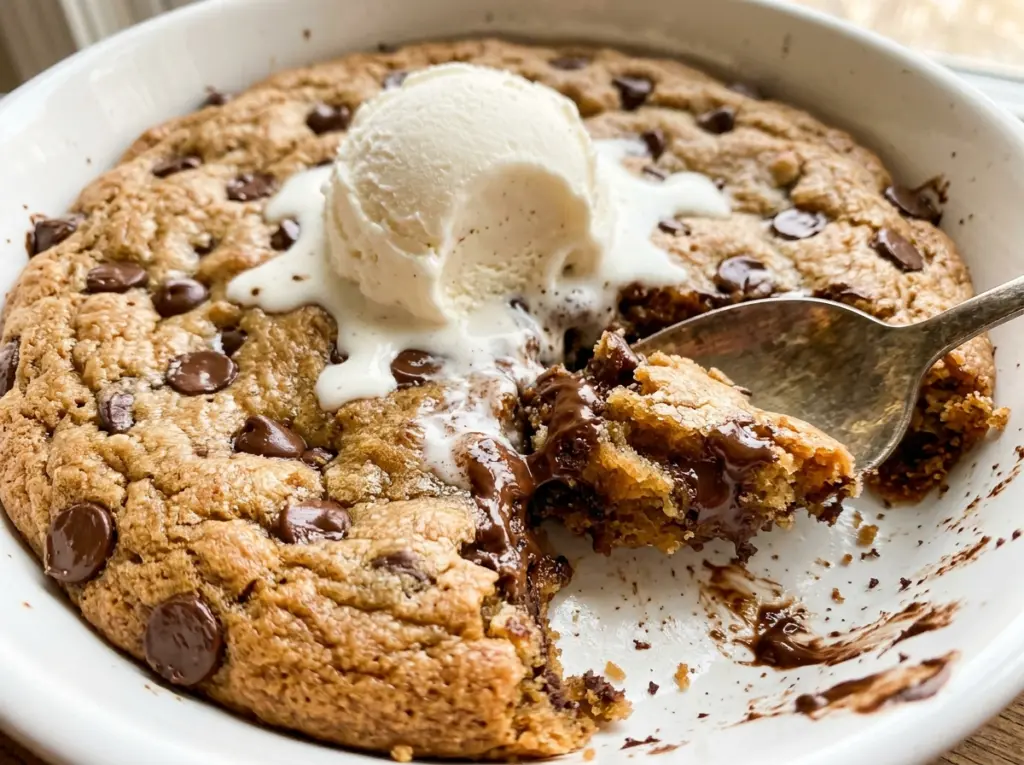
The edges are the first clue that a skillet cookie is ready: they turn golden while the middle still looks soft. That contrast is exactly what I want in a Pizookie, especially once a scoop of vanilla ice cream starts melting over the warm chocolate chips. This version bakes in a 10-inch oven-safe skillet and serves six, so there’s plenty of chewy center and crisp edge in every portion.
I beat softened butter with both sugars until the mixture looks light and fluffy, then stop mixing as soon as the flour disappears. That keeps the dough tender instead of tough, and it gives the cookie a soft middle without leaving it raw. Straight from the oven, the skillet cookie is still too hot to serve neatly; after a short rest, it settles into thick, warm slices with chocolate in every bite.
Kitchen Note
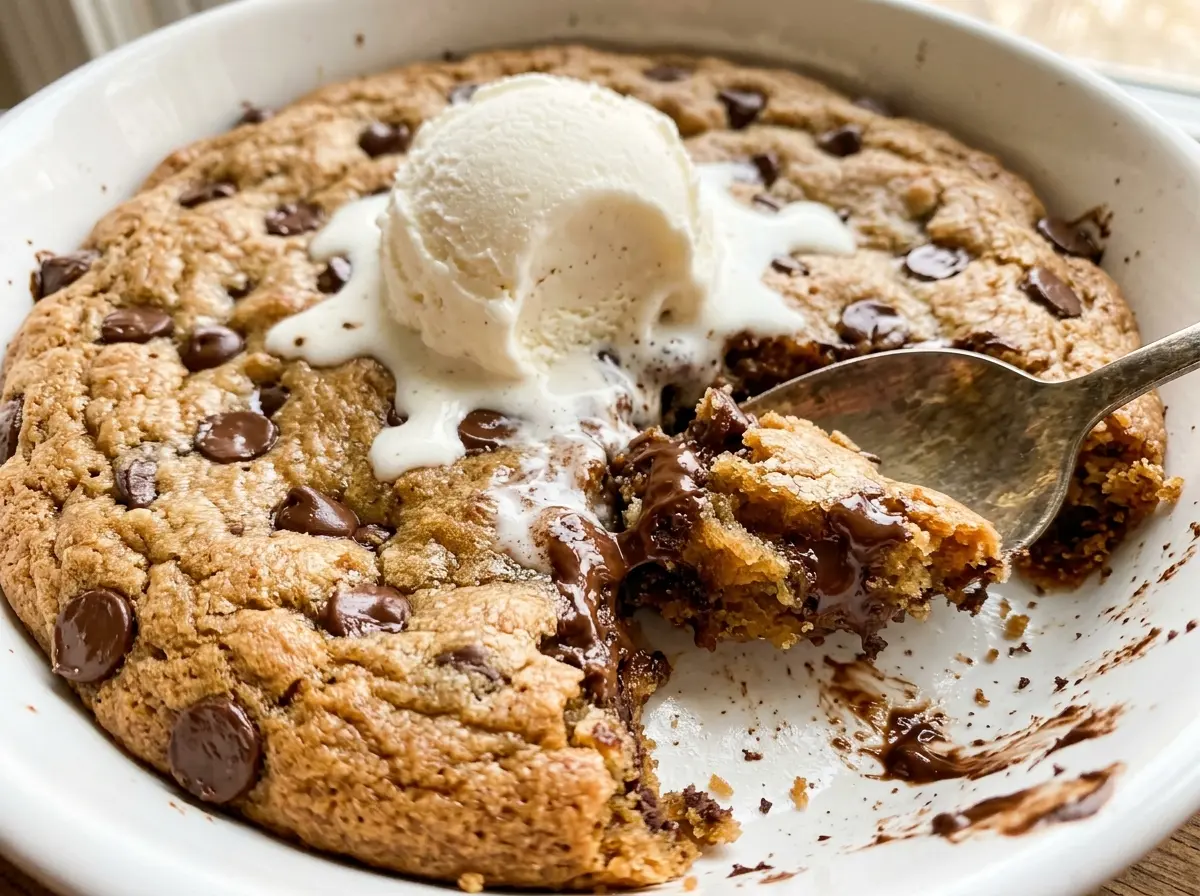
Give the cookie the full 10-minute rest in the skillet before serving. It’s still warm, but the center has time to settle so scooping doesn’t turn it into a runny pile of dough.
Save this warm Pizookie for a night when you want crisp golden edges, a soft chocolate-chip center, and vanilla ice cream on top.
Why the 10-Inch Skillet Matters More Than You Might Expect
A skillet cookie has no separate edge pieces and center pieces to balance out. The dough bakes as one thick round, so the diameter of the pan determines how much dough sits between the hot metal and the center. In a 10-inch skillet, the dough spreads into a layer that can bake through while the edges turn golden and the middle stays soft.
A smaller skillet would leave the dough deeper, while a larger one would spread it thinner; either change shifts the balance of textures and makes the stated bake time less reliable. Use an oven-safe skillet, too. A handle or coating that isn’t made for the oven doesn’t belong in a 350°F oven, even if the pan looks like the right size. Keeping the skillet size consistent gives you the edge-to-center contrast this dessert is built around.
What Each Pizookie Ingredient Is Doing in the Dough
- Unsalted butter — Softened butter creams smoothly with the sugars and gives the cookie its rich, tender crumb. Use butter that yields to a gentle press but hasn’t melted; a standard grocery-store brand works well here.
- Light brown and granulated sugars — Brown sugar brings moisture and a deeper caramel note, while granulated sugar keeps the cookie from tasting heavy. Pack the brown sugar into the measuring cup, and don’t swap in all of one kind if you want the same balance.
- Egg and vanilla — A room-temperature egg blends into the butter mixture more evenly than a cold one. Pure or imitation vanilla both work; the extract adds background warmth without competing with the chocolate.
- All-purpose flour, baking soda, and kosher salt — Flour supplies the structure, baking soda helps the cookie spread and brown, and salt keeps the sweetness in check. Spoon flour into the measuring cup and level it rather than scooping directly from the bag, which can pack in too much.
- Semisweet chocolate chips — Their balanced sweetness keeps each bite from becoming cloying, and chips hold their shape while softening in the oven. A familiar baking brand is fine; there’s no need to seek out specialty chocolate for this skillet cookie.
- Vanilla ice cream — Cold ice cream against the warm cookie is part of the classic Pizookie contrast. Keep it frozen until serving so it doesn’t disappear before the first portions are scooped.
How to Bake the Cookie Without Losing Its Soft Center
Cream the Butter and Sugars Until Fluffy
Heat the oven to 350°F and lightly coat a 10-inch oven-safe skillet with nonstick cooking spray. In a large bowl, beat the softened butter with the packed light brown sugar and granulated sugar for about 2 minutes. The mixture should look lighter and fluffier, not like a dense paste. If the butter is melted, it won’t cream properly, so start with softened butter rather than trying to rush it in the microwave.
Mix in the Egg, Then Stop When the Flour Disappears
Beat in the room-temperature egg and vanilla until they’re combined with the butter mixture. Add the flour, baking soda, and kosher salt, then mix only until no dry flour remains. A few seconds too long can make the cookie tougher, so stop as soon as the dough comes together. Fold in the semisweet chocolate chips so they’re spread through the dough without overworking it.
Press the Dough Into an Even Layer
Transfer the dough to the prepared skillet and press it evenly across the bottom. Pay attention to the outer edge as well as the center; a thick ridge around the sides can bake differently from the rest of the cookie. You want one even layer, with the chocolate chips distributed throughout rather than piled in one spot. The skillet is ready for the oven once the top is level.
Bake to Golden Edges, Then Serve Warm
Bake for 20 to 24 minutes, until the edges are golden and the center is set but still soft. Don’t wait for the middle to look dry or firm all the way through; the cookie continues to settle after it leaves the oven. Let it rest in the skillet for 10 minutes, then serve warm with scoops of vanilla ice cream. The skillet stays hot, so use care when bringing it to the table.
Two Easy Ways to Change Up This Skillet Cookie
Use a Cup-for-Cup Gluten-Free Baking Blend
Replace the all-purpose flour with the same volume of a gluten-free blend labeled for cup-for-cup baking. Choose one that includes xanthan gum or a similar binder; without it, the cookie is more likely to crumble when you scoop it. The texture may be a little more tender, but the chocolate and warm skillet-cookie feel still come through.
Make the Chocolate More Intense
Swap the semisweet chips for the same amount of bittersweet chocolate chips. They cut the sweetness and give the cookie a deeper cocoa taste, while keeping the same easy fold-in method. Avoid changing the amount of flour or sugar along with the chocolate; those ingredients keep the dough’s texture in balance.
Storage and Reheating
- Room temperature: Store the cooled cookie, without ice cream, in an airtight container for up to 3 days. The edges soften as it sits.
- Refrigerator: Keep it covered for up to 4 days if you prefer to refrigerate it; the cookie will firm up when chilled.
- Freezer: Freeze cooled portions, wrapped well and placed in a freezer-safe container, for up to 2 months. Thaw before warming for the softest texture.
- Reheating: Warm an individual portion on a microwave-safe plate in short bursts until just warm. Don’t microwave the skillet, and don’t heat the cookie with ice cream on top.
Questions That Come Up When Baking a Pizookie
Pizookie
Ingredients
Equipment
Method
- Heat the oven to 350°F and lightly coat a 10-inch oven-safe skillet with nonstick cooking spray.
- In a large bowl, beat the softened unsalted butter, packed light brown sugar, and granulated sugar until light and fluffy, about 2 minutes.
- Beat in the egg and vanilla extract until combined.
- Mix in the all-purpose flour, baking soda, and kosher salt just until no dry flour remains, then fold in the semisweet chocolate chips.
- Press the dough evenly into the prepared skillet and bake for 20 to 24 minutes, until the edges are golden and the center is set but still soft.
- Let the cookie rest in the skillet for 10 minutes, then serve warm with scoops of vanilla ice cream.




