
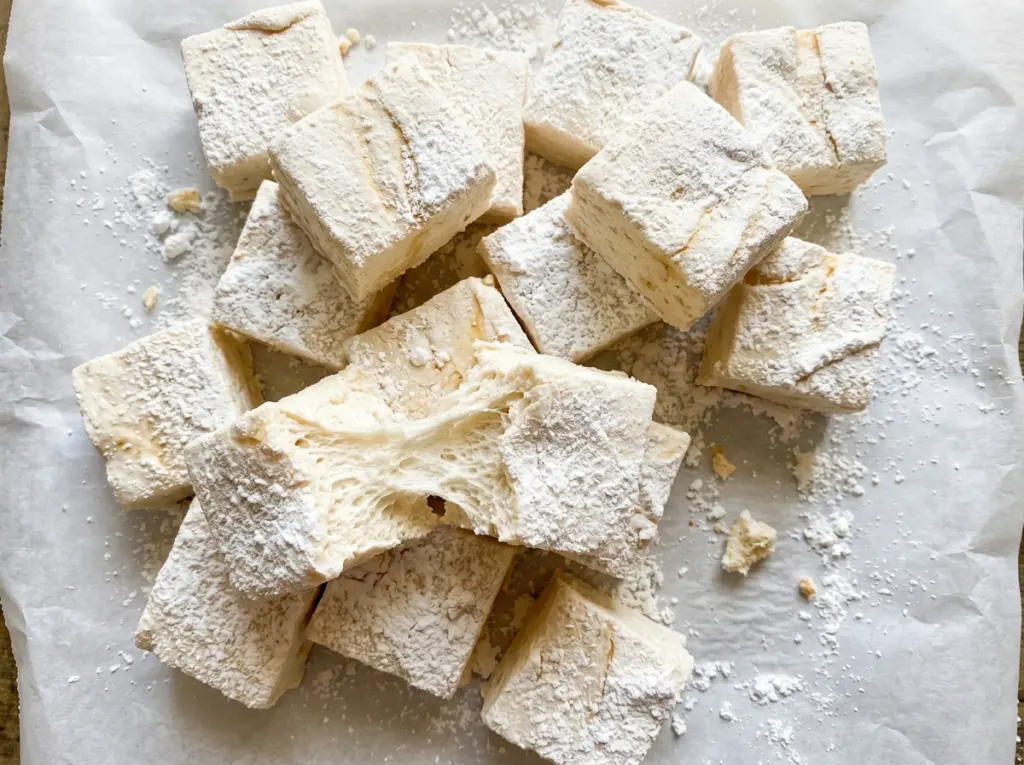
When maple syrup reaches a rolling boil, the bubbles change from quick and foamy to slower, glossy blips. That’s the moment I watch closely for these homemade maple marshmallows, because the syrup needs to cook to the right temperature before it can turn a bowl of gelatin into a fluffy slab. The first time I made marshmallows, I expected the mixer to do all the work; the syrup temperature turned out to matter just as much.
Here, pure maple syrup brings the familiar maple flavor, while granulated sugar helps make a syrup that sets into neat squares instead of staying sticky. Once the gelatin is hydrated and the syrup is ready, the mixer does the heavy lifting: the mixture grows thick, glossy, and pale as it cools. Give the marshmallows time to set uncovered, and you’ll have soft, chewy squares with a clear maple aroma.
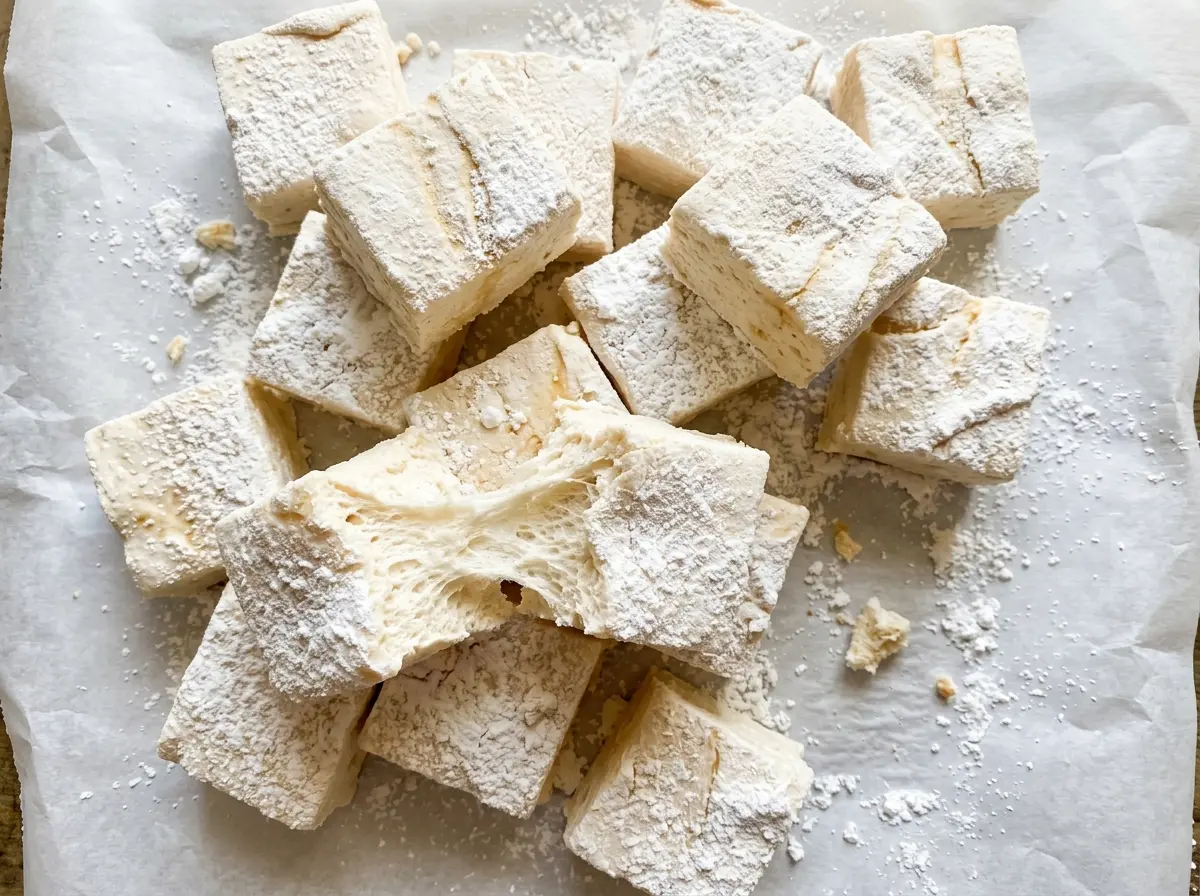
Kitchen Note
Leave the parchment overhang on two opposite sides so you have sturdy handles when the marshmallow has set. It’s much easier to lift out the whole slab that way than to pry at the edges.
Save these homemade maple marshmallows for a soft, chewy treat with real maple flavor and a tidy square cut.
Why These Marshmallows Need a Candy Thermometer, Not a Guess
Maple syrup brings water along with its sweetness, so boiling it for a certain number of minutes alone doesn’t tell you exactly how concentrated it has become. The syrup needs to reach 240°F before it goes into the gelatin. That temperature gives the mixture the structure to set into cuttable marshmallows; a syrup that hasn’t cooked long enough leaves you with a softer, tackier result.
Use the temperature as your finish line and treat the 8–12 minute range as an estimate, not a substitute for checking. The time changes with the saucepan and burner, but the thermometer gives you a direct reading. Stir over medium heat only until the sugar dissolves, then leave the syrup alone as it boils. Stirring at that stage can encourage sugar crystals, which can leave the finished marshmallows less smooth.
This is also why the mixture gets whipped after the hot syrup meets the gelatin. The syrup is concentrated enough to set, and whipping incorporates air while it cools. You’re looking for a thick, glossy mass that’s barely warm—not a thin liquid and not a firm lump that’s already difficult to spread.
How Maple Syrup, Gelatin, and Extract Shape the Texture
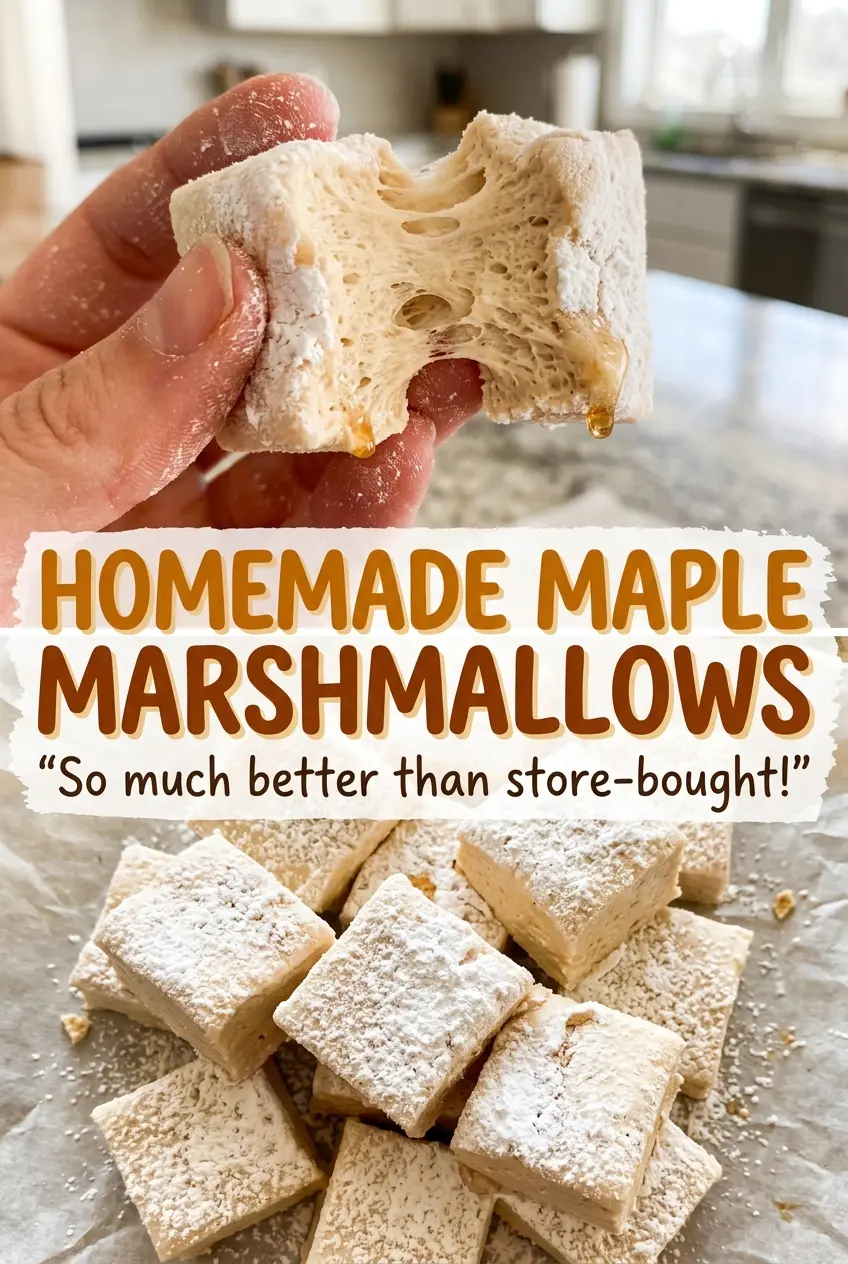
- Pure maple syrup — It supplies the defining maple taste and part of the liquid in the syrup. Use pure maple syrup rather than pancake syrup, which is a different product and won’t behave the same way in this formula. Any grade of pure maple syrup works; a darker grade gives a more pronounced maple taste without changing the method.
- Unflavored gelatin — This is what gives the whipped mixture its springy, marshmallow structure. Use unflavored gelatin, not a flavored dessert mix; a direct plant-based swap doesn’t behave the same way here, so I don’t recommend replacing it in this batch.
- Maple extract — The extract strengthens the maple aroma, especially alongside the syrup’s sweetness. A decent-quality extract is worth using because maple is the main flavor, but there’s no need to buy an expensive specialty brand. Leaving it out works, though the finished marshmallows taste less distinctly maple.
- Granulated sugar — Alongside the maple syrup, it helps the boiled mixture reach the concentration needed to set. Keep it granulated; a different type of sweetener would change the syrup’s behavior, not just its sweetness.
- Confectioners’ sugar and cornstarch — Mixed together, they coat the pan and cut marshmallows so the surfaces stay less tacky. The combination matters more than buying a particular brand, and a flexible spatula is useful for spreading the sticky mixture without tearing the parchment.
From Bloomed Gelatin to Cleanly Cut Squares
Prepare the pan before the syrup heats
Line a 9×13-inch pan with parchment, leaving an overhang on two opposite sides. Lightly grease the pan, parchment, and flexible spatula with neutral oil. Mix the confectioners’ sugar and cornstarch in a small bowl, dust the pan with a few tablespoons, and keep the rest for the top and cut edges. Having the pan ready matters because the whipped marshmallow mixture thickens quickly.
Bloom the gelatin and cook the maple syrup
Sprinkle the gelatin over half of the cold water in the bowl of a 6-quart stand mixer, then leave it to stand for 10 minutes. In a 2-quart saucepan, combine the remaining water with the maple syrup, granulated sugar, and salt. Stir over medium heat until the sugar dissolves, then boil without stirring until the syrup reaches 240°F; this usually takes 8–12 minutes. Keep your attention on the thermometer near the end of the boil.
Whip the hot syrup until glossy
With the mixer on low, carefully pour the hot syrup in a thin stream down the inside of the bowl, taking care not to pour it onto the whisk. Once all the syrup is in, increase the mixer to high and whip for 8–12 minutes. The mixture should turn thick and glossy and feel barely warm. Beat in the maple extract during the final 30 seconds.
Spread, set, and coat the cut sides
Scrape the marshmallow into the prepared pan and smooth the top quickly with the oiled spatula. Leave the pan uncovered at room temperature for at least 6 hours or overnight, until the surface is set and no longer tacky. Dust the top with the reserved coating, lift the slab out by the parchment overhang, and cut it into 1 1/2-inch squares. Dust the knife and toss the cut sides in the coating as needed.
Three Small Changes for a Different Maple Marshmallow
Use a darker grade of pure maple syrup
Swap in a darker grade of pure maple syrup in the same amount. The maple note will come through more assertively, while the process and setting time stay the same.
Make a milder maple batch
Leave out the maple extract if you prefer a gentler maple aroma. The syrup still gives the marshmallows maple flavor, but it won’t be as pronounced.
Cut smaller pieces for cocoa
Cut the set slab into smaller cubes instead of 1 1/2-inch squares. You’ll get more little pieces from the pan, and the smaller format is easier to portion into a mug.
Storage and Serving
- Room temperature: Store in an airtight container for up to 1 week.
- Refrigerator: I don’t recommend chilling them; moisture can make the coating tacky.
- Freezer: Freezing isn’t my pick for this batch, since thawing may dampen the coating and soften the outside.
- Reheating: No reheating is needed. Serve at room temperature; microwaving can make marshmallows puff and melt quickly.
Questions That Come Up While Making Maple Marshmallows
Homemade Maple Marshmallows
Ingredients
Equipment
Method
- Line a 9x13-inch pan with parchment, leaving overhang on two opposite sides.
- Lightly grease the pan, parchment, and a flexible spatula with the oil.
- Mix the confectioners' sugar and cornstarch in a small bowl, dust the pan with a few tablespoons, and reserve the rest.
- In the bowl of a 6-quart stand mixer, sprinkle the gelatin over 1/2 cup cold water and let it stand for 10 minutes.
- In a 2-quart saucepan, combine the remaining 1/2 cup water, maple syrup, granulated sugar, and salt.
- Stir over medium heat until the sugar dissolves.
- Boil without stirring until the syrup reaches 240°F, about 8–12 minutes.
- With the mixer on low, carefully pour the hot syrup in a thin stream down the inside of the bowl, avoiding the whisk.
- Increase to high and whip for 8–12 minutes, until thick, glossy, and barely warm.
- Beat in the maple extract during the last 30 seconds.
- Scrape the mixture into the prepared pan and smooth the top quickly with the oiled spatula.
- Let the pan stand uncovered at room temperature for at least 6 hours or overnight, until the marshmallow is set and no longer tacky.
- Dust the top with the reserved coating and lift the marshmallow out using the parchment overhang.
- Cut into 1 1/2-inch squares, dusting the knife and tossing the cut sides in coating as needed.
- Store in an airtight container at room temperature for up to 1 week.




