
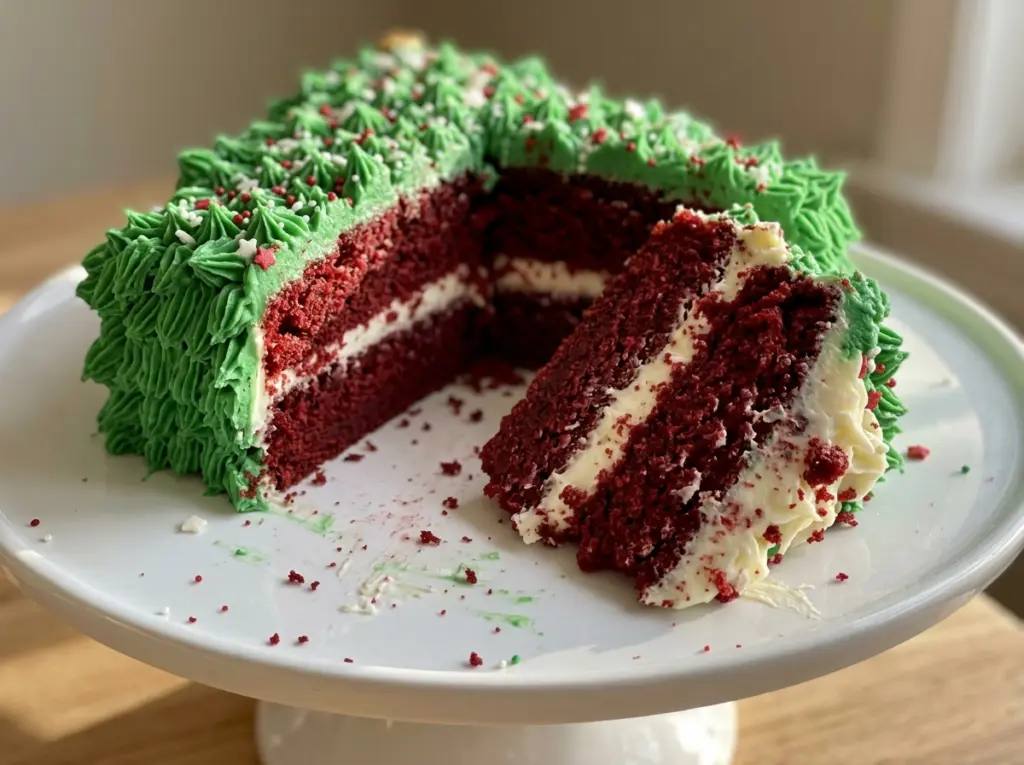
When the cake comes out of the oven, that broad, even surface is exactly what you want: there’s room for frosting and a tree piped right on top, with no layers to stack or trim. This Red Velvet Christmas Tree Cake keeps the familiar cocoa-and-buttermilk flavor in an easy-to-slice sheet cake, then turns the decoration into the centerpiece.
The batter comes together in two bowls. Whisking the wet ingredients separately helps distribute the red coloring, vinegar, and vanilla before they meet the flour mixture; then stop as soon as the batter is smooth. Buttermilk and vinegar bring the acidity that works with baking soda, while oil keeps the crumb tender.
Cream cheese frosting gives the cake a tangy finish, and a little green gel coloring turns a portion of it into the piped tree. Holiday sprinkles add the last touch, and a short chill helps the frosting hold its shape when you slice into the cake.
Kitchen Note
Keep the snipped corner of the piping bag small. A narrow opening makes it easier to guide the zigzags and keep the tree’s outline tidy.
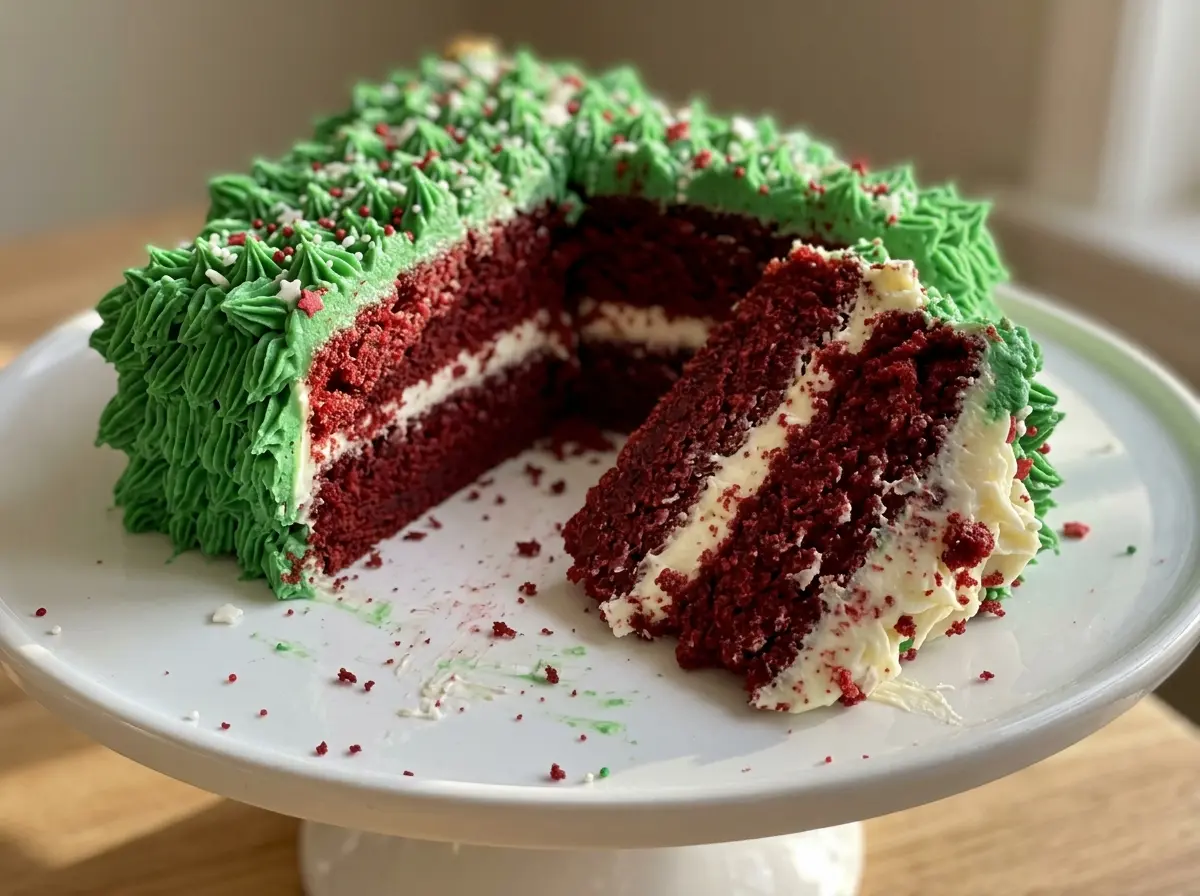
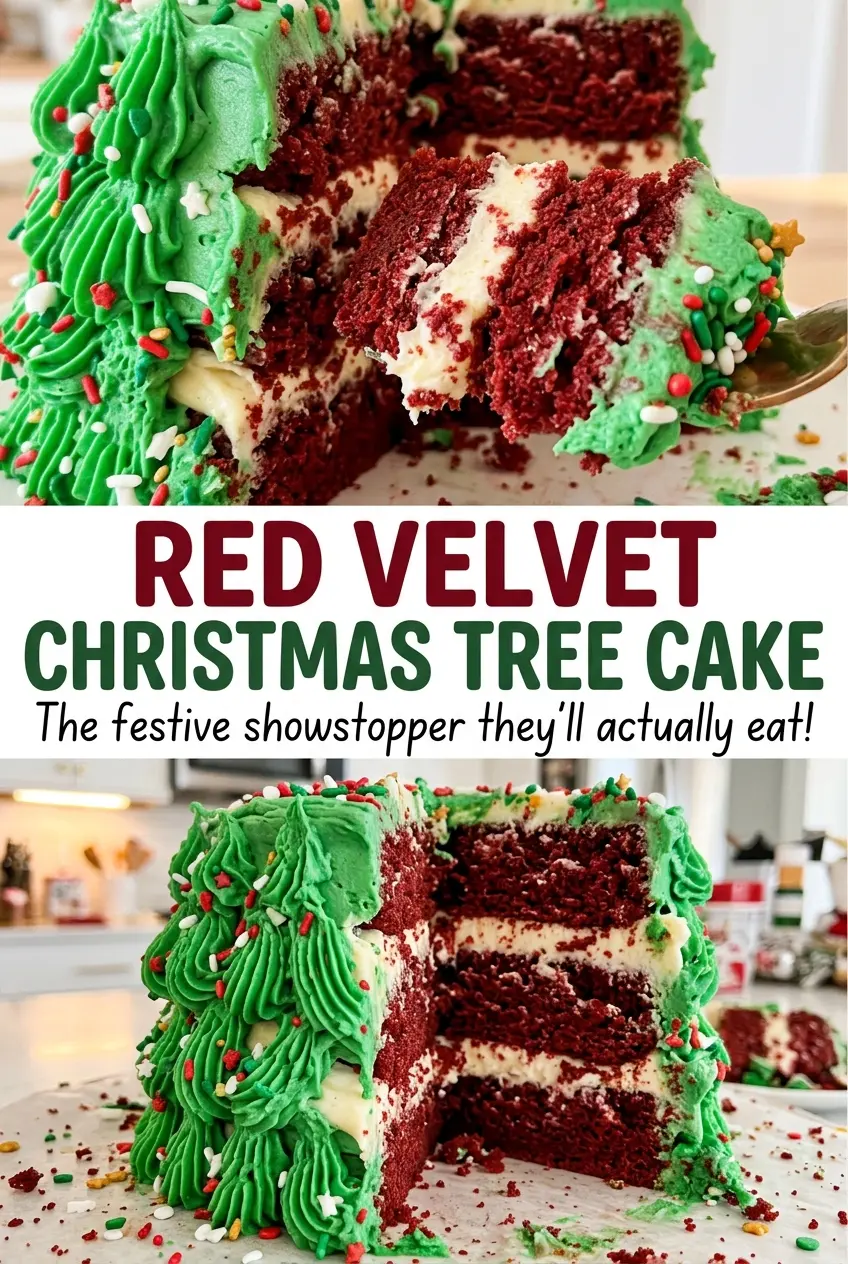
Save Red Velvet Christmas Tree Cake for a holiday table centerpiece with a cocoa-red sheet cake and a piped green frosting tree.
Why a 9×13 Sheet Cake Makes the Tree Easier to Decorate
A Christmas tree piped on a cake needs a little open space around it. The 9×13-inch pan gives you a wide, level canvas, so the green frosting can read clearly against the cream cheese layer instead of disappearing among stacked sides or crowded decorations. You can also cut the cake into straightforward squares without having to carve a tree shape from the crumb.
The sheet-cake format helps with the frosting, too. Spread the white frosting in an even layer first, then the green zigzag stands out as its own design rather than blending into a thick mound of icing. Set aside the portion for the tree before frosting the cake; once the full surface is covered, it’s harder to judge how much frosting you have left for piping.
That contrast is what makes this decoration work: red cake, white frosting, and a distinct green tree with sprinkles for color. Keep the design simple and centered, and there’ll still be plenty of frosted cake around it for neat portions.
What Gives This Cake Its Red Velvet Character
- Buttermilk and white vinegar — Their acidity gives the batter its classic tang and works alongside the baking soda. Shake the buttermilk before measuring so it’s evenly mixed. Plain milk isn’t a close stand-in because it doesn’t bring the same acidity.
- Unsweetened cocoa powder — A modest amount gives the cake a gentle chocolate note without taking it into full chocolate-cake territory. Use unsweetened cocoa rather than sweetened cocoa mix, which brings extra sugar and other ingredients.
- Red food coloring — This is what gives the crumb its red hue. The cocoa naturally deepens the color, so expect red velvet rather than a bright, artificial-looking red.
- Vegetable oil — Oil helps keep the sheet cake tender after it cools. Another neutral cooking oil can replace it measure for measure, though a strongly flavored oil would show up in the finished cake.
- Cream cheese and unsalted butter — Together they make a smooth frosting that’s tangy but still sturdy enough to spread. Let both soften before mixing; cold cream cheese is more likely to leave small lumps.
- Powdered sugar — It sweetens and thickens the frosting. Add it gradually, as the mixing step calls for, so it doesn’t puff out of the bowl and the frosting has time to turn fluffy.
- Green gel food coloring — Gel adds concentrated color without bringing much extra liquid into the reserved frosting. Add it little by little; liquid coloring can thin the frosting before it reaches the same shade.
Mixing, Baking, and Decorating Without Guesswork
Whisk the dry and wet bowls separately
Heat the oven to 350°F and coat a 9×13-inch baking pan with nonstick cooking spray. In a large bowl, whisk the flour, granulated sugar, cocoa powder, baking soda, and kosher salt so the leavening is spread through the flour. In a separate bowl, whisk together the buttermilk, vegetable oil, eggs, white vinegar, red food coloring, and one teaspoon of vanilla. Keep the bowls separate until both mixtures are ready.
Bring the batter together gently
Pour the wet mixture into the dry ingredients and whisk just until the batter looks smooth. Don’t keep beating once the flour disappears; overmixing can make a cake crumb tougher than it needs to be. Scrape the batter into the prepared pan and spread it evenly into the corners. The batter should cover the base without leaving a thick ridge in the middle.
Bake until the center springs back
Bake for 30 to 35 minutes. The center should spring back lightly, and a toothpick inserted there should come out with a few moist crumbs rather than wet batter. A completely clean toothpick can mean the cake has gone a little too far. Cool the cake completely in the pan, about 1 hour, before frosting.
Beat the frosting smooth before spreading
Beat the softened cream cheese and butter with an electric mixer until smooth. Gradually beat in the powdered sugar and the remaining teaspoon of vanilla, stopping when the frosting is fluffy. Set aside three-quarters of a cup for the tree, then spread the rest evenly over the cooled cake. If the frosting meets warm cake, it can soften and drag instead of making a clean layer.
Pipe the tree and give it time to set
Tint the reserved frosting green, adding gel coloring a little at a time until it reaches the shade you want. Spoon it into a zip-top bag, snip off a small corner, and pipe a zigzag tree on the cake, making each row wider toward the bottom and adding a short trunk. Scatter the holiday sprinkles over the tree. Refrigerate the decorated cake for at least 30 minutes before slicing.
Two Ways to Change the Cake Without Losing the Idea
Make a gluten-free sheet cake
Replace the all-purpose flour with the same amount of a cup-for-cup gluten-free baking blend that includes xanthan gum. The crumb may be a little more delicate, so let the cake cool completely in the pan before spreading the frosting and cutting it.
Serve it as a classic frosted red velvet cake
Skip the green coloring and piping, spread all of the cream cheese frosting over the cake, and scatter the holiday sprinkles across the top. You’ll keep the same cocoa-red cake and tangy frosting, but the finish is quicker and every slice gets an even blanket of icing.
Storage and Reheating
- Refrigerator: Cover and refrigerate for up to 4 days. The chilled cake and frosting will be firmer than they are at room temperature.
- Freezer: Freeze individual slices in airtight wrapping for up to 2 months. Thaw them in the refrigerator; the sprinkles may soften or bleed a little.
- Reheating: This cake doesn’t need reheating. Let a slice soften at room temperature for about 15 minutes before serving, and return the remaining cake to the refrigerator within 2 hours.
Questions That Come Up While Making This Christmas Tree Cake
Red Velvet Christmas Tree Cake
Ingredients
Equipment
Method
- Heat the oven to 350°F.
- Coat a 9x13-inch baking pan with nonstick cooking spray.
- Whisk the flour, granulated sugar, cocoa powder, baking soda, and salt in a large bowl.
- In a separate bowl, whisk the buttermilk, oil, eggs, vinegar, red food coloring, and 1 teaspoon of the vanilla extract.
- Pour the wet ingredients into the dry ingredients and whisk just until the batter is smooth.
- Pour the batter into the prepared pan.
- Bake for 30 to 35 minutes, until the center springs back lightly and a toothpick inserted in the center comes out with a few moist crumbs.
- Cool completely in the pan, about 1 hour.
- Beat the cream cheese and butter in a large bowl with an electric mixer until smooth.
- Gradually beat in the powdered sugar and the remaining 1 teaspoon vanilla extract until fluffy.
- Set aside 3/4 cup frosting.
- Spread the remaining frosting evenly over the cooled cake.
- Tint the reserved frosting green, adding the gel coloring a little at a time.
- Spoon the green frosting into a zip-top bag and snip off a small corner.
- Pipe a zigzag Christmas tree on top of the cake, widening each row toward the bottom and adding a short trunk.
- Decorate with the holiday sprinkles.
- Refrigerate for at least 30 minutes before slicing.




