
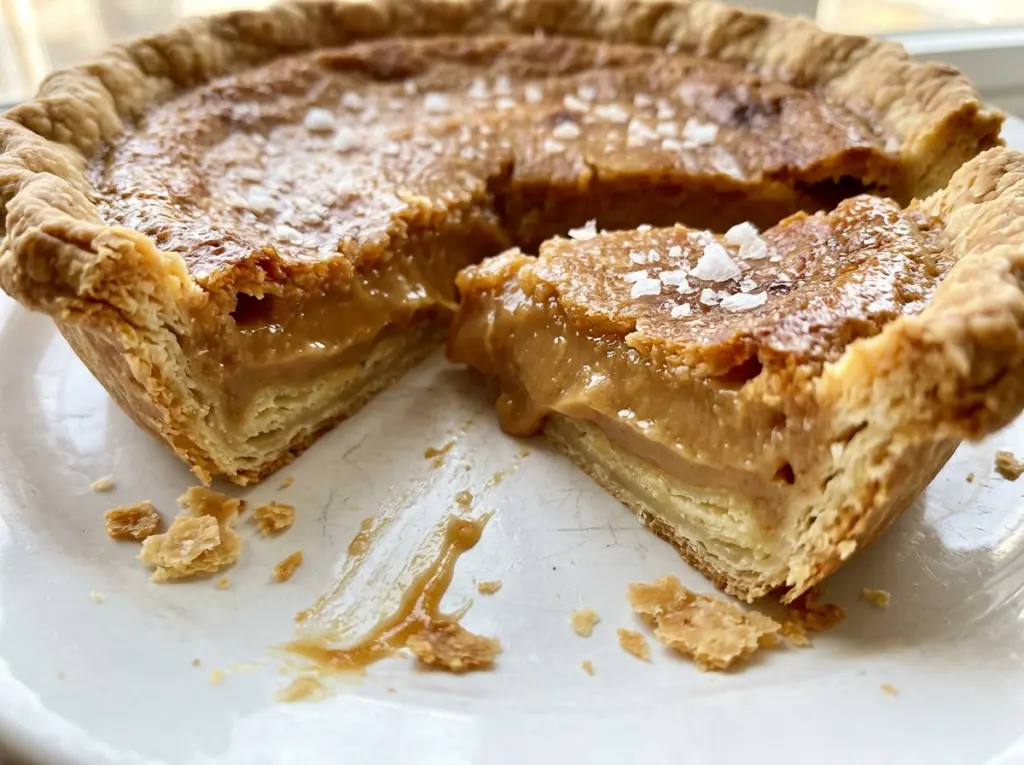
The kitchen smells like warm maple before this pie is cool enough to cut. I wanted Salted Maple Pie to taste unmistakably like maple without turning into a sugary slab, so the sweetness comes from pure syrup with just enough brown sugar to give it a rounded, almost toasty edge. The final salt on top is a small contrast, not a savory layer; each forkful still reads as maple first.
The filling needs to be smooth all the way through, not streaked with dry flour. I whisk the brown sugar and flour together before adding them gradually to the eggs, syrup, cream, butter and vanilla. That order prevents floury pockets and gives the custard an even texture, so the maple stays present in every bite rather than collecting in one overly sweet mouthful.
With its tender filling and buttery crust, it’s the kind of pie that earns a spot on the table without needing a pile of toppings.
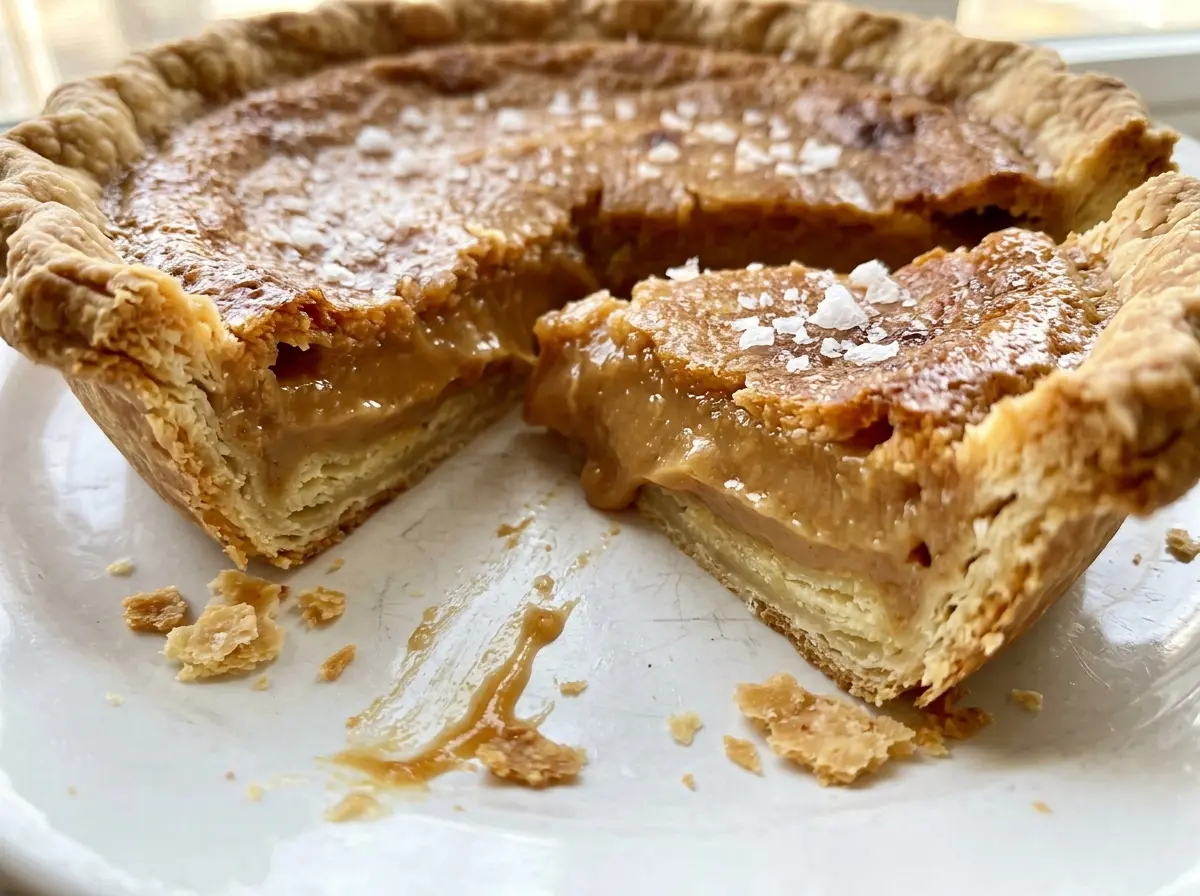
Kitchen Note
Let the melted butter cool before whisking it with the eggs. If it’s still hot, it can start cooking the eggs in little streaks, and those won’t disappear when you mix in the other ingredients.
Save this Salted Maple Pie for its smooth maple custard and little hit of salt on top.
Why This Maple Filling Needs a Dry Crust Before It Goes In
The filling is loose when it first meets the pastry: eggs, cream, butter and maple syrup make a liquid custard that needs time in the oven to set. If that mixture goes into raw pastry, the bottom crust has to bake while buried under filling. It can turn soft before the custard is ready, even when the top looks beautifully browned.
Blind-baking gives the crust a head start. The first bake with pie weights helps it hold its shape, and the short bake without the weights lets the pastry surface dry. Look for a dry, pale crust rather than waiting for a deep golden color; it still has a second bake ahead with the filling. This little bit of preparation is what lets the bottom stay pastry-like under a rich, moist center.
Setting the pie plate on a rimmed baking sheet also makes the pie easier to move in and out of the oven. Keep the plate on that sheet for the filling bake, so you can handle the pie without tilting the custard.
Pure Maple Syrup Is More Than the Sweetener Here
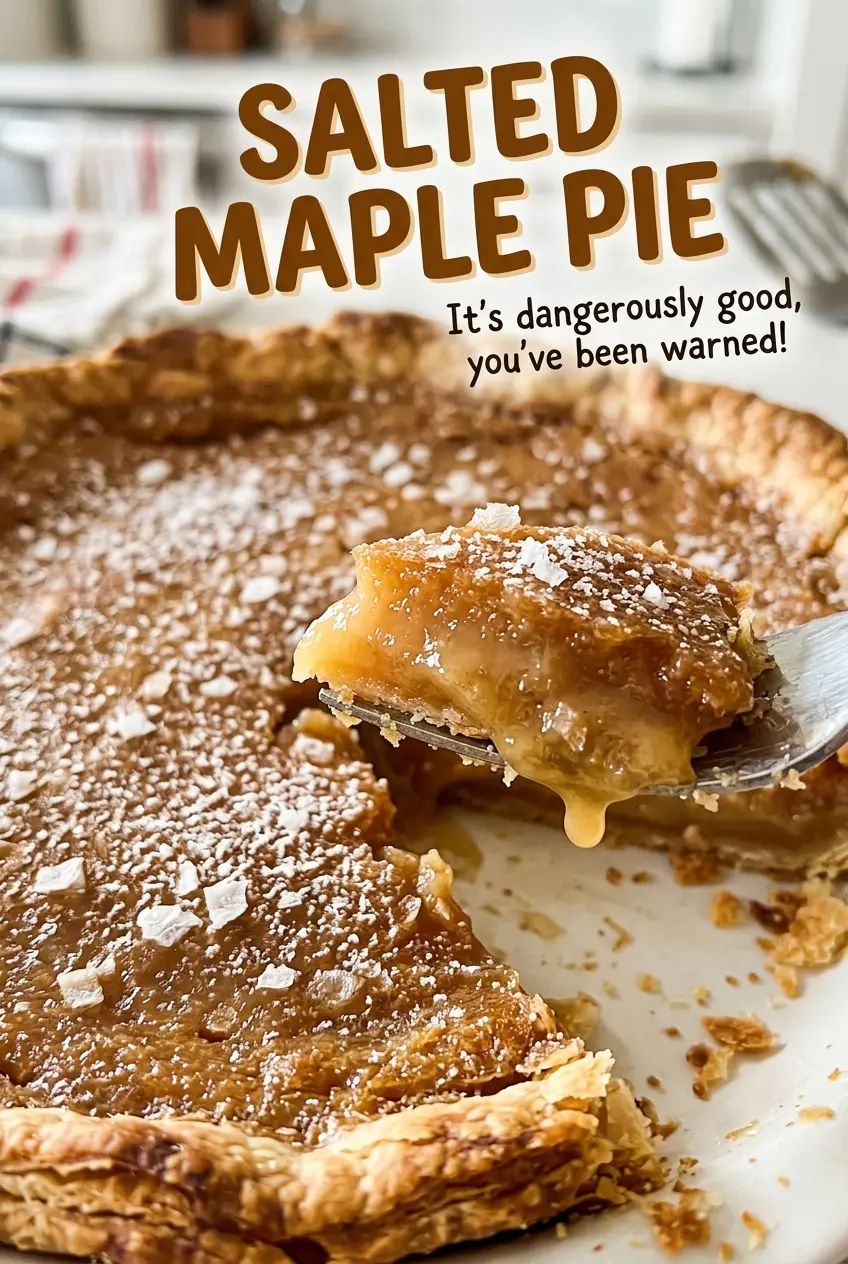
- Pure maple syrup — This is the defining flavor, so use syrup made from maple sap rather than pancake syrup, which is usually a flavored sweetener with a different taste and consistency. A good-quality bottle matters here because maple is the main note; choose a grade you enjoy tasting on its own.
- Light brown sugar and all-purpose flour — Brown sugar gives the filling a rounded sweetness, while flour helps the custard set without making it firm like a dense bar. Keep the flour lump-free by whisking it with the sugar before it meets the wet ingredients.
- Eggs and heavy cream — Room-temperature eggs blend more readily into the filling, and heavy cream gives it a rich, smooth texture. Milk is thinner and won’t give quite the same creamy result, so I stick with cream for this pie.
- Unsalted butter — Butter adds a mellow richness that carries the maple flavor through the custard. Unsalted butter also lets the salt level stay controlled; let it cool after melting before mixing it with the eggs.
- Refrigerated pie crust — A 9-inch crust keeps the preparation straightforward and fits a standard pie plate. Handle it gently as you shape the edge; a ragged or stretched rim is more likely to bake unevenly than one folded under and crimped.
- Kosher salt — It’s divided between the filling and the finish, so the pie gets seasoning throughout and a clear salty contrast on top. Sprinkle the finishing portion evenly rather than dropping it in one spot.
From Pale Pastry to a Custard That Still Has a Little Give
Shape the Crust and Let It Chill
Heat the oven to 375°F, then fit the refrigerated crust into a 9-inch pie plate. Fold the edge under and crimp it so the rim has an even shape all the way around. Chill the crust for 15 minutes before baking; that pause helps the pastry hold the shape you just made. Set the pie plate on a rimmed baking sheet before it goes into the oven.
Blind-Bake Until the Surface Looks Dry
Line the crust with parchment and fill it with pie weights. Bake for 15 minutes, then lift out the parchment and weights and return the crust to the oven for 5 to 7 minutes. It’s ready for the filling when the surface looks dry and pale, not glossy or damp. If it still looks wet, give it the full time in the second bake rather than pouring in the custard early.
Whisk a Smooth Maple Filling
Lower the oven temperature to 350°F. In a medium bowl, whisk together the brown sugar, flour and 1/2 teaspoon of the kosher salt. In a second bowl, whisk the eggs, maple syrup, cream, cooled melted butter and vanilla until combined. Gradually whisk the sugar mixture into the wet ingredients until smooth, then pour the filling into the crust.
Watch the Center, Then Finish with Salt
Bake the pie on the baking sheet for 45 to 55 minutes. If the crust edge browns too quickly, cover it loosely with foil. The edges should be set while the center still jiggles slightly, and an instant-read thermometer inserted into the center should register 175°F. Sprinkle the remaining 1/4 teaspoon of salt evenly over the warm pie, then cool it on a rack for at least 3 hours before slicing.
Three Small Changes for a Different Salted Maple Pie
Use dark brown sugar for a deeper finish
Swap the packed light brown sugar for the same amount of packed dark brown sugar. Its stronger molasses note makes the filling taste deeper and less delicate, while the maple remains the main flavor.
Choose a more robust maple syrup
Use a darker, more robust grade of pure maple syrup in place of a lighter-tasting grade, keeping the amount the same. The pie will have a bolder maple aroma without changing the custard method.
Make it with a gluten-free crust
Replace the refrigerated wheat crust with a 9-inch refrigerated gluten-free pie crust. Gluten-free pastry can be more fragile, so handle it according to the package guidance; the maple filling stays the same.
Storage and Reheating
- Refrigerator: Cover and refrigerate leftover pie for up to 4 days. The crust softens gradually as it sits.
- Freezer: Freezing isn’t ideal for this custard pie; thawed filling can turn watery and the crust may lose its texture.
- Reheating: It doesn’t need reheating. Serve chilled or let a slice sit briefly at room temperature; microwaving can warm the custard unevenly.
Questions That Come Up Before the First Slice
Salted Maple Pie
Ingredients
Equipment
Method
- Heat the oven to 375°F.
- Fit the crust into a 9-inch pie plate, fold the edge under and crimp.
- Chill the crust for 15 minutes.
- Line the crust with parchment and fill it with pie weights.
- Set the pie plate on a rimmed baking sheet.
- Bake for 15 minutes.
- Remove the parchment and pie weights.
- Bake for 5 to 7 minutes, until the crust looks dry and pale.
- Reduce the oven temperature to 350°F.
- In a medium bowl, whisk together the brown sugar, flour and 1/2 teaspoon of the salt.
- In a second bowl, whisk the eggs, maple syrup, cream, melted butter and vanilla until combined.
- Gradually whisk in the sugar mixture until smooth.
- Pour the filling into the crust.
- Bake on the baking sheet for 45 to 55 minutes, loosely covering the crust edge with foil if it browns too quickly, until the edges are set and the center jiggles slightly; the center should register 175°F on an instant-read thermometer.
- Sprinkle the remaining 1/4 teaspoon salt evenly over the warm pie.
- Cool on a rack for at least 3 hours before slicing.




