
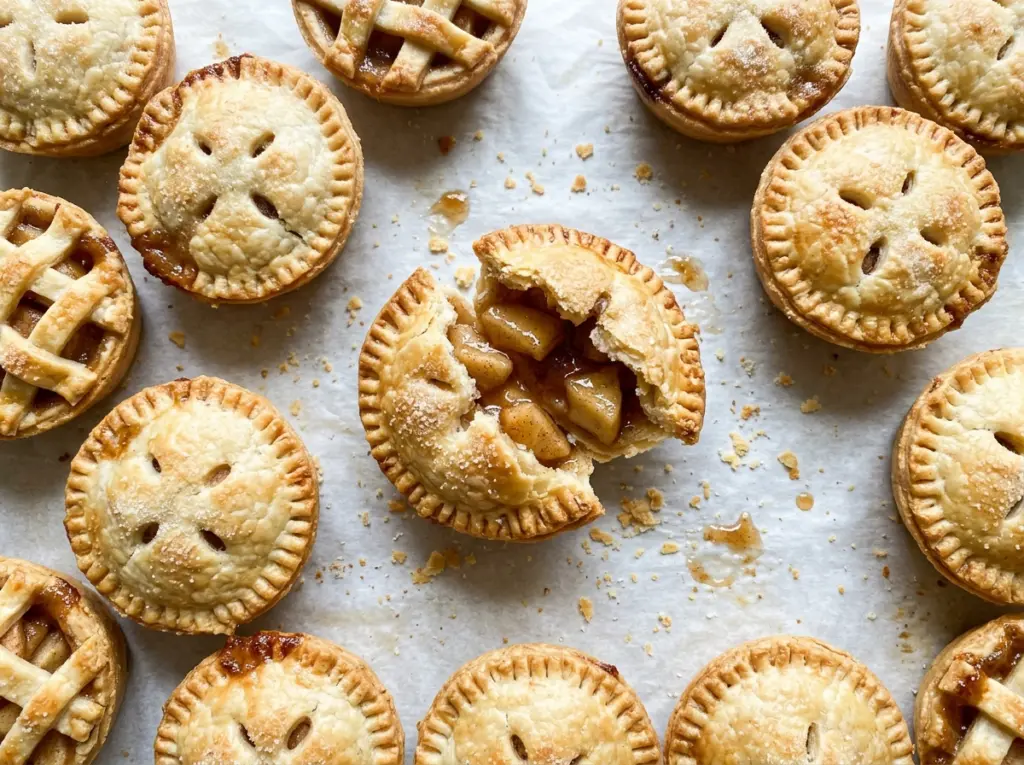
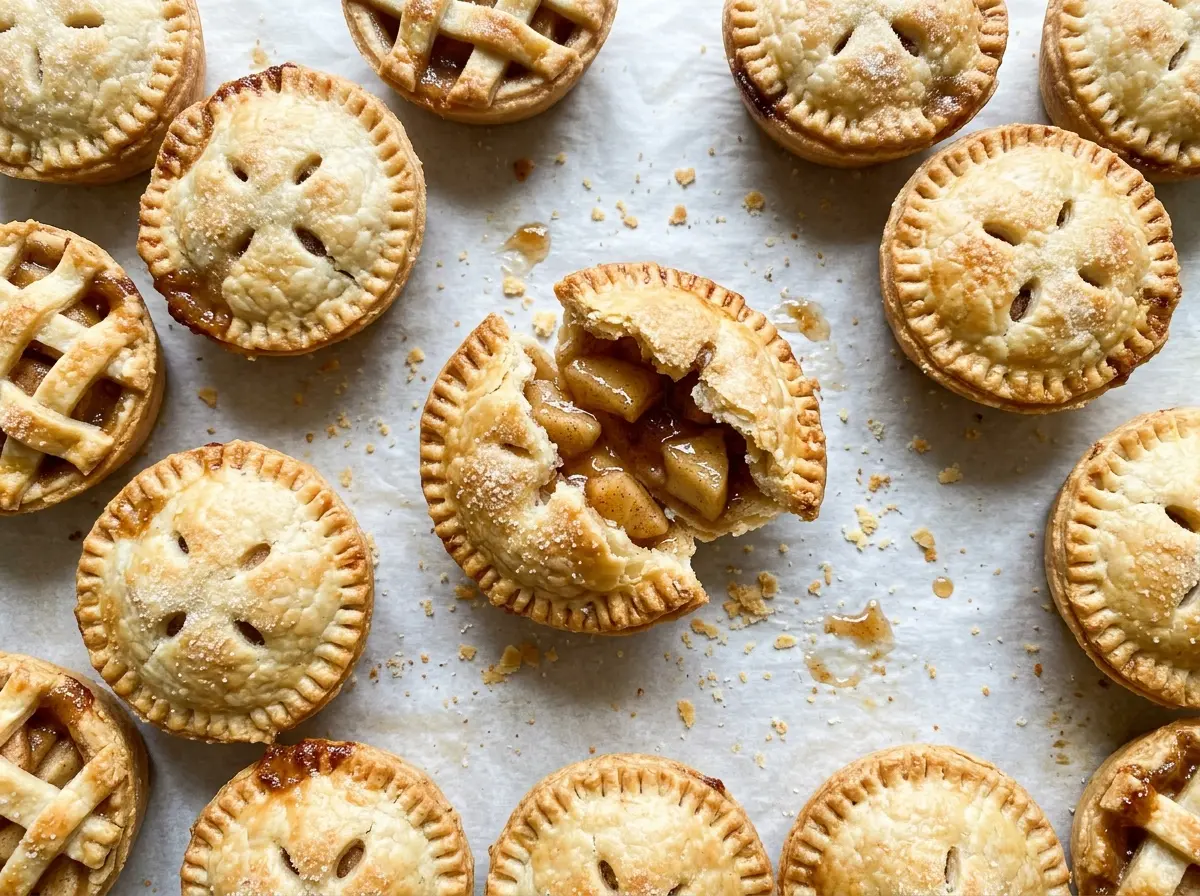
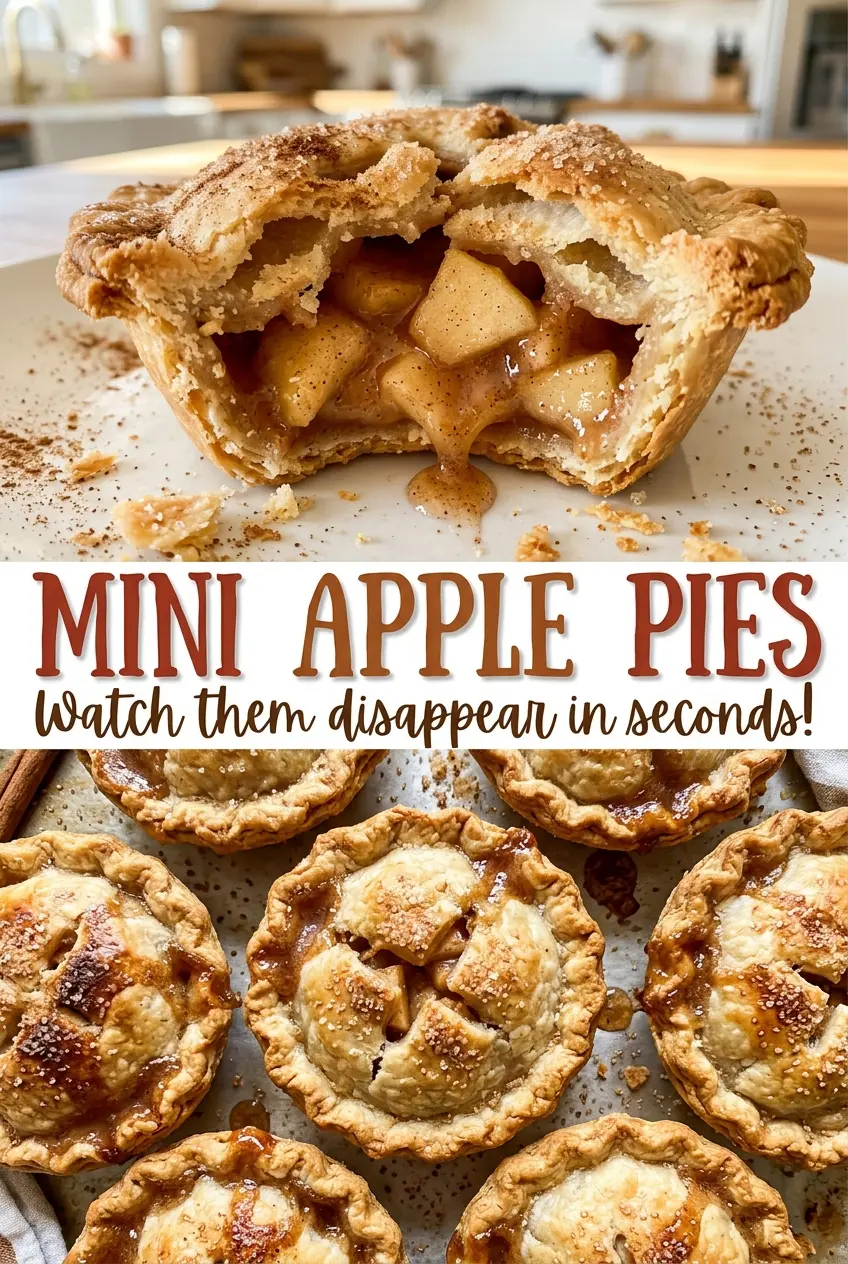
When the apple filling is ready, the juices should cling to the diced fruit instead of pooling in the skillet. That little change in texture matters once the apples are tucked into pastry. I cook the filling first for these mini apple pies, then let it cool completely so it won’t soften the dough before the pies reach the oven.
The crust uses cold butter worked into the flour until the pieces are about pea-size, which gives you a tender, flaky base without making the dough difficult to shape. I divide the dough into a larger disk for the muffin cups and a smaller one for the tops; the bottoms need enough pastry to come up the sides, while the lids only need to cover the filling. The finished pies have golden tops, a crisp sugar finish, and a soft apple center held neatly inside each little crust.
Kitchen Note
Let the apple filling cool completely on a plate before it goes near the pastry. Warm filling softens the butter in the dough and makes these little pies harder to handle.
Save these mini apple pies for a bake day when you want crisp, golden pastry wrapped around cinnamon apples.
Why the Bottom Crust Needs More Dough Than the Lid
A muffin-cup pie has more pastry around its filling than a flat hand pie does. The bottom round has to line the base and climb the sides of the cup, so it needs a larger share of the dough. The smaller disk is just a lid. Dividing the dough unevenly on purpose helps prevent the common problem of running short when you’re lining the last few cups.
That difference also makes rolling easier to manage. Roll the larger disk for the twelve bottom rounds first, then use the smaller disk for the lids. Keep both portions close to the same thickness, about 1/8 inch, so the bases bake through while the tops turn golden. The 4-inch bottom rounds should have enough extra pastry to sit up the sides of a standard muffin cup; don’t trim them down to the size of the lid. Once filled, the 3-inch tops meet the pastry edges for crimping, giving each pie a closed top with a small vent for steam.
The Apples and Butter Decide How These Little Crusts Bake
- Apples — Choose fruit that stays in distinct pieces as it cooks; a firm baking apple gives the filling more texture than a softer variety. Peeling them keeps the diced filling tender and avoids bits of chewy skin in each bite. If you prefer a sharper, less sweet apple flavor, use a tart baking variety; the total amount of fruit stays the same.
- Cold unsalted butter — Butter gives the crust its rich flavor and flaky texture, and it’s important that the crust portion stays cold as you work it into the flour. The remaining butter melts in the skillet to coat the apples and help the filling cook evenly. Use unsalted butter here so the measured table salt remains balanced; salted butter varies by brand, so it isn’t a direct swap without adjusting the salt.
- Flour and ice water — All-purpose flour gives the dough enough structure to hold the muffin-cup shape. Add the ice water gradually, stopping once the dough holds together when pressed; it doesn’t need to look smooth in the bowl. Extra water can make the pastry tougher, so use only as much as the dough needs.
- Cornstarch and lemon juice — Cornstarch thickens the apple juices as the filling cooks, while lemon juice keeps the sweetness from tasting flat. Stir the cornstarch into the filling ingredients before cooking so it disperses through the juices instead of forming dry pockets.
- Egg, milk, and coarse sugar — The egg beaten with milk brushes over the pastry tops for color, and the coarse sugar adds a lightly crisp finish. Brush the pastry rather than the exposed filling so the tops brown evenly.
How to Keep the Pastry Tender and the Filling Sealed In
Bring the Dough Together Without Overworking It
Whisk the flour, granulated sugar, and salt, then work in the cold crust butter until the pieces are about pea-size. Sprinkle in ice water one tablespoon at a time, tossing gently between additions. Stop when a handful holds together when pressed; the dough can still look a little rough. Divide it into one disk about twice as large as the other, wrap both, and refrigerate for at least 45 minutes.
Cook the Apples Until the Juices Thicken
Melt the filling butter in a 12-inch skillet over medium heat, then stir in the diced apples, brown sugar, lemon juice, cornstarch, and cinnamon. Cook for 8 to 10 minutes, stirring often, until the apples are just starting to soften. Look for juices that have thickened and coat the fruit rather than running freely across the pan. Transfer the filling to a plate and let it cool completely before assembling.
Fit the Larger Rounds Into the Muffin Cups
Heat the oven to 375°F and coat a standard 12-cup muffin pan with nonstick cooking spray. Roll the larger dough disk on a lightly floured surface to about 1/8 inch thick and cut twelve 4-inch rounds, rerolling scraps as needed. Press each round into a muffin cup so the pastry reaches the base and sides without being pulled thin. If the dough feels sticky as you roll, dust the work surface lightly rather than working extra flour into the dough.
Seal, Vent, and Bake the Mini Pies
Divide the cooled filling among the pastry-lined cups, then roll the smaller disk to about 1/8 inch thick and cut twelve 3-inch rounds. Set a round over each pie and crimp the edges to seal; a loose seam can let filling escape as it bubbles. Cut a small vent in every top, beat the egg with the milk, brush the pastry, and sprinkle with coarse sugar. Bake for 30 to 35 minutes, until the crusts are golden and filling bubbles through the vents, then cool in the pan for 20 minutes before removing.
Small Changes That Suit a Muffin-Tin Apple Pie
Mix Tart and Sweet Baking Apples
Use a blend of firm tart apples, such as Granny Smith, and a sweeter firm baking apple while keeping the total fruit at about 2 pounds. The tart pieces sharpen the filling, while the sweeter apples round it out; both should hold their shape through the skillet cook.
Make the Filling Cinnamon-Free
Leave out the ground cinnamon if you want the apples and brown sugar to lead. The filling still thickens with the cornstarch, but the flavor is cleaner and less warmly spiced.
Use Lattice Tops Instead of Solid Lids
For a more open top, cut the smaller dough portion into narrow strips and weave them across each filled cup, then crimp the ends to the bottom crust. The filling will be more visible and the pastry-to-filling balance will shift toward the apples. Keep the vents in mind: leave open spaces between the strips so steam can escape.
Storage and Reheating
- Refrigerator: Keep cooled pies covered in the refrigerator for up to 4 days. The crust softens a little as it sits.
- Freezer: Freeze fully cooled pies in a single layer until firm, then wrap them individually and store in an airtight container for up to 2 months. Thaw overnight in the refrigerator.
- Reheating: Warm refrigerated pies in a 325°F oven for 10 to 15 minutes, until heated through. The microwave is quicker but softens the crust, so use it only if crisp pastry isn’t important.
Questions That Come Up While Making Mini Apple Pies
Mini Apple Pies
Ingredients
Equipment
Method
- In a large bowl, whisk together the flour, granulated sugar, and salt, then work in 1 1/4 cups of the cold butter until the pieces are about pea-size.
- Sprinkle in the ice water, 1 tablespoon at a time, tossing gently until the dough holds together when pressed.
- Divide the dough into two disks, one about twice as large as the other, wrap, and refrigerate for at least 45 minutes.
- In a 12-inch skillet over medium heat, melt the remaining 1/4 cup butter, then stir in the apples, brown sugar, lemon juice, cornstarch, and cinnamon.
- Cook for 8 to 10 minutes, stirring often, until the apples are just starting to soften and the juices have thickened.
- Transfer the filling to a plate and cool completely.
- Heat the oven to 375°F and coat a standard 12-cup muffin pan with nonstick cooking spray.
- On a lightly floured surface, roll the larger dough disk to about 1/8-inch thick and cut out twelve 4-inch rounds, rerolling scraps as needed.
- Press the rounds into the muffin cups.
- Divide the cooled filling among the cups.
- Roll the smaller dough disk to about 1/8-inch thick and cut out twelve 3-inch rounds.
- Place the rounds over the filling and crimp the edges to seal.
- Cut a small vent in each top.
- Beat the egg with the milk, brush the tops with the egg wash, and sprinkle with coarse sugar.
- Bake for 30 to 35 minutes, until the crusts are golden and the filling bubbles through the vents.
- Cool in the pan for 20 minutes before removing.




