
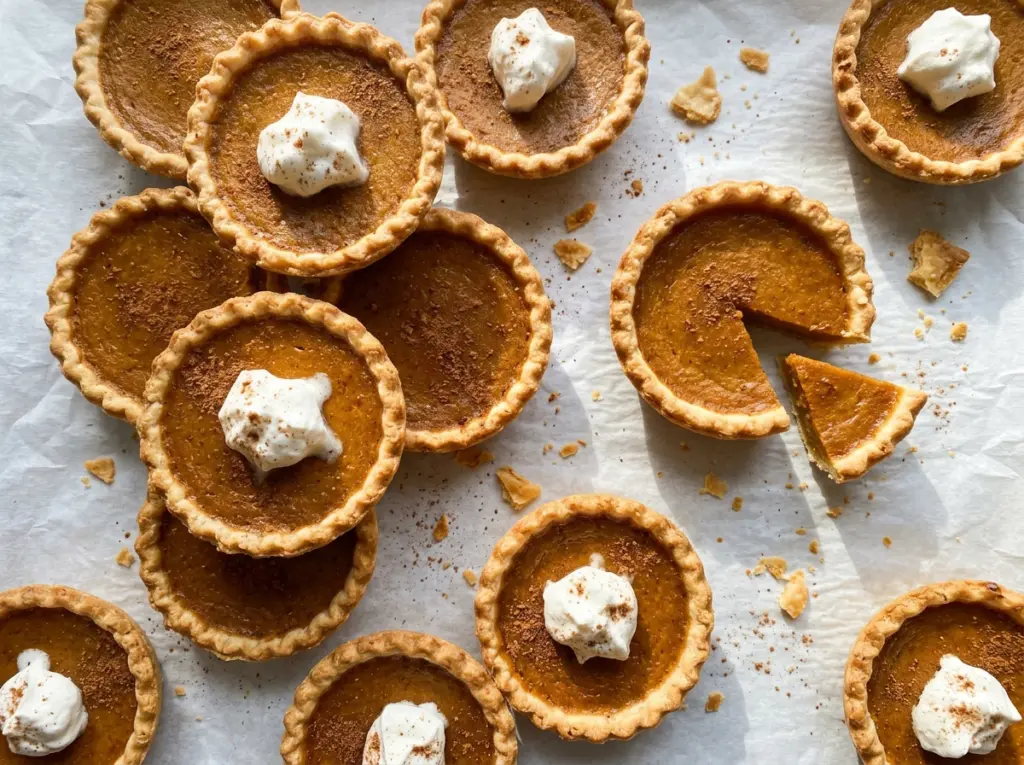
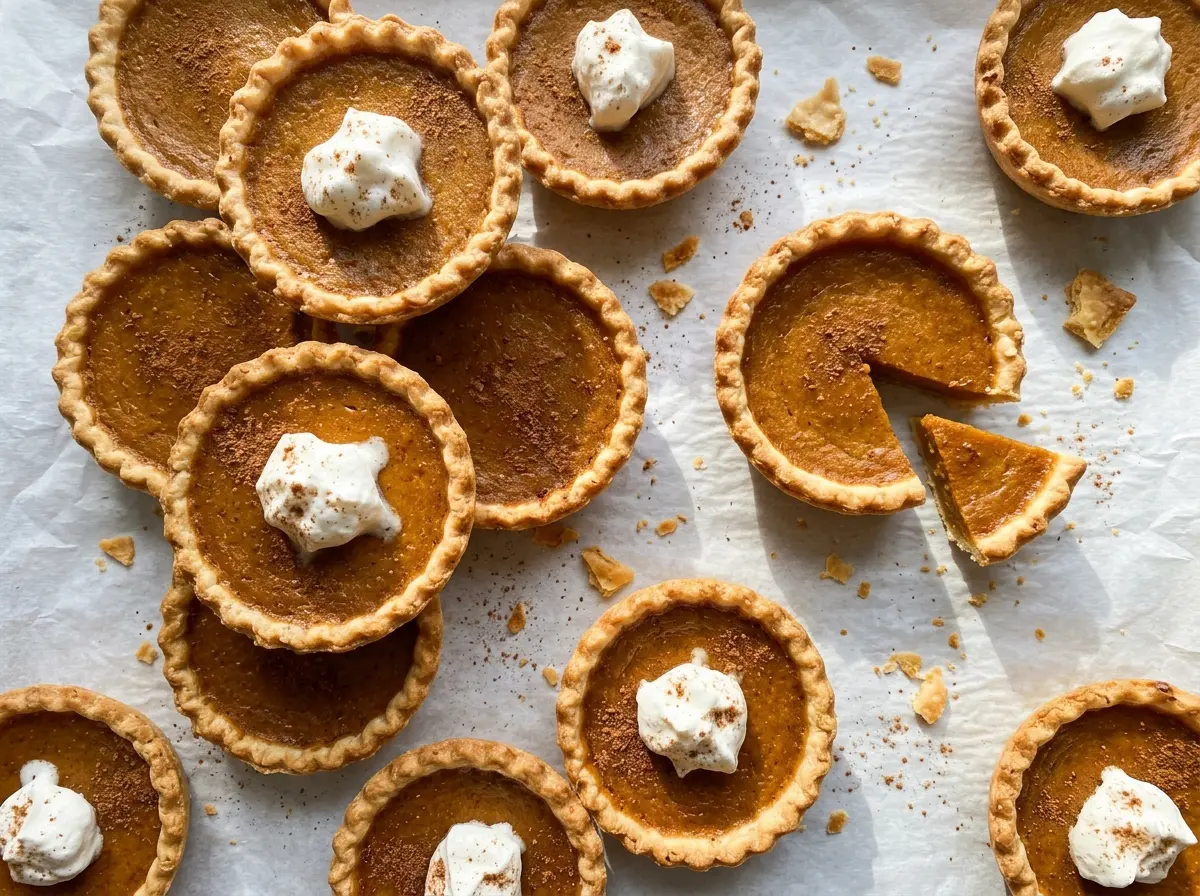
The crust rims turn golden while the pumpkin centers still have a little movement when the pan shifts. That contrast is what I look for with these Mini Pumpkin Pies: tender, spiced filling tucked into small pastry shells that are easy to lift and serve. Each one gets its own crust-to-filling balance, so you don’t have to cut a full pie and hope the first slice holds together.
I bake the filling right in the unbaked crust, which keeps the method simple and lets the pastry and custard finish together. Whisking the pumpkin mixture smooth before adding the evaporated milk helps it pour evenly into the cups. Once cooled, the pies have a creamy center and a crisp-edged crust, with just enough pumpkin pie spice to make every bite taste like pumpkin pie.
Kitchen Note
The evaporated milk goes in after the pumpkin, eggs, sugar, spice, and salt are whisked smooth. That order makes it easier to break up any streaks in the thicker pumpkin mixture before thinning it into a pourable filling.
Save these Mini Pumpkin Pies for a make-ahead dessert with golden crusts and creamy, warmly spiced centers.
Why These Mini Pies Go Into the Oven with Unbaked Crust
These are small custard pies, not pastry shells that need to be baked on their own first. The pumpkin filling and pastry bake together in the muffin pan, so the crust has time to turn golden while the filling sets. Adding a separate blind-baking step would change that timing and isn’t needed for this method.
The cut rounds need to reach across the bottom and up the sides of each well. That gives the filling a proper pastry cup instead of leaving a thin spot at the base. The 3 1/2-inch rounds fit a standard muffin pan, and rerolling the scraps helps you get all twelve without leaving dough behind.
Keep the filling portions even, too. About 1/4 cup in each crust leaves room for the custard to bake without creeping over the rim. A consistent fill also helps the pies finish at about the same time, so one isn’t still loose while another is already overbaked.
What the Pumpkin, Eggs, and Evaporated Milk Each Bring

- Pumpkin puree — Choose plain pumpkin puree, not pumpkin pie filling. Pie filling is already sweetened and spiced, which would throw off the balance of the sugar and pumpkin pie spice here. A familiar grocery-store brand is fine; the important part is that the can contains pumpkin without added flavorings.
- Egg and egg yolk — The whole egg helps the filling set, while the extra yolk adds richness. Use a large egg and a large yolk so the custard proportions stay consistent. Don’t replace the yolk with another whole egg; that changes the filling’s balance.
- Evaporated milk — This gives the filling its creamy texture without making it as thin as ordinary milk would. Buy unsweetened evaporated milk, not sweetened condensed milk; they aren’t interchangeable in this filling. Shake or stir the can before measuring if the milk looks separated.
- Refrigerated pie crust — A two-crust package is convenient because the rounds can be cut from both sheets and the scraps rerolled. There’s no need to seek out a premium brand, but the dough should be pliable enough to unroll without cracking. If you’re adapting for gluten-free baking, see the crust variation below.
- Pumpkin pie spice and granulated sugar — The spice seasons the pumpkin without adding separate spices, and the sugar sweetens the custard. Fresh, fragrant spice makes a noticeable difference; granulated sugar from the pantry works just as well as a specialty sugar here.
From Pie Crust Rounds to Set Pumpkin Centers
Fit the Crust into the Muffin Pan
Heat the oven to 375°F and coat the wells of a 12-cup standard muffin pan with nonstick cooking spray. Unroll the two refrigerated crusts and cut twelve 3 1/2-inch rounds, rerolling the scraps as needed. Press one round into each well so it covers the bottom and sides. If a round cracks while you’re handling it, press the dough back together before adding filling.
Whisk a Smooth, Pourable Filling
In a medium bowl, whisk the pumpkin puree, large egg, egg yolk, granulated sugar, pumpkin pie spice, and salt until smooth. Scrape around the bowl as you whisk; streaks of egg or pumpkin spice are harder to distribute once the milk is added. Whisk in the evaporated milk until the mixture looks even and fluid, without a thick layer clinging to the whisk.
Fill Evenly and Bake Until Set
Divide the filling among the crusts, using about 1/4 cup per pie. Bake for 25–30 minutes, until the crusts are golden and the centers are set with a slight wobble; they should register at least 160°F. If the edges look done but the centers still seem loose, check the temperature before deciding they need more time. Avoid waiting for the centers to look completely firm in the oven.
Cool Before Lifting the Pies
Leave the pies in the pan for 20 minutes after baking. Then carefully lift them onto a wire rack and let them cool completely before serving. The short rest in the pan gives the crusts and custard a chance to firm up, so they’re less likely to break when you move them. Use a thin spatula or a careful lift at the crust edge if one feels stuck.
Small Changes for Different Tastes and Needs
A Milder, More Pumpkin-Forward Filling
Use 1 teaspoon of pumpkin pie spice instead of 1 1/2 teaspoons. The pies will have a gentler spice note, letting the pumpkin taste come through more clearly; keep the other filling ingredients and method the same.
A Less-Sweet Version
Reduce the granulated sugar to 1/3 cup if you prefer a less-sweet custard. The pumpkin and spice will taste more prominent, while the filling still has the eggs it needs to set.
Gluten-Free Crust
Use refrigerated gluten-free pie crusts that can be rolled and cut into rounds, keeping the pumpkin filling unchanged. Gluten-free dough can be more delicate, so press it into the muffin wells gently and patch any small cracks with a bit of dough before filling. The crust texture may be more tender and less flaky than a wheat-based crust.
Storage and Reheating
- Refrigerator: Once completely cool, cover the pies and refrigerate them within 2 hours. They keep for 3–4 days; the filling firms as it chills, while the crust gradually softens.
- Freezer: Freeze fully cooled pies in a single layer until firm, then wrap each one well and store in an airtight container for up to 1 month for best quality. Thaw overnight in the refrigerator; the crust may be a little softer after thawing.
- Reheating: These are best served chilled, so reheating isn’t necessary. Microwaving can soften the crust and heat the custard unevenly.
Questions That Come Up When Baking Mini Pumpkin Pies
Mini Pumpkin Pies
Ingredients
Equipment
Method
- Heat the oven to 375°F and coat the wells of a 12-cup standard muffin pan with nonstick cooking spray.
- Unroll the pie crusts and cut twelve 3 1/2-inch rounds, rerolling scraps as needed.
- Press one round into each well, covering the bottom and sides.
- Whisk the pumpkin puree, egg, egg yolk, granulated sugar, pumpkin pie spice, and salt in a medium bowl until smooth.
- Whisk in the evaporated milk.
- Divide the filling evenly among the crusts, about 1/4 cup per pie.
- Bake for 25–30 minutes, until the crusts are golden and the centers are set with a slight wobble and register at least 160°F.
- Cool the pies in the pan for 20 minutes.
- Carefully lift them onto a wire rack and cool completely before serving.




