
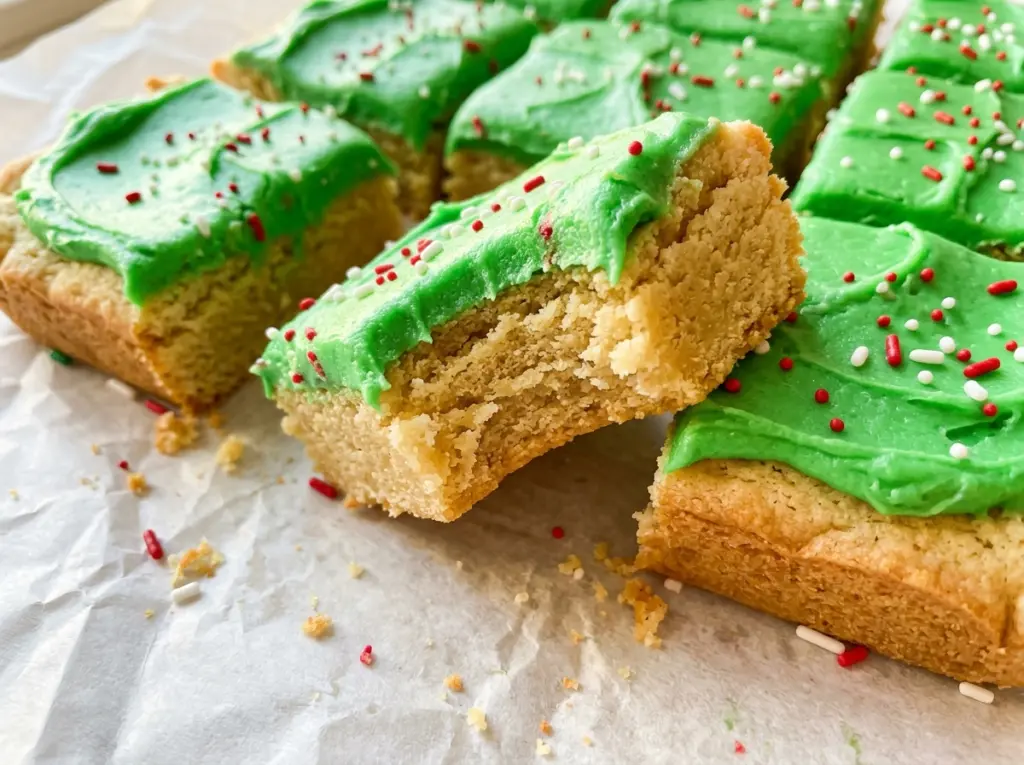
The dough presses into the corners of the pan like a thick, even layer, and that’s exactly what makes these Christmas Tree Sugar Cookie Bars easier to decorate than individual cookies. There’s no rolling or cutting shapes before baking. You bake one soft sugar cookie slab, cool it, slice it into bars, then pipe a little green tree on each one.
I keep an eye on the center near the end of baking; these bars don’t need deep golden tops to be ready. A light touch with the mixer also matters once the flour goes in. Mix just until it disappears, then press the dough evenly into the pan for a tender cookie base that cuts neatly and holds its shape under the frosting. Each bar gets a tapered zigzag tree, a yellow star, and a few candy ornaments.
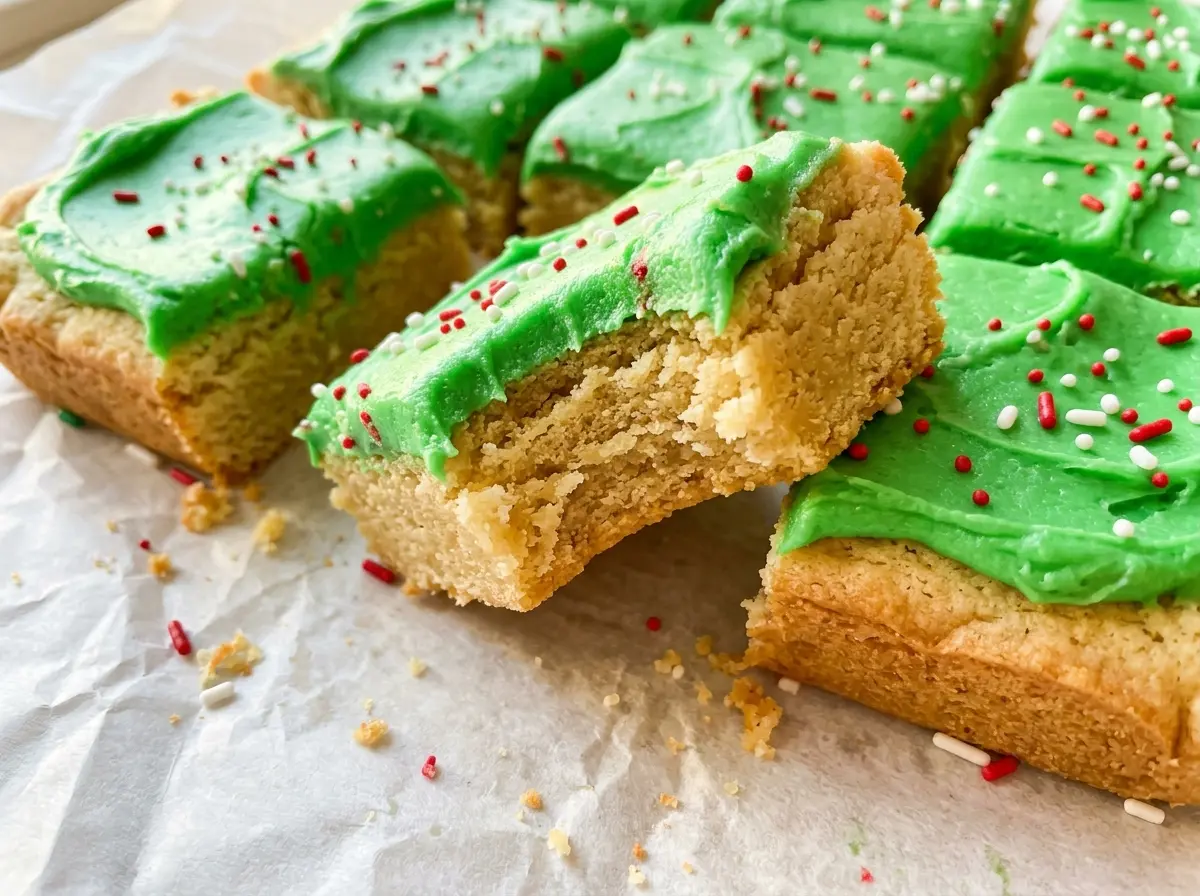
Kitchen Note
Let the cookie slab cool completely before lifting it out of the pan. I learned not to rush that part: a warm slab can bend or crack when you try to move it, while a fully cooled one lifts cleanly from the parchment.
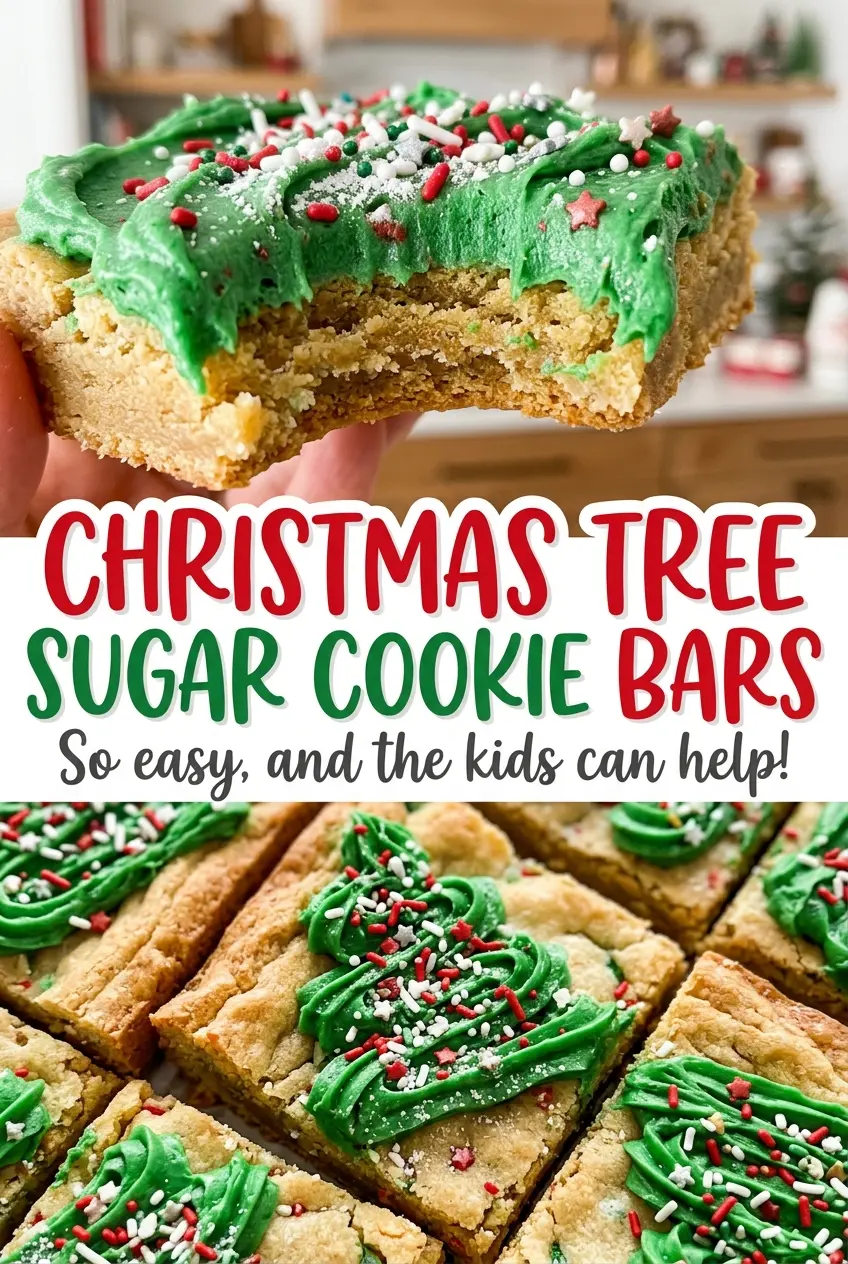
Save these Christmas Tree Sugar Cookie Bars for a festive one-pan bake, with piped green trees, yellow stars, and candy ornaments.
Why these sugar cookie bars shouldn’t turn deeply golden
Sugar cookies are easy to leave in the oven too long because a pale top can look unfinished. For bars, though, waiting for a browned center means the edges have likely gone past tender. The useful cue here is a contrast: the edges should be lightly golden while the center looks set, not wet or shiny. At 350°F, that usually happens within the 20–24 minute window.
The thickness of the dough makes an even layer especially important. If it’s mounded in the middle or thin at the corners, those areas won’t bake at the same rate. Press it all the way into the corners and smooth the surface before the pan goes in. Then check the center’s appearance along with the edges rather than relying on color alone. You’ll get a sturdy slab for piping without baking away the soft sugar-cookie texture.
What gives the cookie base its shape and the frosting its piping body
- All-purpose flour — It gives the slab enough structure to lift and slice while staying tender. Stick with all-purpose here; changing flour types changes how the dough absorbs moisture and holds together.
- Unsalted butter — Softened butter creams smoothly with the sugar and gives both the bars and frosting their rich texture. It should yield to a light press but not look melted or greasy.
- Granulated sugar and eggs — The sugar helps the butter mixture become light and fluffy, while the eggs bind the dough. Use large eggs, as listed, so the dough has the intended balance.
- Baking powder — This gives the cookie slab a little lift rather than leaving it dense. Whisk it thoroughly with the flour so it’s distributed throughout the pan.
- Confectioners’ sugar and whole milk — Confectioners’ sugar creates a smooth frosting that can hold a piped shape, and whole milk loosens it enough to pipe. There isn’t a useful swap in this ingredient set that keeps the same thick consistency.
- Green gel food coloring — Gel colors the frosting without adding much liquid, which helps it stay thick enough for the tree zigzags. Add it gradually until the shade looks right.
- Vanilla extract and decorations — Vanilla flavors both parts of the recipe. The yellow stars and mini red and green candy-coated chocolates make the piped trees read clearly as decorated trees.
From an even pan of dough to piped Christmas trees
Prepare the pan and dry ingredients
Heat the oven to 350°F. Line a 9×13-inch pan with parchment, leaving overhang so you can lift out the cooled slab, then lightly coat the parchment with nonstick cooking spray. Whisk the flour, baking powder, and salt together in a medium bowl; a thorough whisk helps keep the leavening from clumping in one spot.
Mix and press the cookie dough
Beat the softened butter and granulated sugar in a large bowl until the mixture looks light and fluffy, about 2 minutes. Beat in the eggs and vanilla, then add the flour mixture and mix only until combined. Stop when no dry streaks remain; continuing to mix after that can make the bars tougher. Press the dough evenly into the prepared pan, including the corners.
Bake until the center looks set
Bake for 20–24 minutes, watching for lightly golden edges and a center that looks set. The top doesn’t need to become deeply brown. If the edges are already darkening while the center still looks wet, use the appearance of the center as your guide within the stated baking window. The finished slab should look even across the pan.
Cool the slab and cut the bars
Leave the cookie slab in the pan until it has cooled completely. Use the parchment overhang to lift it out, then cut it into 12 bars. A clean, fully cooled slab is easier to handle than one that’s still warm, so give it time before decorating.
Tint, pipe, and decorate
Beat the frosting butter, confectioners’ sugar, vanilla, and whole milk until smooth and thick enough to pipe, then tint it green with gel food coloring. Transfer the frosting to a piping bag fitted with a small star tip, or use a zip-top bag with a small corner snipped off. Pipe a tapered zigzag tree on each bar, keeping the top narrower than the base. Finish each tree with a yellow star and use the mini candy-coated chocolates as ornaments.
Three simple ways to change the look of these cookie bars
Make the trees without candy ornaments
Leave off the mini candy-coated chocolates and keep the yellow star at each tip. The green zigzag still reads as a tree, with a cleaner, less decorated finish.
Serve the cookie base plain
Skip the frosting and decorations for a straightforward sugar cookie bar. You’ll lose the piped-tree look, but the baked slab still cuts into portable portions.
Cut smaller party pieces
For a smaller serving size, cut the cooled slab into smaller squares instead of 12 bars. Pipe a little tree on each piece, or leave some undecorated for a mix of finishes.
Storage and Reheating
- Refrigerator: Store decorated bars in an airtight container for up to 4 days. The cookie base will firm up when chilled.
- Freezer: Freeze the uncut, unfrosted slab tightly wrapped for up to 2 months. Thaw it before cutting and decorating for the best texture.
- Reheating: These don’t need reheating. Let refrigerated bars sit at room temperature briefly before serving; microwaving can soften the frosting and smear the trees.
Questions about baking and decorating Christmas Tree Sugar Cookie Bars
Christmas Tree Sugar Cookie Bars
Ingredients
Equipment
Method
- Heat the oven to 350°F.
- Line a 9x13-inch baking pan with parchment paper, leaving some overhang, and lightly coat the parchment with the cooking spray.
- Whisk the flour, baking powder, and salt together in a medium bowl.
- Beat the butter and granulated sugar in a large bowl until light and fluffy, about 2 minutes.
- Beat in the eggs and vanilla.
- Mix in the flour mixture just until combined.
- Press the dough evenly into the prepared pan.
- Bake for 20–24 minutes, until the edges are lightly golden and the center looks set.
- Cool the cookie slab completely in the pan, then lift it out using the parchment and cut it into 12 bars.
- Beat the butter, confectioners’ sugar, vanilla, and milk until smooth and thick enough to pipe.
- Tint the frosting green with gel food coloring.
- Transfer the frosting to a piping bag fitted with a small star tip, or to a zip-top bag with a small corner snipped off.
- Pipe a tapered zigzag tree on each bar.
- Add a yellow star at the top and the candy-coated chocolates as ornaments.




