
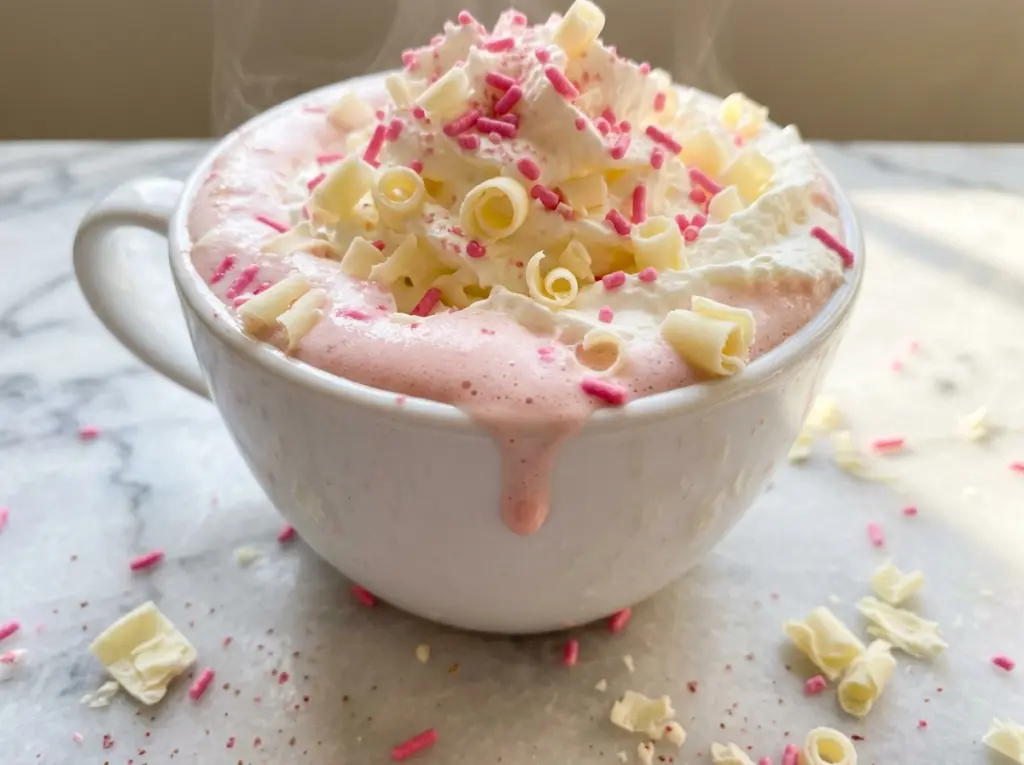
The milk is steaming, the whisk is moving, and the chopped white chocolate is beginning to melt into a smooth, pale base. That’s the moment to keep the heat gentle; a rolling boil can turn a silky drink grainy before you’ve even poured the mugs. I make Pink Hot Chocolate when I want something warm and sweet without the deep cocoa flavor of regular hot chocolate.
Whole milk gives it a creamy feel, while a little salt and vanilla keep the white chocolate from tasting one-note. The pink color goes in after the pan comes off the heat, which makes it easy to whisk the shade through evenly. The finished drink should be smooth, softly pink, and hot enough to warm your hands around the mug.
Kitchen Note
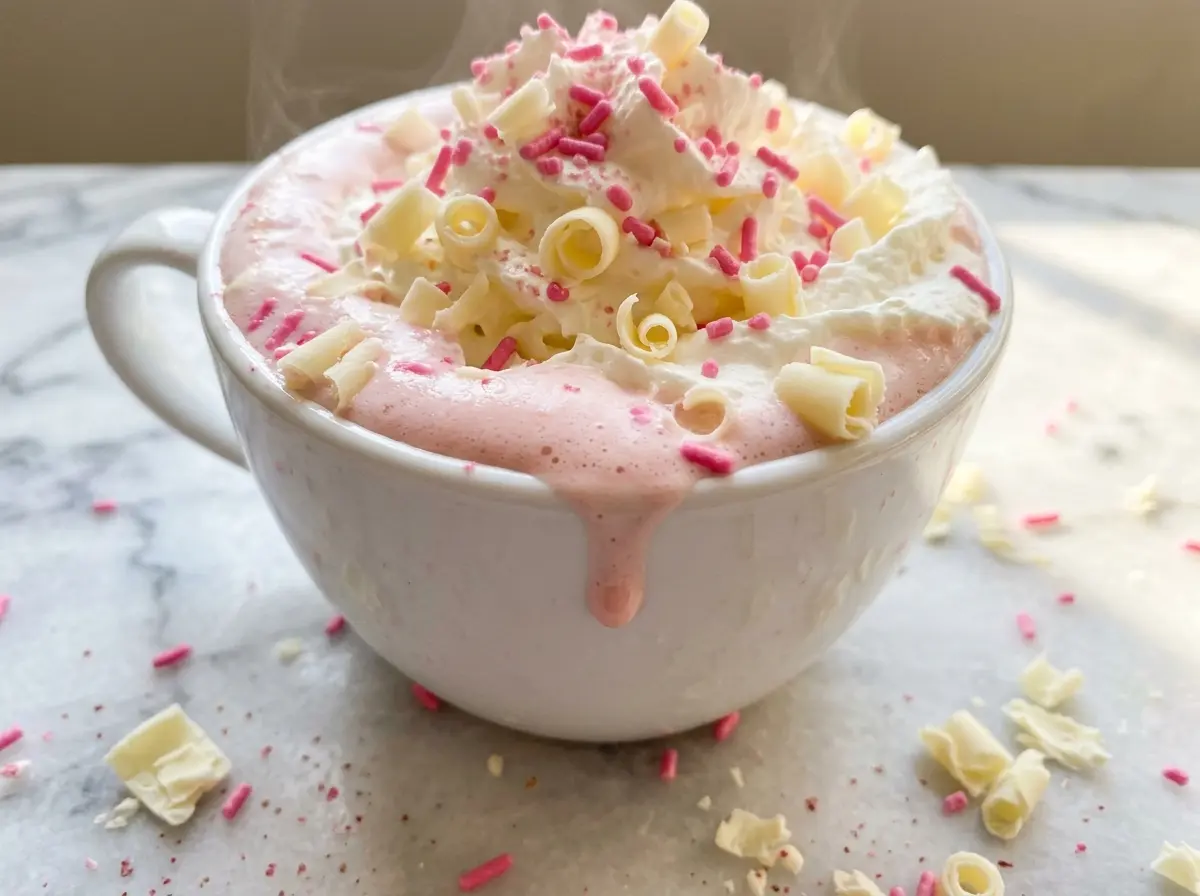
Add the vanilla after you take the saucepan off the heat. Its fragrance stays bright instead of getting lost in the steam.
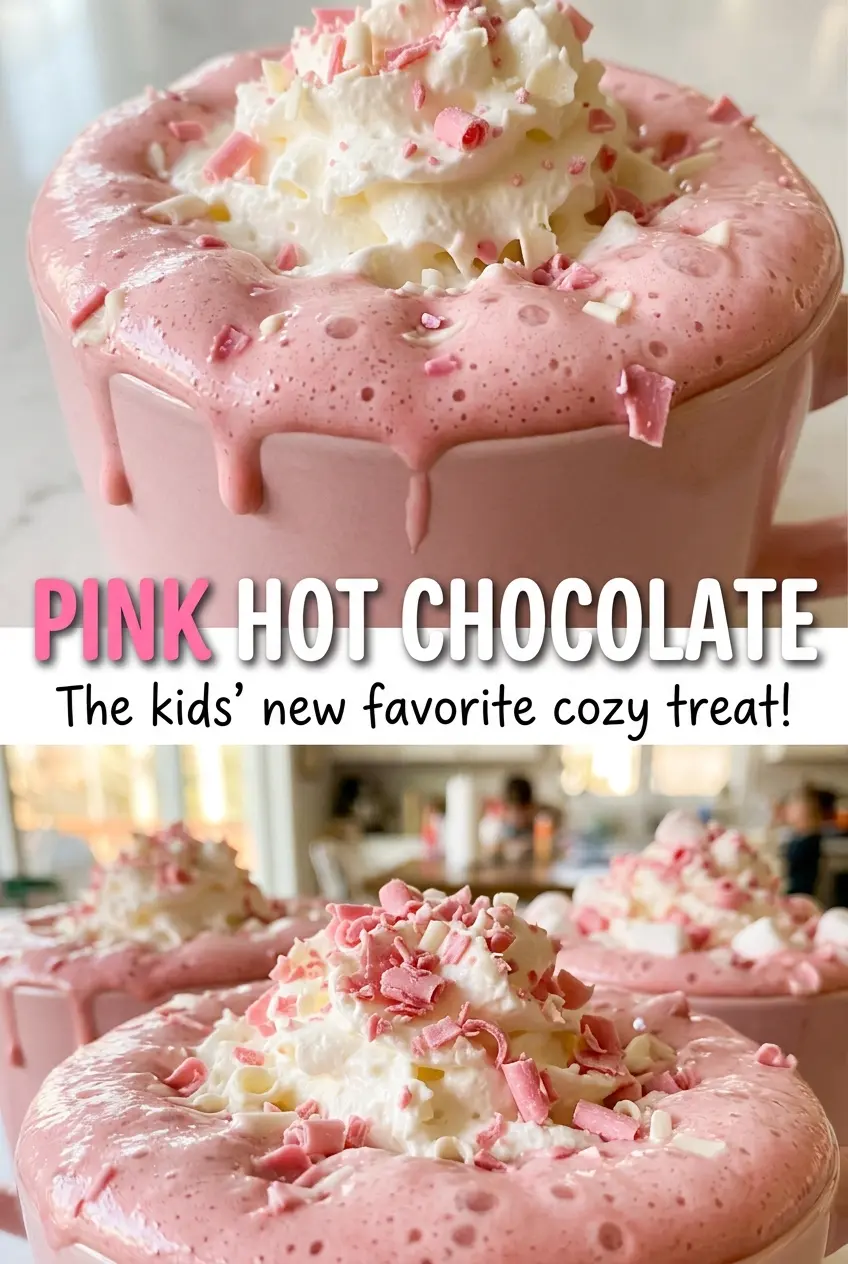
Save this Pink Hot Chocolate for a cozy mug of smooth white chocolate with a pretty blush-pink finish.
Why White Chocolate Turns Grainy Before the Milk Looks Too Hot
White chocolate is less forgiving than it looks. It’s made with cocoa butter, milk solids, and sugar, and those ingredients need gentle heat to melt together smoothly. If the milk gets too hot, the chocolate’s fats can separate instead of blending into the liquid. You may see tiny flecks or a faint oily sheen, even when the saucepan still looks calm.
There’s no reason to bring this drink to a boil. The chocolate melts readily in milk that’s hot and steaming, and boiling adds risk without helping the texture. Keeping the heat at medium-low gives you a little more time to notice what’s happening in the pan. The mixture should look unified, not foamy or aggressively bubbling, once the chocolate has melted. Salt and vanilla add balance, but a smooth texture starts with treating the white chocolate gently.
What the Milk, White Chocolate, and Vanilla Bring to the Mug
- Whole milk — Its fat gives the drink a rounded, creamy body that water or a thin milk substitute won’t fully match. Fresh milk from any everyday brand works; there’s no need to seek out a specialty dairy product.
- White chocolate — Choose a bar you enjoy eating, since its sweetness and vanilla notes carry the drink. Finely chopping it helps the pieces melt at a similar pace and avoids large bits lingering in the pan.
- Vanilla extract — It rounds out the sweet, milky flavor with a fragrant note. Standard pure or imitation vanilla extract both work here, so use the one you keep on hand.
- Pink food coloring — Three drops tint the whole batch without changing its flavor. Coloring strength varies by brand, so the shade may land anywhere from a gentle blush to a brighter pink.
- Kosher salt — A small amount keeps the white chocolate’s sweetness from feeling flat. If you use a different kind of salt, remember that crystal size changes how much fits in a measuring spoon.
How to Melt the White Chocolate Without Losing the Smooth Texture
Warm the Milk Until It Steams
Pour the milk into a 3-quart saucepan and set it over medium-low heat. Stir occasionally as it warms for 4 to 6 minutes. Look for steam rising from the surface, but don’t let the milk boil. Keeping an eye on the pan during this stage helps you catch the steaming point before bubbles begin breaking across the surface.
Whisk in the Chocolate and Salt
Add the finely chopped white chocolate and kosher salt to the steaming milk. Whisk constantly for 2 to 3 minutes, moving through the bottom and sides of the saucepan so no pieces sit in one spot. The chocolate should disappear into the milk, leaving a smooth, even mixture. If you still see distinct pieces, keep whisking until they melt rather than pouring around them.
Stir in the Vanilla and Pink Color
Take the saucepan off the heat before adding the vanilla extract and pink food coloring. Whisk until the color looks even throughout, with no darker streaks trailing behind the whisk. The drink will be pale before the coloring is mixed in; keep whisking until the shade is consistent from the surface to the sides of the pan. This is the last chance to blend the color before serving.
Pour While It’s Hot
Divide the drink among four mugs and serve hot. The finished texture should be smooth enough to pour in a steady stream, without visible chocolate bits. Pour soon after whisking so each mug gets an even share of the pink color and melted chocolate. Take care with the saucepan and mugs, since the drink is served hot.
Three Small Changes for a Different Pink Hot Chocolate
Make It Dairy-Free with Oat Milk
Replace the whole milk with the same amount of unsweetened oat milk and use dairy-free white chocolate in place of the regular white chocolate. The method stays the same, though the drink’s body and sweetness will depend on the specific oat milk and chocolate you choose. Check that the chocolate is labeled dairy-free; ordinary white chocolate contains milk.
Use Vanilla Bean Paste for Specks
Swap the vanilla extract for the same amount of vanilla bean paste. It gives the drink tiny dark flecks and a pronounced vanilla aroma, while keeping the same warm, sweet character. Stir it in after taking the saucepan off the heat, just as you would the extract.
Choose 2% Milk for a Lighter Body
Use 2% milk instead of whole milk if that’s what you have. It heats and combines in the same way, but the drink will feel less rich and creamy. The white chocolate still brings sweetness and body, so this swap works without changing the rest of the method.
Storage and Reheating
- Refrigerator: Store leftovers in a covered container and use within 3 days. The chocolate may firm up as it chills, so the drink will be thicker when cold.
- Freezer: Freezing isn’t a good choice for this drink; thawed milk and melted chocolate can separate and lose their smooth texture.
- Reheating: Warm it gently in a saucepan over low heat, whisking until smooth and hot. Avoid boiling it, which can make the chocolate separate.
Questions That Come Up When Making Pink Hot Chocolate
Pink Hot Chocolate
Ingredients
Equipment
Method
- Heat the milk in a 3-quart saucepan over medium-low heat for 4 to 6 minutes, stirring occasionally, until steaming but not boiling.
- Add the white chocolate and salt, then whisk constantly for 2 to 3 minutes, until the chocolate is melted and the mixture is smooth.
- Remove the saucepan from the heat, stir in the vanilla and pink food coloring, and whisk until the color is even.
- Pour into mugs and serve hot.




