
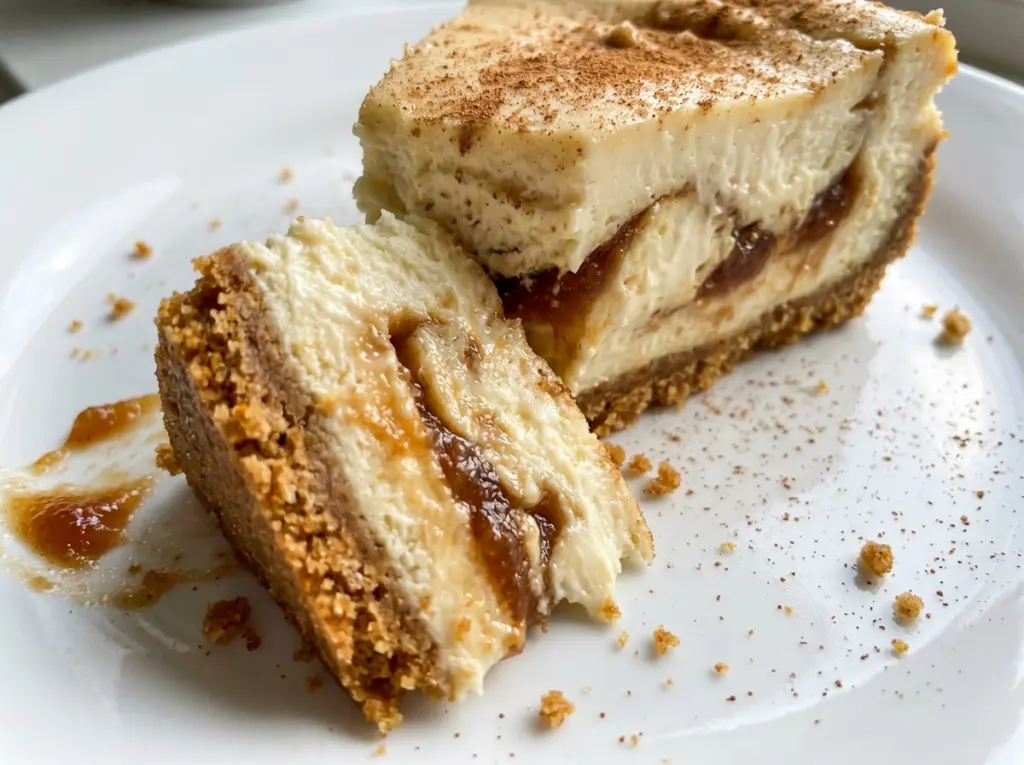
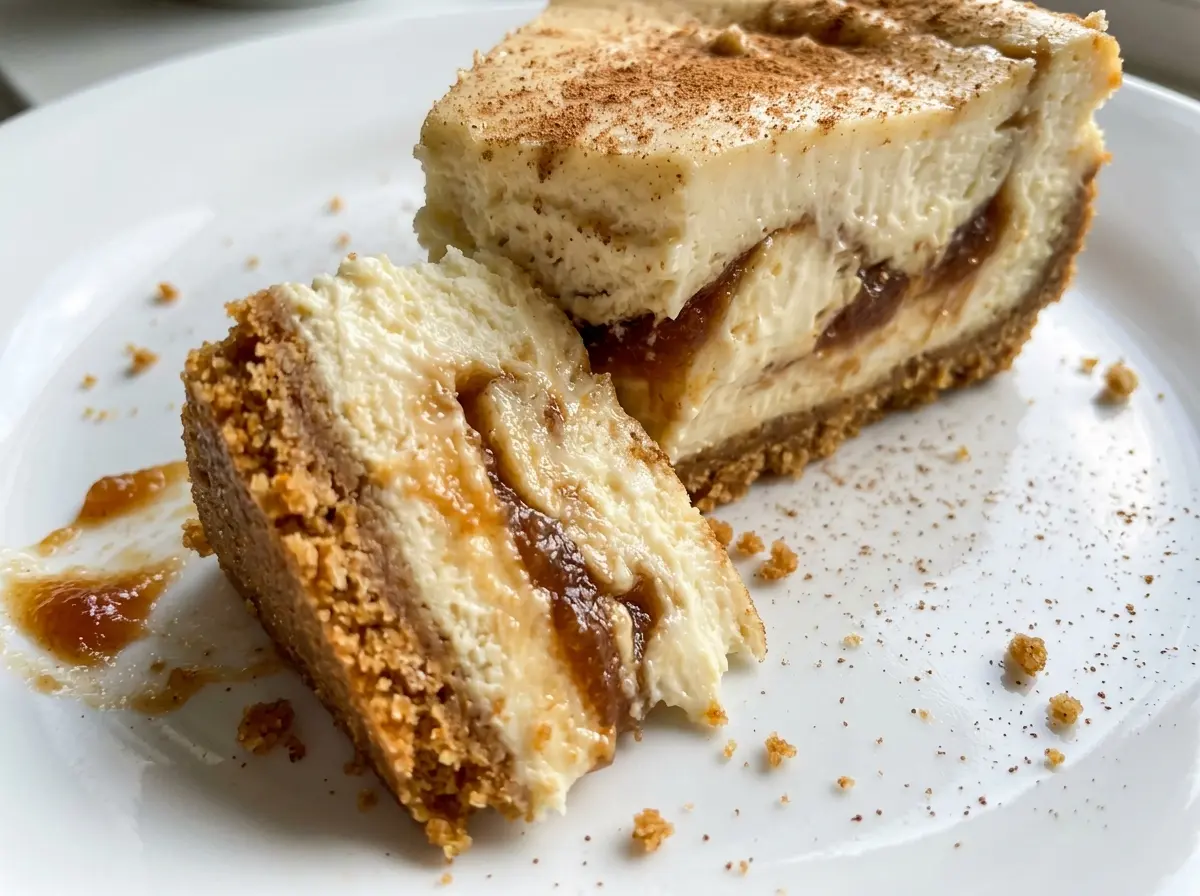
The cheesecake should still have a little movement in the center when the edges look set. Waiting for the whole surface to turn firm is how I’ve ended up with a dry, overbaked slice. This apple butter cheesecake is baked gently, then cooled in stages so the middle stays creamy and the apple butter makes ribbons through every piece.
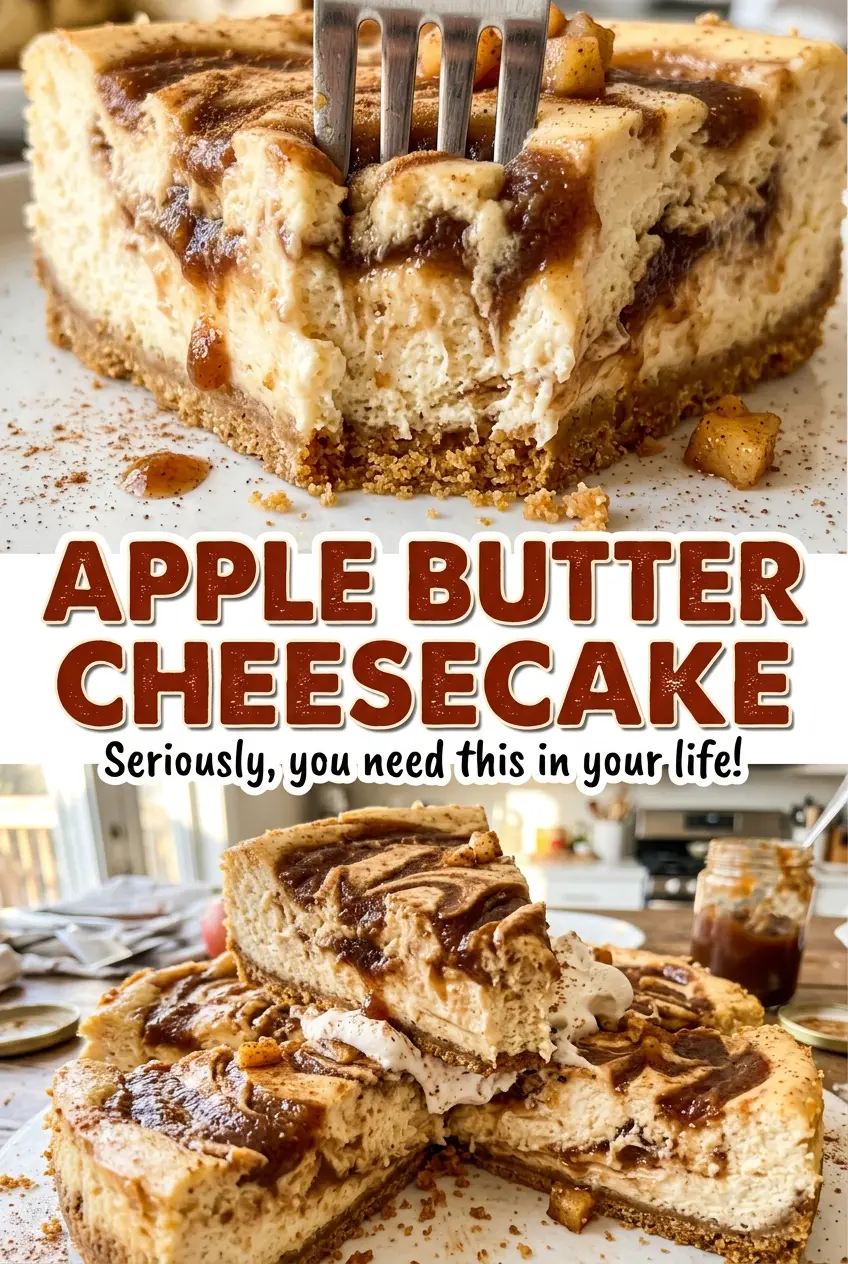
I keep the apple butter on top of the cream cheese filling instead of blending it in. That gives you a clear cinnamon-apple swirl without thinning the filling or turning the whole cake brown. A few light passes with a knife are enough; too much swirling blurs the pattern.
The crust is a simple graham cracker base, and the filling has just enough sour cream to keep its texture smooth. After a long chill, the slices hold their shape while the center stays soft, with a bright apple-butter ribbon in each bite.
Kitchen Note
I wrap the springform pan in two layers of heavy-duty foil before it goes near the water bath. Press the foil snugly around the sides and check for tears; a loose seam or pinhole can let water reach the crust.
Save this apple butter cheesecake for its creamy center and cinnamon-spiced apple butter ribbons.
Why This Cheesecake Needs a Water Bath, Not Just a Lower Oven
Cheesecake behaves more like a custard than a sturdy cake. The edges heat faster than the center, and that gap can leave you with a dry outer ring while the middle is still loose. Surrounding the springform pan with hot water softens that contrast, helping the filling bake more evenly from edge to center.
The water bath also gives you a little more room to read the doneness cues. The perimeter should look set, but the middle should move gently when you nudge the roasting pan. It won’t look fully firm in the oven, and it shouldn’t. The center continues to settle as the cheesecake rests, then firms further during its long chill.
Wrapping the pan well matters because the water sits halfway up its sides. Heavy-duty foil helps keep that bath outside the springform pan, where it can do its job without turning the graham cracker crust soggy. Use boiling water and add enough to maintain that halfway level as you set up the pan.
What the Apple Butter and Cream Cheese Each Bring
- Graham cracker crumbs and butter — The crumbs make a crisp, lightly sweet base, while melted butter binds them so the crust holds together when sliced. Fine, evenly crushed crumbs pack more neatly than large pieces. There’s no need for a specialty brand; ordinary graham crackers work well.
- Cream cheese — This is the structure and the rich, tangy body of the filling. Let it soften before mixing so it becomes smooth without prolonged beating. Brick-style cream cheese is the right texture here; whipped or spreadable cream cheese can leave the filling too loose.
- Eggs and flour — The eggs set the filling as it bakes, and the flour gives it a little extra support. Room-temperature eggs blend more smoothly into the cream cheese, so you’re less likely to overmix while trying to work in cold, firm ingredients.
- Sour cream and vanilla — Sour cream loosens the dense cream cheese mixture and adds a gentle tang; vanilla rounds out the sweetness. Bring the sour cream to room temperature along with the eggs so it incorporates evenly.
- Apple butter and cinnamon — Apple butter is concentrated and thick enough to sit in ribbons on the filling. Applesauce isn’t a direct stand-in: it’s thinner and won’t give you the same defined swirl. Stir the cinnamon into the apple butter first so the spice is distributed through each streak.
- Sugar and melted butter — Granulated sugar sweetens both the filling and crust without adding extra moisture. Unsalted butter lets the graham cracker base taste buttery without making it too salty.
How to Build the Swirl and Bake the Center Gently
Press and Prebake a Compact Crust
Heat the oven to 325°F, grease the bottom and sides of a 9-inch springform pan, and wrap the outside in two layers of heavy-duty foil. Stir the graham cracker crumbs with the sugar, then work in the melted butter until the crumbs look evenly damp. Press them firmly across the bottom of the pan so the crust doesn’t crumble apart when you cut it. Bake for 10 minutes, then set the crust aside to cool.
Mix the Filling Until Smooth, Not Fluffy
Beat the softened cream cheese on medium speed until it looks smooth, scraping down the bowl as needed. Add the sugar and flour and beat just until combined; a long, vigorous mix adds air that can make the cheesecake puff and then fall. Beat in the room-temperature eggs one at a time on low speed. Mix in the sour cream and vanilla only until the filling is smooth.
Swirl the Apple Butter Across the Top
Stir the apple butter and cinnamon together in a small bowl before adding them to the cheesecake. Pour the cream cheese filling over the cooled crust, then spoon the spiced apple butter across the surface. Draw a knife gently through the top to make ribbons, stopping while the two mixtures still look distinct. If you keep stirring, the apple butter disappears into the filling instead of leaving a visible swirl.
Bake in the Bath, Then Let the Heat Ease Off
Set the foil-wrapped springform pan inside a large roasting pan and pour boiling water into the roasting pan until it reaches halfway up the springform sides. Bake for 70 to 85 minutes, until the edges are set, the center still wobbles slightly, and an instant-read thermometer inserted in the center reads 160°F. Turn off the oven, crack the door, and leave the cheesecake inside for 1 hour. Lift the pan out of the bath, remove the foil, and cool it on a wire rack for 1 hour; then cover and refrigerate for at least 6 hours before releasing the ring.
Three Small Changes for a Different Crust or Swirl
Make the crust gluten-free
Use gluten-free graham cracker crumbs in place of the regular crumbs, and replace the all-purpose flour in the filling with the same amount of a 1:1 gluten-free baking flour blend. Keep the other ingredients and method the same. The crumb base may be a little more delicate, so press it firmly into an even layer.
Put the cinnamon in the crust
For cinnamon in every bite, stir the recipe’s ground cinnamon into the graham cracker crumbs with the sugar. Leave the apple butter plain and spoon it over the filling as usual. The crust takes on a warmer spice note, while the apple butter makes a simpler, brighter ribbon.
Leave wider apple butter ribbons
For a bolder marbled look, make fewer, broader passes through the spooned apple butter rather than drawing the knife repeatedly across the surface. The apple butter stays in larger streaks, so more slices show a defined ribbon.
Storage and Reheating
- Refrigerator: Cover and refrigerate for 3 to 4 days. The crust gradually softens as it sits, but the chilled filling stays sliceable.
- Freezer: Freeze individual slices tightly wrapped, then place them in an airtight container for up to 2 months. Thaw in the refrigerator before serving.
- Reheating: This cheesecake is best served chilled, so don’t microwave it. Heat softens the filling unevenly and can make the crust greasy.
Questions That Come Up Before the First Slice
Apple Butter Cheesecake
Ingredients
Equipment
Method
- Preheat the oven to 325°F.
- Grease the bottom and sides of a 9-inch springform pan, then wrap the outside in two layers of heavy-duty foil.
- Stir the graham cracker crumbs and sugar together, then mix in the melted butter until evenly moistened.
- Press the crumb mixture firmly over the bottom of the pan and bake for 10 minutes.
- Set the crust aside to cool.
- Beat the cream cheese in a large bowl with an electric mixer on medium speed until smooth.
- Add the sugar and flour and beat just until combined, scraping down the bowl as needed.
- Beat in the eggs one at a time on low speed.
- Mix in the sour cream and vanilla just until smooth.
- Stir the apple butter and cinnamon together in a small bowl.
- Pour the cream cheese mixture over the cooled crust.
- Spoon the apple butter mixture over the top and gently swirl it through the filling with a knife.
- Set the springform pan in a large roasting pan.
- Pour boiling water into the roasting pan until it reaches halfway up the sides of the springform pan, adding more boiling water if needed.
- Bake for 70 to 85 minutes, until the edges are set, the center still wobbles slightly, and an instant-read thermometer inserted in the center reads 160°F.
- Turn off the oven, crack the door open, and leave the cheesecake inside for 1 hour.
- Lift the springform pan out of the water bath and remove the foil.
- Cool the cheesecake on a wire rack for 1 hour.
- Cover and refrigerate for at least 6 hours before releasing the springform ring and serving.




