
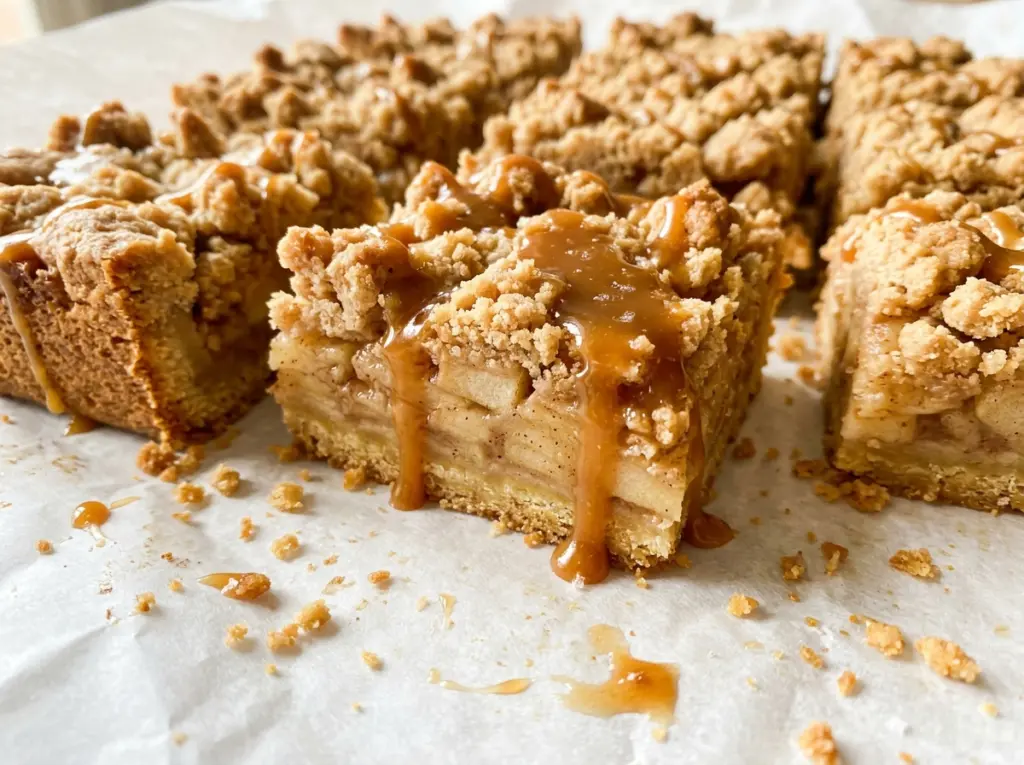
The butter disappears into the flour and sugar, and the crust presses into the pan like damp sand. I bake it until the edges just start to turn golden before adding anything on top; that gives these Caramel Apple Bars a sturdy base beneath the fruit instead of a soft, crumbly bottom.
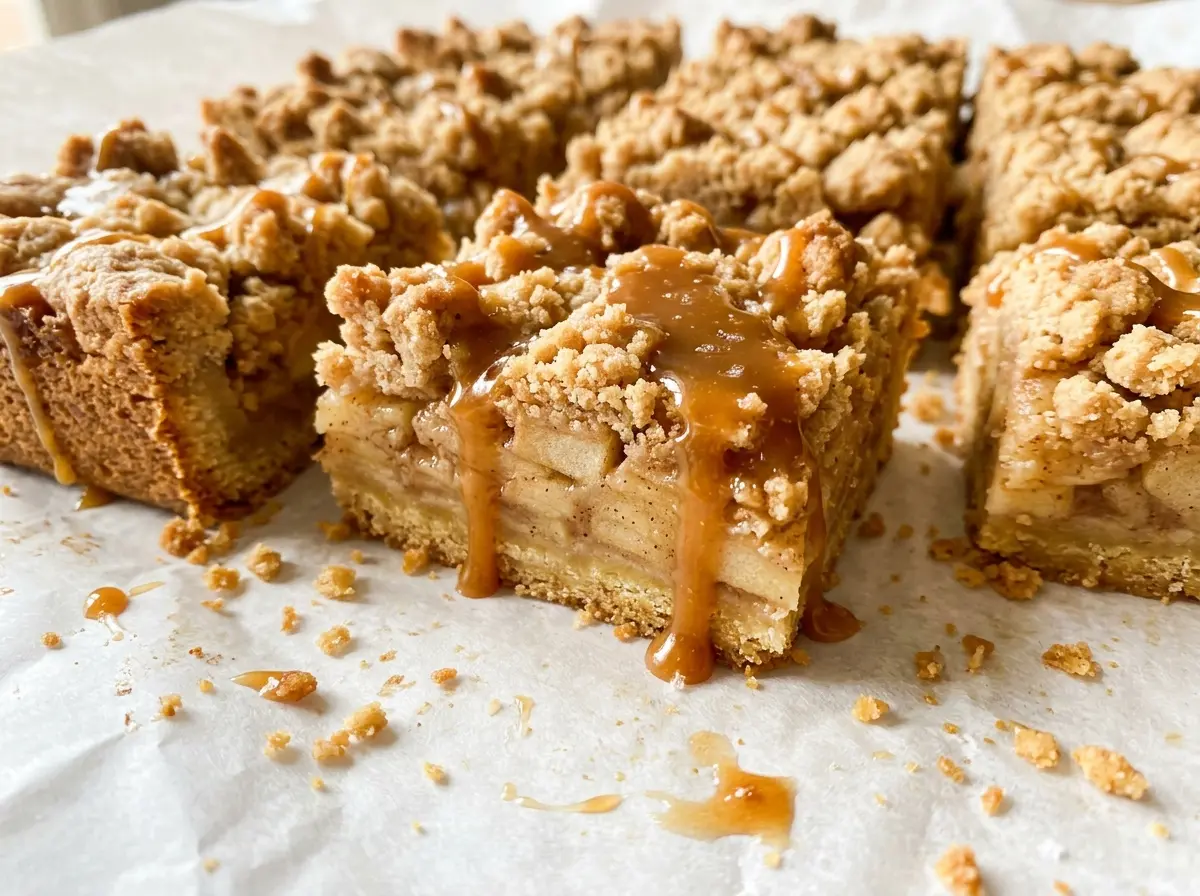
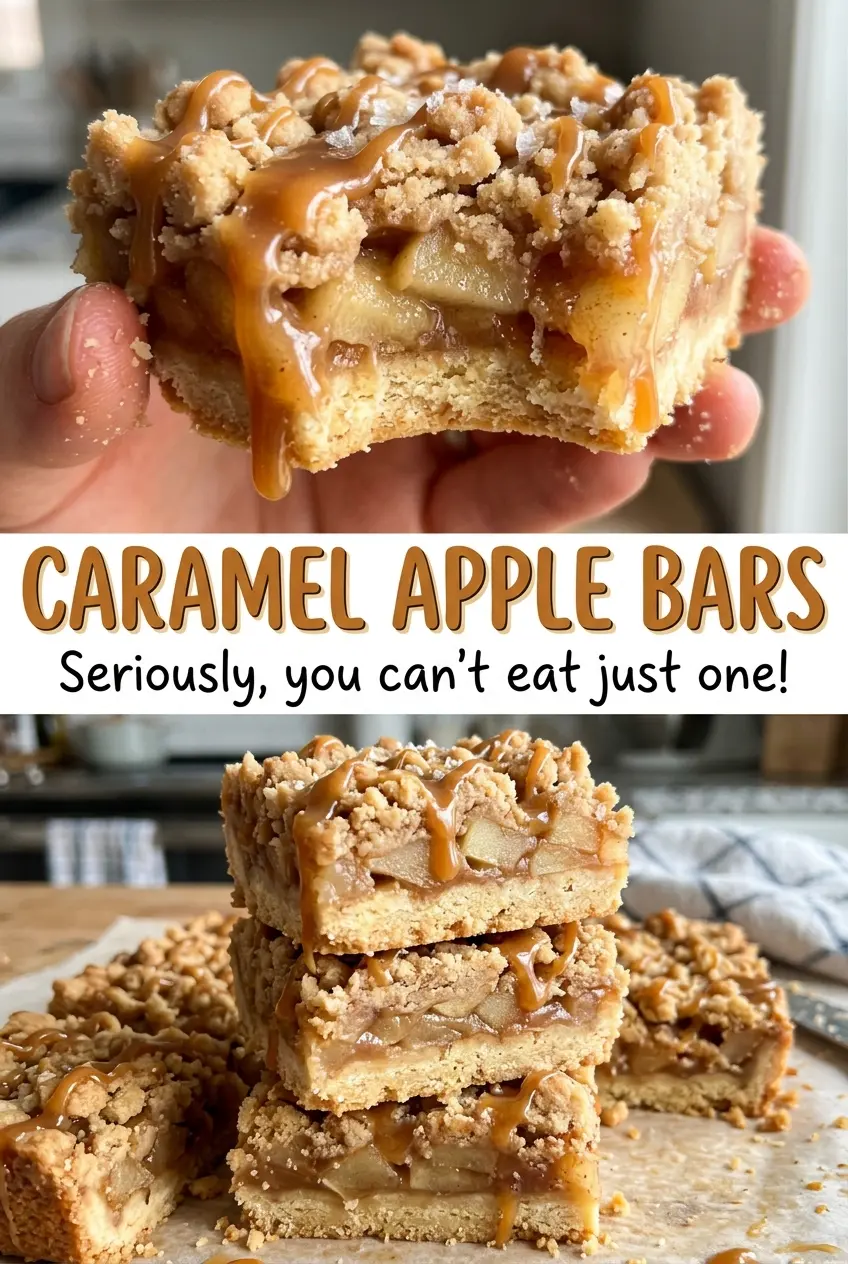
Tart apples bring a bright bite that balances the brown sugar in the oat topping and the sweet caramel drizzle. The apples bake right on the warm crust, and a little flour in the filling helps manage the juices as they soften. Once the bars are cool, the layers hold together well enough to lift from the pan and cut into neat squares, with a crisp-edged base, tender cinnamon apples, and a crumbly top.
Kitchen Note
Stop working the cold butter as soon as the topping looks like coarse crumbs. A few small pieces of butter are just right; keep rubbing until the mixture turns to paste and you lose that crumbly texture.
Save these Caramel Apple Bars for a bake with tart apples, cinnamon oat crumbs, and a glossy caramel finish.
Why the Apple Filling Needs a Little Flour
Apples soften as they bake and release juice along the way. In a pie, a deeper filling has room to thicken and settle; these bars have a shallower layer spread across a crust, so excess liquid has nowhere to go but down. That’s how a good shortbread-like base can turn damp under the fruit.
The flour tossed with the apples helps absorb some of that moisture, while the diced fruit cooks through in a fairly even layer. Tart apples matter here, too: they keep the filling from tasting flat beneath the sugar and caramel. Don’t skip tossing the apples thoroughly before spreading them over the crust. You want the pieces lightly coated throughout, not a mound of flour and cinnamon left at the bottom of the bowl. That small bit of even coverage helps the filling bake up tender without leaving a pool of juice between the apples and the crust.
What the Tart Apples and Oat Crumbs Bring to Each Layer
- Tart apples — Their sharper flavor stands up to the sugars in the crust, crumb topping, and caramel. Choose firm apples and peel, core, and dice them so the fruit is ready to bake in an even layer. A mix of tart varieties works well if you want a little variation in apple flavor.
- All-purpose flour — It gives the crust enough structure to lift from the pan, and it helps coat the fruit in the filling. The same everyday flour works in the crumb topping; there’s no need to reach for a specialty brand.
- Unsalted butter — Melted butter binds the crust ingredients, while cold cubes create a crumbly topping. Unsalted butter gives you control over the salt in both layers. For the topping, start with butter straight from the refrigerator so it stays cold as you work it into the dry ingredients.
- Old-fashioned rolled oats and light brown sugar — Rolled oats give the topping its distinct, hearty texture, and brown sugar adds a deeper sweetness than granulated sugar. Old-fashioned oats are the right pick for a topping with visible flakes rather than a finer, softer crumble.
- Ground cinnamon and lemon juice — Cinnamon gives the apples and crumbs a shared warm note, while lemon juice keeps the fruit’s flavor lively. Use fresh lemon juice if you have it; bottled juice works in this small amount, though the flavor is less bright.
- Caramel sauce — A smooth prepared sauce is convenient here, and the bars don’t need a thick coating. Warm it only until it pours easily, then drizzle it over the cooled bars so it stays on top instead of sinking into the fruit.
Build the Bars in Four Layers, Then Let Them Set
Press and prebake the buttery crust
Heat the oven to 350°F, grease a 9×13-inch pan, and line it with parchment with enough overhang to lift the bars later. Stir together the crust flour, granulated sugar, and salt, then mix in the melted butter until the dry mixture is evenly moistened. Press it firmly into the pan, paying attention to the corners so the base isn’t thin at the edges. Bake for 15 to 18 minutes, until set and just beginning to turn golden at the edges.
Coat the apples before they hit the crust
Toss the peeled, cored, and diced apples with the filling sugar, flour, cinnamon, salt, and lemon juice. Scrape and toss until the fruit looks evenly coated, then spread it over the warm crust. Keep the apples in a fairly even layer rather than piling them in the center. This gives the fruit room to soften as the bars bake.
Make a coarse oat topping
Stir together the topping flour, rolled oats, brown sugar, cinnamon, and salt in a medium bowl. Work in the cold butter with your fingers until you have coarse crumbs. If the mixture starts to feel greasy or clump into one mass, stop; it’s been worked enough. Scatter the crumbs across the apples so the fruit is covered from edge to edge.
Bake until golden, then cool before cutting
Bake for 35 to 40 minutes, until the topping is golden and a knife pierces the apples easily. The fruit should be tender, not firm in the center. Let the pan cool completely, about 2 hours; cutting while warm makes the soft layers harder to handle. Warm the caramel sauce until pourable, drizzle it over the cooled bars, and use the parchment overhang to lift the slab out before cutting.
Three Small Changes for a Different Batch of Apple Bars
Use a blend of tart apples
Mix two firm tart apple varieties in the filling instead of using just one. The filling keeps its bright, tangy character, with a little more variation in the apple flavor from bite to bite.
Choose salted caramel sauce
Use salted caramel sauce in place of regular caramel sauce for a more pronounced sweet-and-salty finish. It makes the topping taste a little less sweet without changing how you assemble the bars.
Leave off the caramel
Skip the caramel topping for a less-sweet bar where the cinnamon apples and oat crumble take the lead. The bars still have plenty of sweetness from the crust and crumb topping, and the surface stays crisp rather than glossy.
Storage and Reheating
- Refrigerator: Store the bars in an airtight container for 3 to 4 days. The chilled crust and topping will firm up; let a bar sit at room temperature briefly before eating if you prefer a softer bite.
- Freezer: Freeze the cut bars in an airtight container with parchment between layers for up to 2 months. Thaw them in the refrigerator; the caramel may be a little softer afterward.
- Reheating: These bars are good at room temperature, but you can warm an individual piece in the microwave in short bursts. Stop as soon as it’s warm; heating too long can make the caramel runny and the fruit hot before the crumb is warmed through.
Questions That Come Up When Baking Caramel Apple Bars
Caramel Apple Bars
Ingredients
Equipment
Method
- Heat the oven to 350°F.
- Grease a 9x13-inch baking pan, then line it with parchment paper, leaving an overhang, and lightly grease the parchment.
- In a medium bowl, stir together the flour, granulated sugar, and salt.
- Mix in the melted butter until evenly moistened.
- Press the mixture firmly into the pan.
- Bake for 15 to 18 minutes, until the crust is set and its edges are just beginning to turn golden.
- Toss the apples with the granulated sugar, flour, cinnamon, salt, and lemon juice.
- Spread the mixture evenly over the warm crust.
- In a medium bowl, stir together the flour, oats, brown sugar, cinnamon, and salt.
- Work in the cold butter with your fingers until the mixture forms coarse crumbs.
- Scatter the crumb topping evenly over the apples.
- Bake for 35 to 40 minutes, until the topping is golden and the apples are tender when pierced with a knife.
- Cool completely in the pan, about 2 hours.
- Warm the caramel sauce until pourable.
- Drizzle the caramel sauce over the bars.
- Use the parchment overhang to lift them out before cutting.




