
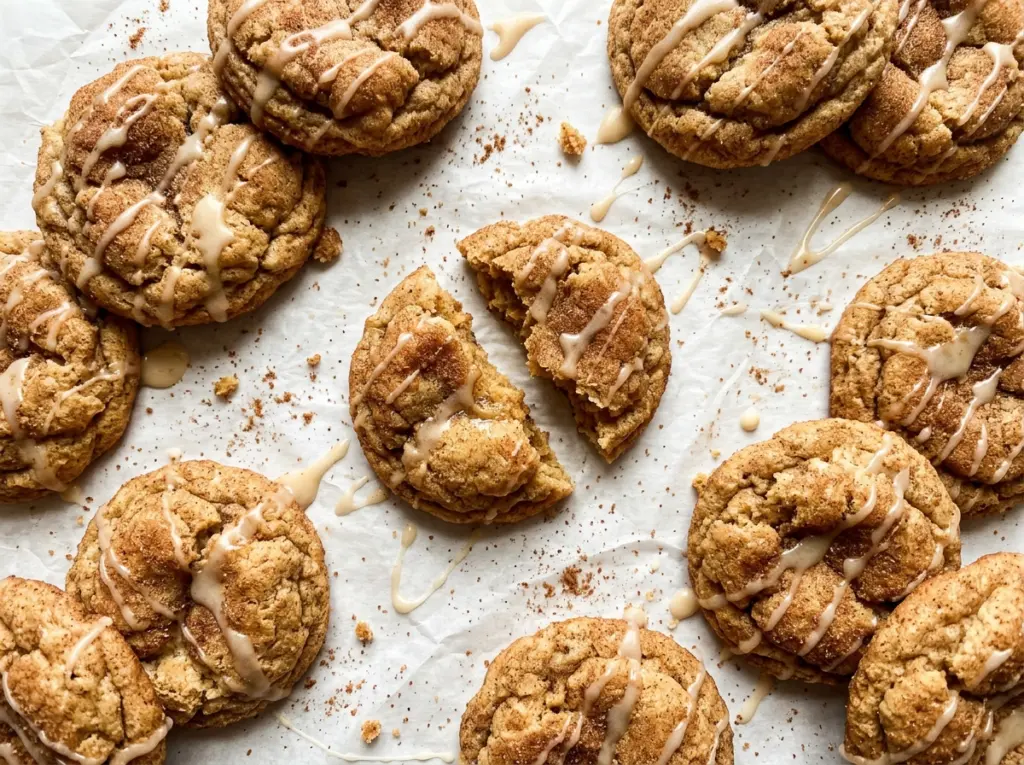
The cinnamon and nutmeg hit the air before the maple glaze ever touches these cookies. That first warm, spiced smell is what makes Chewy French Toast Cookies feel familiar, while the maple comes through in a softer way from the dough.
I use both a whole egg and an extra yolk here: the yolk brings richness that helps the centers stay tender and chewy. Once the cookies have cooled, a thin maple glaze adds a sweet finish without covering up the cinnamon. Each bite lands somewhere between a soft cookie and the flavor of French toast.
Kitchen Note
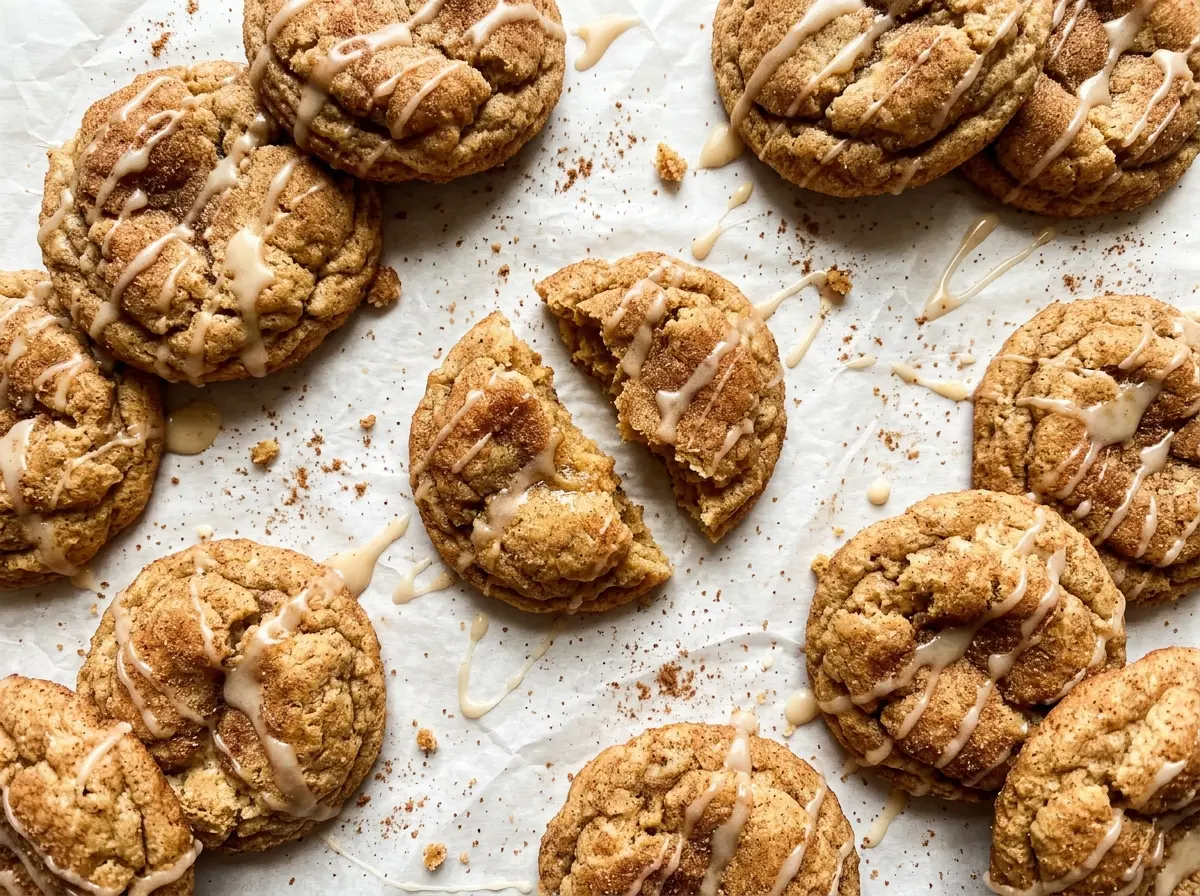
Give the dough its full 30 minutes in the refrigerator. It firms up enough to scoop neatly, so the portions are easier to space evenly on the baking sheets.
Save these Chewy French Toast Cookies for a cinnamon-spiced bake with a sweet maple finish.
Why These Taste Like French Toast, Not Just Cinnamon Cookies
Cinnamon does most of the recognizable work, but the maple matters just as much. Maple syrup mixed into cookie dough brings a gentle sweetness; the same flavor is easier to notice when it’s added again in the glaze. That two-part approach gives the cookies a clear maple finish without relying on a heavy pour of syrup in the dough.
Nutmeg adds a quieter, warm note behind the cinnamon, which keeps the spice from tasting one-dimensional. I keep the glaze simple, too: powdered sugar, maple syrup, and milk whisk into a smooth drizzle that sits on top of the cooled cookies. If the glaze went into the oven with the dough, it would lose that fresh maple aroma and melt into the cookie. Keeping the spice in the dough and the maple in both the dough and finish is what gives each part room to come through.
What the Maple, Extra Yolk, and Two Sugars Bring to the Dough
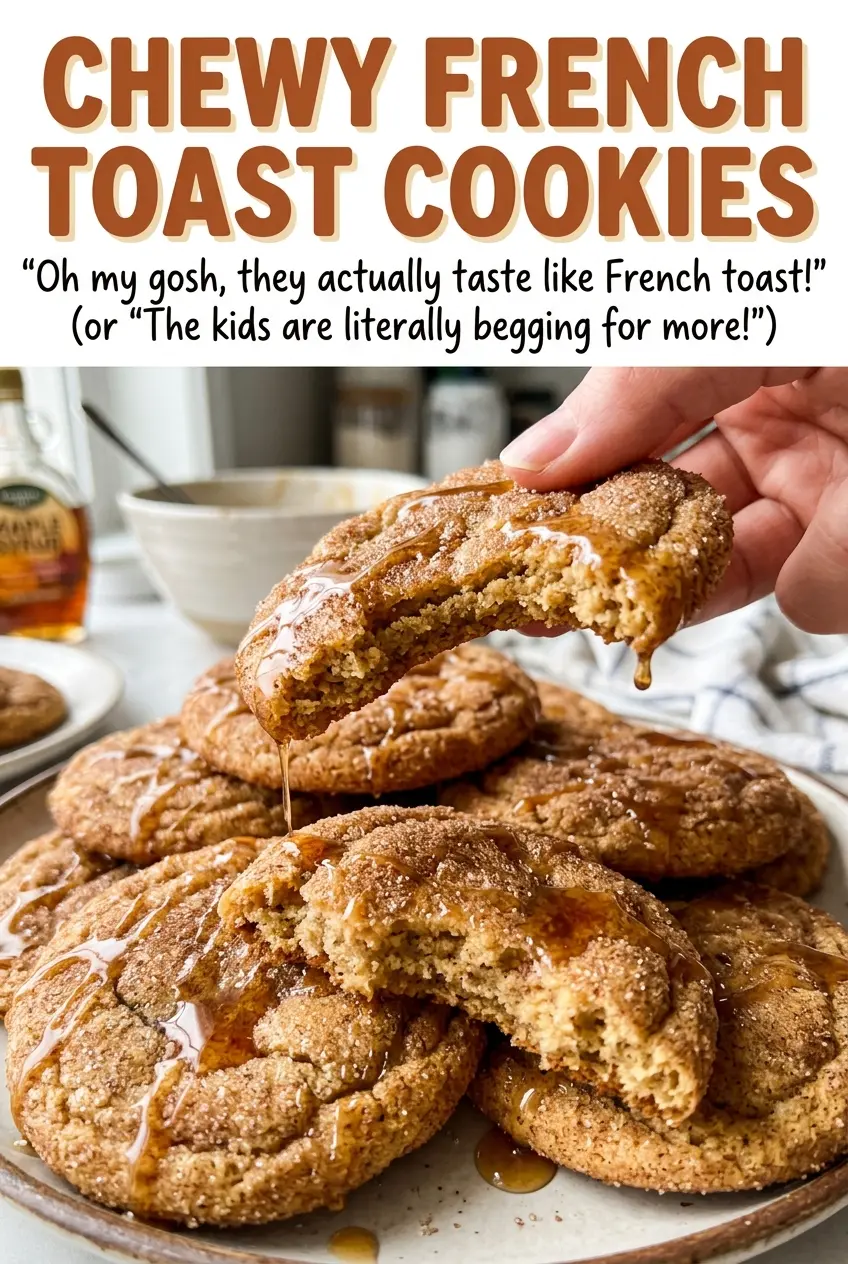
- All-purpose flour — It gives the cookies enough structure to hold their shape while staying soft in the middle. A regular store-brand flour works well here; measure without packing it into the cup so the dough doesn’t become unnecessarily stiff. A cup-for-cup gluten-free baking blend is the most practical substitute, though the finished cookies may have a slightly different texture.
- Unsalted butter — Softened butter creams smoothly with the sugars and gives the dough its rich base. Standard grocery-store butter is fine; the useful detail is that it should be softened enough to beat creamy, not melted. For a dairy-free batch, use dairy-free baking sticks rather than a tub-style spread, which can make dough softer.
- Light brown and granulated sugars — Brown sugar contributes moisture and a deeper caramel note, while granulated sugar keeps the sweetness from tasting heavy. Keeping both gives the cookies a more balanced texture than using only one type. Pack the brown sugar when measuring it.
- Egg and extra yolk — The whole egg helps bind the dough, and the yolk adds richness without bringing in another white. Room-temperature eggs blend more readily into the creamed butter and sugars. There isn’t a direct swap that preserves the same chewy result, so use both parts.
- Pure maple syrup — The maple flavor is subtle in the dough and more pronounced in the glaze, so pure maple syrup is worth choosing over pancake syrup. Honey can replace it in both parts if needed, but the cookies will taste floral and honey-sweet rather than distinctly maple.
- Cinnamon and nutmeg — Fresh, fragrant spices make a bigger difference than an expensive brand. If your ground spices have been sitting open for a long time, their aroma will be muted; use fresh jars for the clearest warm-spice flavor.
- Powdered sugar and milk — Powdered sugar gives the glaze its smooth, opaque finish, while milk loosens it enough to drizzle. For a dairy-free glaze, unsweetened oat milk works in place of dairy milk; it won’t change the maple-and-spice character.
Mix, Chill, and Bake for Soft Centers and Set Edges
Build a Creamy Butter-and-Sugar Base
Whisk the flour, baking soda, cinnamon, nutmeg, and salt together in a medium bowl first, so the leavening and spices are distributed through the flour. In a large bowl, beat the softened butter with both sugars on medium speed until creamy, about 2 minutes. Beat in the room-temperature egg and yolk, then mix in the maple syrup and vanilla. If the mixture looks a little uneven as the liquids go in, keep mixing just until they’re combined.
Stop Mixing When the Flour Disappears
Add the flour mixture to the butter mixture and mix on low. Stop as soon as there are no dry streaks left; continuing to beat after the flour is incorporated can make the cookies tougher. Cover the dough and refrigerate it for 30 minutes. It should feel firmer and easier to scoop after its chill.
Scoop Even Portions and Bake One Sheet at a Time
Heat the oven to 350°F and line two baking sheets with parchment paper. Scoop the dough into 2-tablespoon portions, arranging 12 on each sheet with about 2 inches between them. Bake one sheet at a time for 10 to 12 minutes, rotating the sheet halfway through. Pull the cookies when the edges are set and lightly golden but the centers still look slightly underdone.
Cool Before Adding the Maple Glaze
Leave the cookies on the baking sheet for 5 minutes before transferring them to a wire rack to cool completely. Whisk the powdered sugar, maple syrup, and milk in a small bowl until smooth. Drizzle the glaze over the cooled cookies; if the cookies are still warm, the glaze will loosen and run rather than setting neatly on top. Let it set for 15 minutes before serving.
Three Easy Ways to Change the Maple-Spice Finish
Make the Cookies Dairy-Free
Replace the butter with dairy-free baking sticks and use unsweetened oat milk in the glaze. The cookies will still have the cinnamon-maple flavor, though the buttery taste may be less pronounced. The eggs remain in the recipe, so this adaptation isn’t vegan.
Trade the Maple for Honey
Use honey measure-for-measure anywhere the recipe uses maple syrup, in both the dough and glaze. The cookies will keep their warm spice, but the finish will be more floral and honey-forward instead of tasting like French toast with maple.
Skip the Glaze for a Less-Sweet Cookie
Leave the glaze off and serve the cookies plain once they’ve cooled. You’ll get a softer, less sugary finish, with the cinnamon, nutmeg, and maple in the dough taking the lead.
Storage and Reheating
- Room temperature: Keep the glazed cookies in an airtight container for up to 3 days. The glaze will set firm, and the cookies will gradually lose a little softness.
- Freezer: Freeze completely cooled, unglazed cookies in an airtight container with parchment between layers for up to 2 months. Thaw at room temperature, then add the glaze.
- Reheating: These are best at room temperature, so no reheating is needed. Don’t microwave glazed cookies; the icing will melt and turn sticky.
Questions That Come Up While Baking French Toast Cookies
Chewy French Toast Cookies
Ingredients
Equipment
Method
- Whisk the flour, baking soda, cinnamon, nutmeg, and salt together in a medium bowl.
- In a large bowl, beat the softened butter, brown sugar, and granulated sugar with a hand mixer on medium speed until creamy, about 2 minutes.
- Beat in the egg and egg yolk until combined.
- Mix in the maple syrup and vanilla.
- Add the flour mixture and mix on low just until no dry streaks remain.
- Cover the dough and refrigerate for 30 minutes.
- Heat the oven to 350°F and line two baking sheets with parchment paper.
- Scoop the dough into 2-tablespoon portions and arrange 12 on each sheet, spacing them about 2 inches apart.
- Bake one sheet at a time for 10 to 12 minutes, rotating the sheet halfway through, until the edges are set and lightly golden while the centers still look slightly underdone.
- Cool the cookies on the baking sheet for 5 minutes.
- Transfer the cookies to a wire rack to cool completely.
- Whisk the powdered sugar, maple syrup, and milk in a small bowl until smooth.
- Drizzle the glaze over the cooled cookies.
- Let the glaze set for 15 minutes before serving.




