
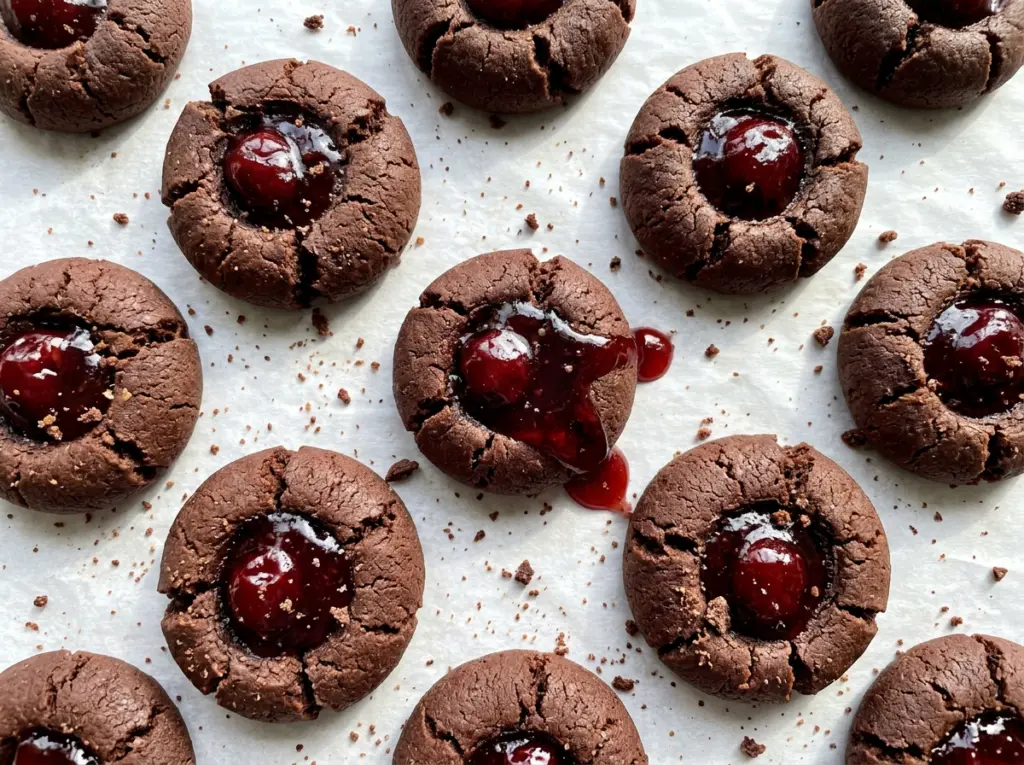
When your thumb presses into cocoa dough, the center can look too small to hold much filling. These chocolate cherry thumbprint cookies need a deep little well, not a dainty dimple, so the cherry preserves sit in the middle instead of spreading across the top. I like how the dark, tender cookie makes the bright cherry center stand out without adding another layer or topping.
The dough is simple, but its texture changes quickly as you work. Creaming softened butter with sugar gives it a light start; chilling then firms it enough to roll and shape cleanly. I keep the mixer on low once the flour and cocoa go in, stopping as soon as a soft dough forms. That keeps the cookies tender and makes the portions easy to handle. Each one bakes until its edges are set, then finishes cooling on the pan before it goes to a rack: a soft cocoa cookie with a glossy cherry middle.
Kitchen Note
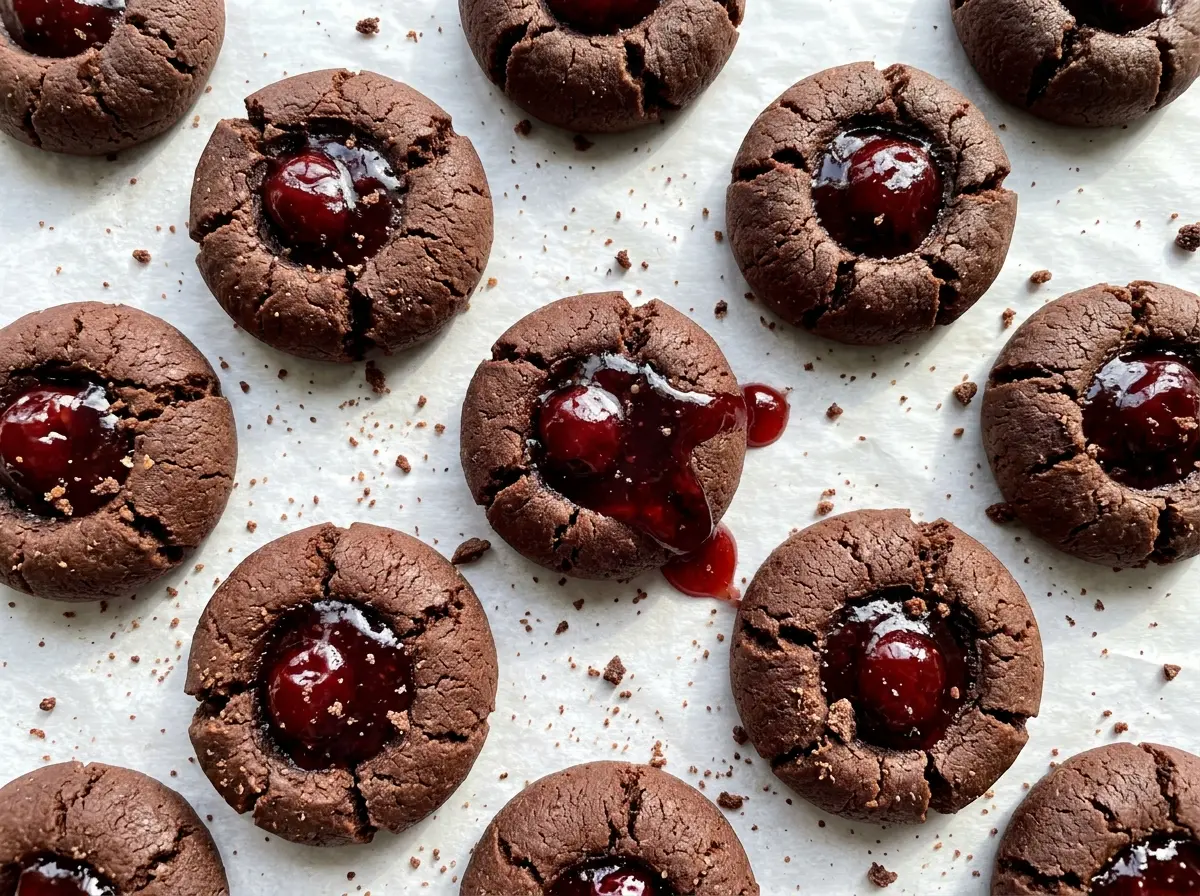
I leave the cookies on the baking sheet for the full five minutes before moving them. They’re delicate while hot, and that short rest lets them firm up enough to transfer without breaking.
Save these chocolate cherry thumbprint cookies for a bake when you want a tender cocoa cookie with a bright cherry center.
Why a deep well matters more than a perfectly round cookie
These cookies need a real indentation because the filling goes in before baking. A shallow press leaves little room for the preserves, so the center can sit too close to the surface. Press down until there’s a defined well, while keeping the dough ball intact around it. The sides don’t have to look perfectly smooth; a clear center is what matters.
There’s also a useful balance between the size of the well and the amount of filling. Each cookie gets about half a teaspoon of cherry preserves. That’s enough to give you a distinct fruit center without packing the dough full. If the preserves mound above the rim, they can run over the edge as the cookies bake. Keep the filling inside the indentation, and the finished cookies will have that clear contrast between dark chocolate dough and cherry in the middle.
Chilling the dough helps with this shaping stage, too. Firm dough is easier to roll into even balls and press without sticking or flattening out. If the dough feels soft while you’re forming the batch, work steadily and keep the indentations deep enough to hold their filling.
How cocoa, butter, and cherry preserves shape the bite

- Unsweetened cocoa powder — It gives the dough its chocolate flavor and dark color without adding sweetness. Use unsweetened cocoa rather than a sweetened drink mix; the latter changes both the sweetness and the dry ingredients. A well-sealed everyday cocoa works here, since the cherry filling brings a strong flavor of its own.
- Softened unsalted butter — Butter and sugar need to cream together until light and creamy, so softened butter matters more than a premium brand. It should yield when pressed but still hold its shape; melted butter won’t cream the same way. Unsalted butter also lets the small amount of kosher salt stay in balance.
- Egg yolk — The yolk helps bring the dough together and contributes richness without the extra white from a whole egg. Use the yolk on its own for the tender, compact cookie this dough is designed to make. There isn’t a direct one-for-one replacement that keeps the same texture.
- All-purpose flour — Flour gives the dough enough structure to hold its round shape and the indentation. Measure it carefully rather than packing it tightly into a cup; too much flour can make the dough stiff and harder to shape. A standard all-purpose flour is the right fit here.
- Cherry preserves — Preserves give the center its fruit flavor and slightly textured finish. Pick a jar whose cherry taste you enjoy, since the filling is concentrated in each bite. Smooth or fruit-piece preserves both work; the difference is whether you get a more even center or little bits of cherry.
- Vanilla and kosher salt — Vanilla rounds out the cocoa, while salt keeps the cookie from tasting flat. No special brand is needed; use the listed ingredients and let the cherry center provide the sharper contrast.
From creamed butter to set edges: the stages that matter
Cream the butter and sugar until light
Beat the softened butter and granulated sugar with an electric mixer on medium speed for about two minutes. The mixture should look lighter and creamy rather than like separate butter and sugar. Scrape the bowl if needed so the ingredients combine evenly. Starting with butter that’s too cold makes this stage harder; let it soften before you begin.
Bring the dough together without overmixing
Beat in the egg yolk and vanilla until they’re combined. Add the flour, cocoa powder, and kosher salt, then mix on low speed just until a soft dough forms. Stop when the dry ingredients disappear; continuing to mix after that point can make the cookies less tender. The dough should hold together rather than look like loose crumbs.
Chill, then set up the baking sheets
Cover the bowl and refrigerate the dough for 30 minutes, until it’s firm enough to shape. While it chills, heat the oven to 350°F and line two large baking sheets with parchment paper. The dough should feel cool and manageable when you portion it. Don’t skip the chill: soft dough is harder to roll neatly and press into a well.
Shape each portion around its filling
Scoop the dough into 24 portions, about one tablespoon each, and roll them into balls. Arrange 12 on each prepared sheet with about two inches between them. Press a deep indentation into the center of each ball, then add about half a teaspoon of cherry preserves to each well. If you press too gently, the small hollow won’t give the filling enough room.
Bake until the edges are set
Bake one sheet at a time for 11 to 13 minutes, until the cookie edges are set. The centers will still look softer than the edges, so use the edge cue instead of waiting for the whole cookie to feel firm in the oven. Cool the cookies on the baking sheet for five minutes, then transfer them to a wire rack to cool completely. Moving them too soon makes them more likely to break.
Two ways to steer the cherry center without changing the cookie
Choose a tarter cherry preserve
A tart-leaning cherry preserve gives the center a sharper contrast against the sweet cocoa cookie. Use it in the same indentation and keep the filling amount the same; the cookie itself stays unchanged, while the fruit tastes brighter.
Pick smooth or fruit-piece preserves
Smooth cherry preserves make an even, glossy center; preserves with fruit pieces add a more noticeable cherry texture. Either keeps the same chocolate-and-cherry pairing, so choose the consistency you’d rather find in the middle of each cookie.
Storage and Reheating
- Refrigerator: Store completely cooled cookies in an airtight container for up to 5 days. The cookie may soften a little as it sits.
- Freezer: Freeze cooled cookies in an airtight container, with parchment between layers, for up to 2 months. Thaw them while covered so condensation doesn’t settle on the cookies.
- Reheating: These are best at room temperature, so reheating isn’t necessary. Heat can loosen the preserves and make the centers messy.
Questions that come up while these cookies bake
Chocolate Cherry Thumbprint Cookies
Ingredients
Equipment
Method
- In a large bowl, beat the softened unsalted butter and granulated sugar with an electric mixer on medium speed until light and creamy, about 2 minutes.
- Beat in the egg yolk and vanilla extract until combined, then mix in the all-purpose flour, unsweetened cocoa powder, and kosher salt on low speed just until a soft dough forms.
- Cover the bowl and refrigerate the dough for 30 minutes, until firm enough to shape.
- Heat the oven to 350°F and line two large baking sheets with parchment paper.
- Scoop the dough into 24 portions, about 1 tablespoon each, and roll into balls; place 12 on each baking sheet, spacing them about 2 inches apart.
- Press a deep indentation into the center of each ball with your thumb, then fill each indentation with about 1/2 teaspoon cherry preserves.
- Bake one sheet at a time for 11 to 13 minutes, until the cookie edges are set; let the cookies cool on the baking sheet for 5 minutes, then transfer to a wire rack to cool completely.




