
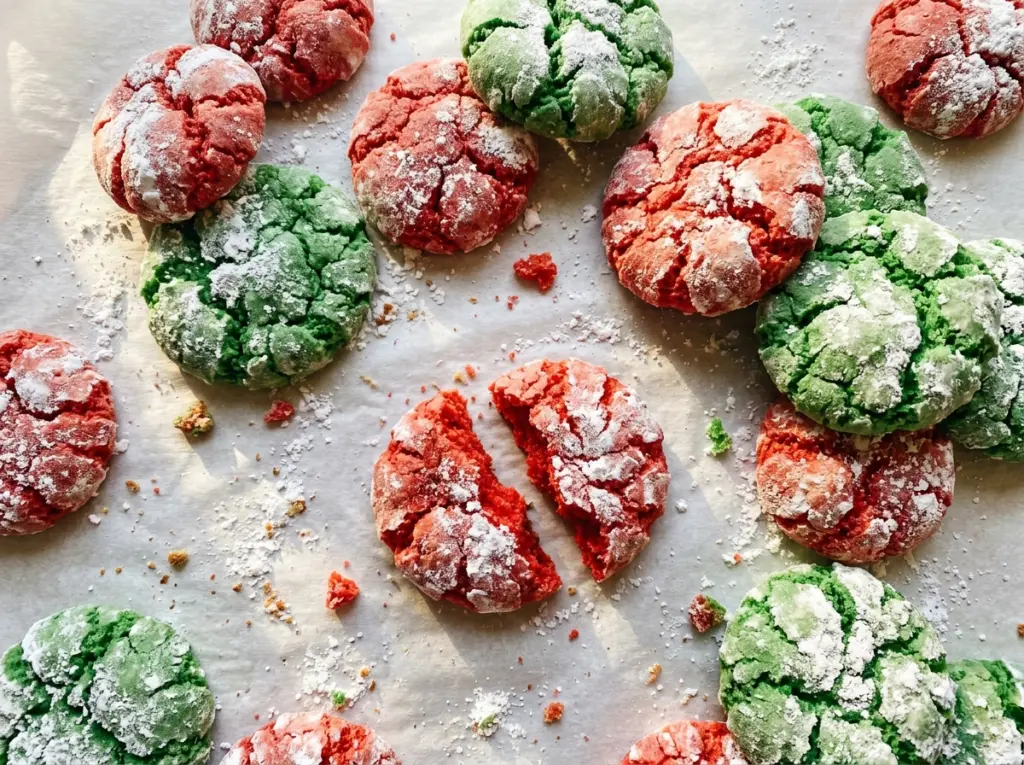
At the oven door, the smooth white tops start splitting into dark chocolate lines, and the cookies puff into the craggy shape that makes a crinkle cookie recognizable. Christmas Crinkle Cookies are at their best when that contrast is sharp: a snowy coating outside and a soft, brownie-like middle inside.
I whisk the cocoa and flour into the egg mixture only until the last dry streak disappears. Vegetable oil keeps the dough moist, while the eggs give it enough structure to puff as it bakes. The dough needs a long chill before it’s easy to portion, so I mix it ahead and let the refrigerator do its part. Once baked, these cookies have a deep cocoa flavor and a delicate sugar crust.
Kitchen Note
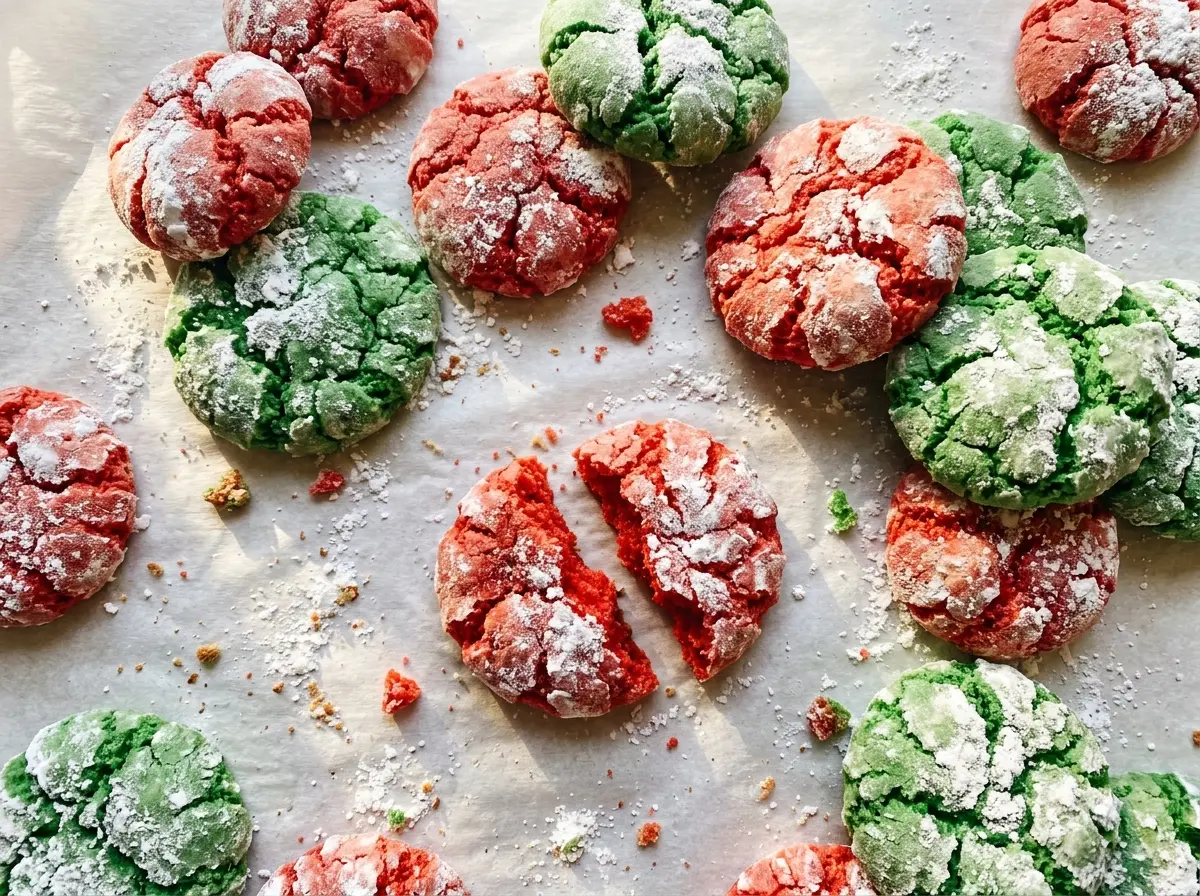
Let the cookies sit on the baking sheets for the full five minutes after baking. The centers are still delicate when they come out, and that short rest firms the bottoms enough to move them without breaking.
Save these Christmas Crinkle Cookies for a chocolatey holiday bake with soft centers and a snowy, crackled sugar coating.
The White Cracks Come From the Dough Puffing Under Its Sugar Coat
Crinkle cookies get their signature look from the contrast between the pale coating and the dark dough beneath it. A generous layer of confectioners’ sugar covers each ball before it goes into the oven. As the dough puffs, its surface opens into cracks, revealing the cocoa-colored cookie underneath. A thin dusting can disappear into the dough instead of leaving that snowy finish.
The cracks are part of the texture, not a sign that the cookies have dried out. The edges set first while the centers stay soft, so the surface can look dramatic even when the middle is still tender. Keep the portions round and coat them thoroughly; the oven takes care of the pattern. Once the cookies cool, the sugar forms a delicate outer layer against the soft chocolate center.
Why Cocoa, Oil, and Two Sugars Shape These Crinkles

- Unsweetened cocoa powder — This brings the deep chocolate flavor and dark color that show through the cracks. Use a cocoa powder you enjoy drinking or baking with; Dutch-process cocoa also works, though it gives the cookies a rounder, less sharp cocoa taste.
- All-purpose flour — Flour gives the dough enough structure to hold its shape after chilling and puff in the oven. For a gluten-free batch, use a measure-for-measure baking flour blend in its place; see the variation below for what to expect.
- Baking powder — This is what helps the cookies rise and split as they bake. If it’s old, the cookies may not puff as much, so check that your baking powder is fresh before mixing the dough.
- Vegetable oil — Oil keeps the chocolate centers tender after cooling. Another neutral oil, such as canola, can replace it in the same quantity without adding a strong flavor.
- Eggs and vanilla — The eggs bind the cocoa-rich dough and help it bake into a soft-centered cookie. Vanilla rounds out the chocolate; use a good pure or imitation vanilla, whichever you keep on hand.
- Granulated and confectioners’ sugar — Granulated sugar sweetens the dough, while confectioners’ sugar gives the outside its snowy finish. The finer coating sugar clings to the rolled dough more evenly than granulated sugar would.
Mix, Chill, and Bake Without Losing the Crinkle
Whisk the Cocoa Base
Whisk the flour, cocoa powder, baking powder, and salt together in a medium bowl so the cocoa and leavener are distributed throughout. In a large bowl, whisk the granulated sugar with the vegetable oil, then whisk in the eggs and vanilla until the mixture looks smooth. Stir the dry mixture into the egg mixture just until combined. Stop when no dry streaks remain; extra stirring isn’t needed.
Give the Dough Its Refrigerator Time
Cover the bowl and chill the dough for at least three hours, or leave it in the refrigerator overnight. This is a soft dough, and it’s much easier to portion once it’s cold. Don’t try to solve sticky dough by adding extra flour, which can make the baked cookies dry and cakey. If you’re working in a warm kitchen, keep the bowl covered between scoops.
Coat Even Portions
Heat the oven to 350°F and line two 18×13-inch baking sheets with parchment paper. Scoop the chilled dough into 1-tablespoon portions, roll each portion into a ball, then coat it generously in confectioners’ sugar. Arrange the balls about 2 inches apart so they have room to puff. If a ball has bare patches, roll it again in the sugar before placing it on the sheet.
Bake Until the Edges Set
Bake for 10 to 12 minutes, until the cookies are puffed and crackled, with set edges and soft centers. The tops should look split rather than smooth, but the middles shouldn’t look firm and dry. Let the cookies cool on the baking sheets for five minutes, then transfer them to a wire rack to cool completely. Moving them straight from the oven can break their tender centers.
Two Useful Ways to Adapt the Batch
Make Them Gluten-Free
Replace the all-purpose flour with a measure-for-measure gluten-free baking flour blend made for cookies. The cocoa and sugar still give you the same chocolate-and-snowy-sugar look, though the centers may be a little more tender or crumbly than the wheat-flour batch. Chill the dough fully before portioning so it’s easier to handle.
Bake a Half Batch
For about 18 cookies, halve each ingredient: use 1 cup flour, 3/8 cup cocoa, 1 teaspoon baking powder, 1/8 teaspoon salt, 3/4 cup granulated sugar, 1/4 cup vegetable oil, 2 eggs, 1 teaspoon vanilla, and 1/2 cup confectioners’ sugar. Keep the 1-tablespoon portions and bake at 350°F for 10 to 12 minutes, checking for puffed, crackled tops and set edges.
Storage and Reheating
- Room temperature: Keep completely cooled cookies in an airtight container for up to 4 days. The sugar coating softens a little as the cookies sit.
- Freezer: Freeze cooled cookies in an airtight container, with parchment between layers, for up to 2 months. Thaw them at room temperature before serving.
- Reheating: These cookies are best at room temperature, so they don’t need reheating. If you want one warm, microwave it for about 5 seconds; heating it longer can make the center tough as it cools.
Questions That Come Up While Baking Crinkle Cookies
Christmas Crinkle Cookies
Ingredients
Equipment
Method
- Whisk the flour, cocoa powder, baking powder, and salt together in a medium bowl.
- In a large bowl, whisk the granulated sugar and vegetable oil, then whisk in the eggs and vanilla extract until smooth.
- Stir the dry ingredients into the egg mixture just until combined, cover the bowl, and chill the dough for at least 3 hours or overnight.
- Heat the oven to 350°F and line two 18x13-inch baking sheets with parchment paper.
- Scoop the chilled dough into 1-tablespoon portions, roll each into a ball, and coat generously in confectioners' sugar.
- Arrange the dough balls about 2 inches apart on the prepared baking sheets and bake for 10 to 12 minutes, until puffed and crackled with set edges and soft centers.
- Cool the cookies on the baking sheets for 5 minutes.
- Transfer the cookies to a wire rack to cool completely.




