
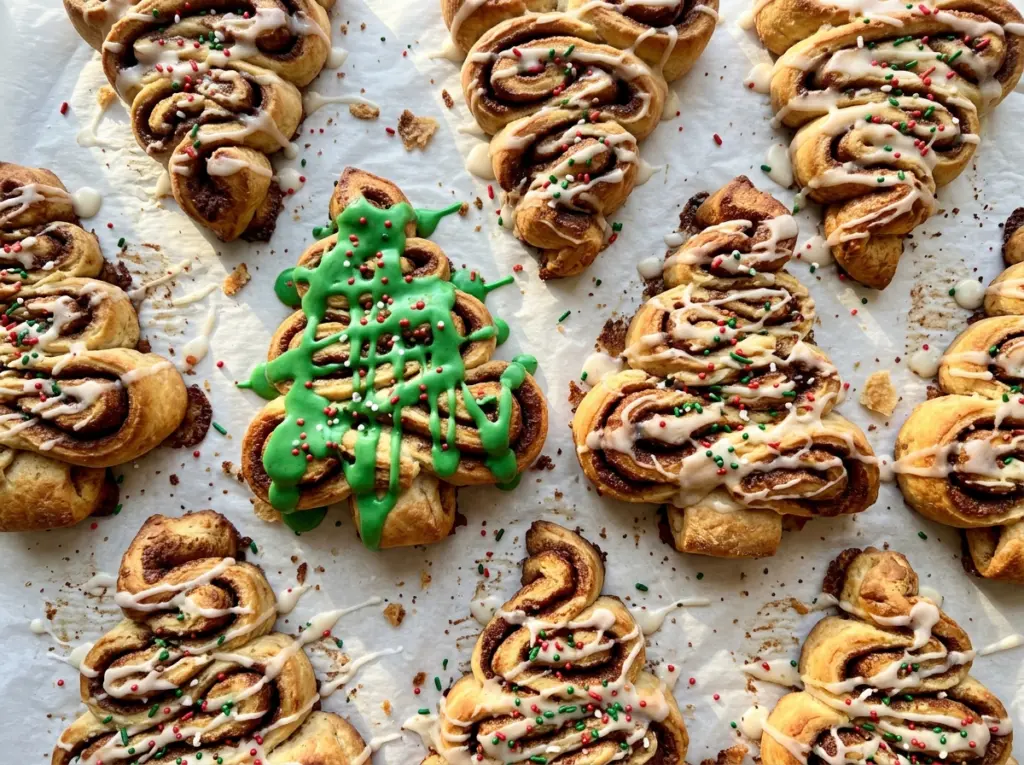
The edges of cinnamon rolls brown first, while the pieces tucked into the middle need a little longer. That’s the detail I watch when I bake Cinnamon Roll Christmas Trees: a golden outside doesn’t tell you whether the center rolls are cooked through. The tree shape is easy to arrange, and the refrigerated dough keeps this project manageable, but the middle deserves your attention before the pan comes out.
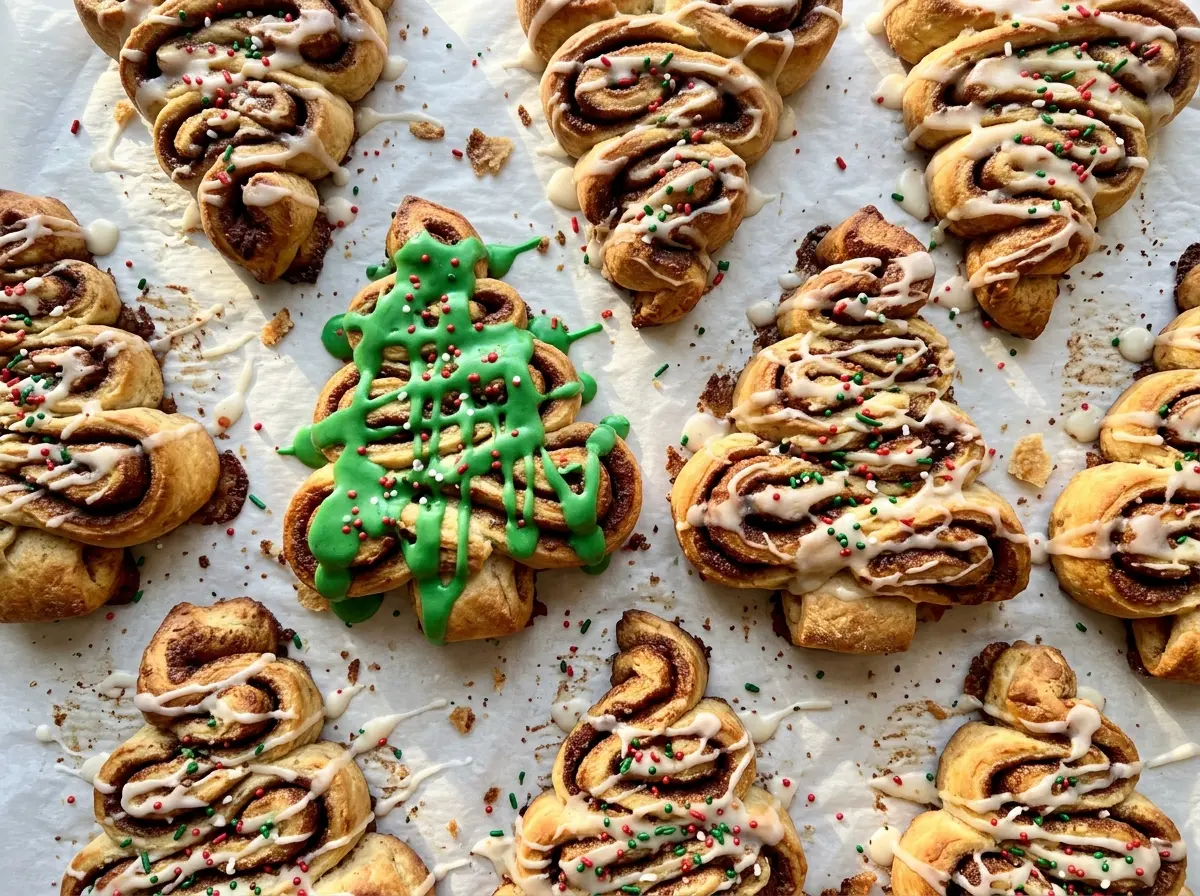
Each roll stays whole, and the sides touch as they bake, so the finished tree is a pull-apart centerpiece rather than eight separate cookies. I tint the icing in a bowl before spreading it over the cooled rolls; it’s easier to get an even green color that way. Red and green sprinkles give the top its holiday finish, while the warm cinnamon scent does the rest.
Kitchen Note
Tint the icing in a small bowl before it goes on the rolls. Stir until the color looks even all the way through; coloring it on the tree makes it harder to spread consistently.
Save these Cinnamon Roll Christmas Trees for a holiday breakfast or a festive baking afternoon—the green icing and red-and-green sprinkles make the pull-apart shape easy to spot.
The Center Rolls Need More Attention Than the Golden Edges
Because the rolls bake close together, their edges touch and the center pieces sit more snugly in the pan than the ones along the outside. The outer rolls can take on color while the middle still needs time. That’s why I don’t use “golden brown” as the only signal to pull the pan; the rolls in the center also need to be cooked through.
The arrangement gives you a clear tree outline without cutting or shaping the dough. One roll makes the top, two rows widen the branches, and the last two rolls form a centered trunk. Keeping the sides touching helps the rolls bake together into a connected pull-apart tree. If the layout gets nudged while you’re arranging it, take a moment to center the lower rolls again before baking; a tidy outline starts with the raw dough, not with the icing.
This is also why the 9×13-inch dish matters: it gives the whole arrangement room while keeping the rolls together in one pan. Leave the layout as a single tree rather than spacing the pieces apart. The icing and sprinkles finish the shape, but the row pattern is what makes the cinnamon rolls read as a tree.
What the Icing, Dough, and Decorations Each Bring
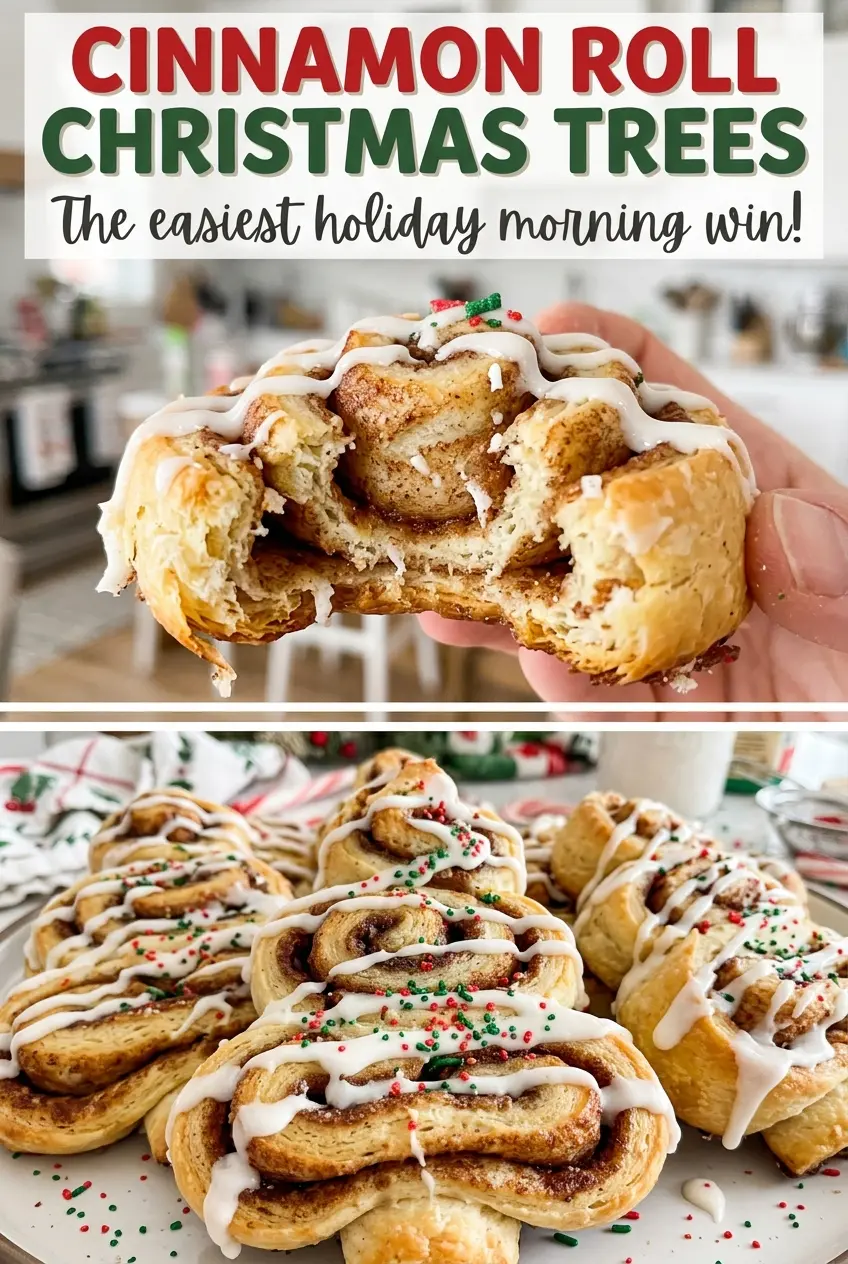
- Refrigerated cinnamon rolls — The can gives you eight evenly portioned rolls plus an icing packet, which is what makes the tree layout straightforward. Use a can with eight rolls so the top, branch rows, and trunk fit the arrangement and the stated bake time. The dough is already cinnamon-swirled, so there’s no need to add filling or shape individual coils.
- The icing packet — This icing is made to go with the rolls and spreads over their warm cinnamon flavor without requiring a separate glaze. Stir the green food coloring into it in a small bowl rather than squeezing the color directly onto the rolls. That gives you a more uniform shade before you coat the tree.
- Green food coloring — The coloring changes the look, not the structure of the icing. Add the four drops and stir them in well; a concentrated color is easier to manage when mixed into the icing than when dotted across the baked surface.
- Holiday sprinkles — Red and green sprinkles add small bright details against the green icing. Scatter them while the icing is still on the rolls so they stay in place. No specialty decorating tool is needed.
- Softened butter — Butter greases the baking dish so the cinnamon rolls are less likely to stick around the edges. Softened butter is easier to spread into the corners and across the base than a cold piece straight from the refrigerator.
Arrange the Tree, Bake the Center, Then Decorate
Grease the Dish and Set the Tree Shape
Heat the oven to 350°F and grease a 9×13-inch baking dish with the softened butter. Separate the eight rolls, then arrange them with their sides touching: one at the top, two in the next row, three in the row below, and the remaining two centered one below the other as the trunk. Look at the outline before the pan goes into the oven; the top roll should sit over the middle of the wider rows, and the trunk should line up beneath it. If the rolls are separated, bring them back together so the baked tree stays connected.
Bake Until the Middle Is Cooked Through
Bake for 20–25 minutes, watching for golden-brown tops and checking that the rolls in the center are cooked through. The outside pieces may look ready first, so don’t judge the whole pan by its edges. If the center still looks underbaked, give the rolls more time rather than pulling them early. When they’re ready, leave the tree in the dish to cool for 5 minutes.
Tint the Icing and Finish the Tree
Squeeze the icing packet into a small bowl and stir in the green food coloring until the color is evenly mixed. Spread the green icing over the rolls after their brief cooling time; the tree is easier to decorate while it’s still in the dish. Scatter the red and green holiday sprinkles over the icing. Let the decoration settle before pulling the rolls apart to serve.
Two Simple Ways to Change the Look of the Tree
Keep the Icing White for a Snowy Tree
Leave out the green food coloring and spread the icing from the packet over the rolls as it is. The white icing gives the tree a snowy look, while the red and green sprinkles still provide a festive contrast. The shape and baking method stay the same.
Skip the Sprinkles for a Clean Green Finish
Leave off the holiday sprinkles and let the green icing show on its own. You’ll get a simpler finish with less crunch and a clear view of the pull-apart roll shape. This option uses the same icing and doesn’t change the baking.
Storage and Reheating
- Refrigerator: Store leftover decorated rolls in an airtight container for up to 3 days. The dough firms as it chills, and the icing will be less soft than it is fresh.
- Freezer: The finished, decorated tree is best enjoyed fresh; freezing can change the icing and sprinkle texture. For better results, freeze the baked rolls before decorating, wrapped airtight, for up to 2 months; thaw them in the refrigerator and add the icing and sprinkles afterward.
- Reheating: Warm an individual roll in the microwave in short bursts until just warm. Long heating can make the dough tough and cause the icing to melt away, so stop as soon as the center feels warm.
Questions That Come Up When Baking These Cinnamon Roll Trees
Cinnamon Roll Christmas Trees
Ingredients
Equipment
Method
- Heat the oven to 350°F.
- Grease a 9x13-inch baking dish with the softened butter.
- Separate the rolls and arrange them in the dish with their sides touching: one at the top, two in the next row, three in the next row, and the remaining two centered one below the other as the trunk.
- Bake for 20-25 minutes, until golden brown and the rolls in the center are cooked through.
- Let the tree cool in the dish for 5 minutes.
- Squeeze the icing packet into a small bowl.
- Stir the green food coloring into the icing.
- Spread the green icing over the rolls.
- Scatter the sprinkles on top.




