
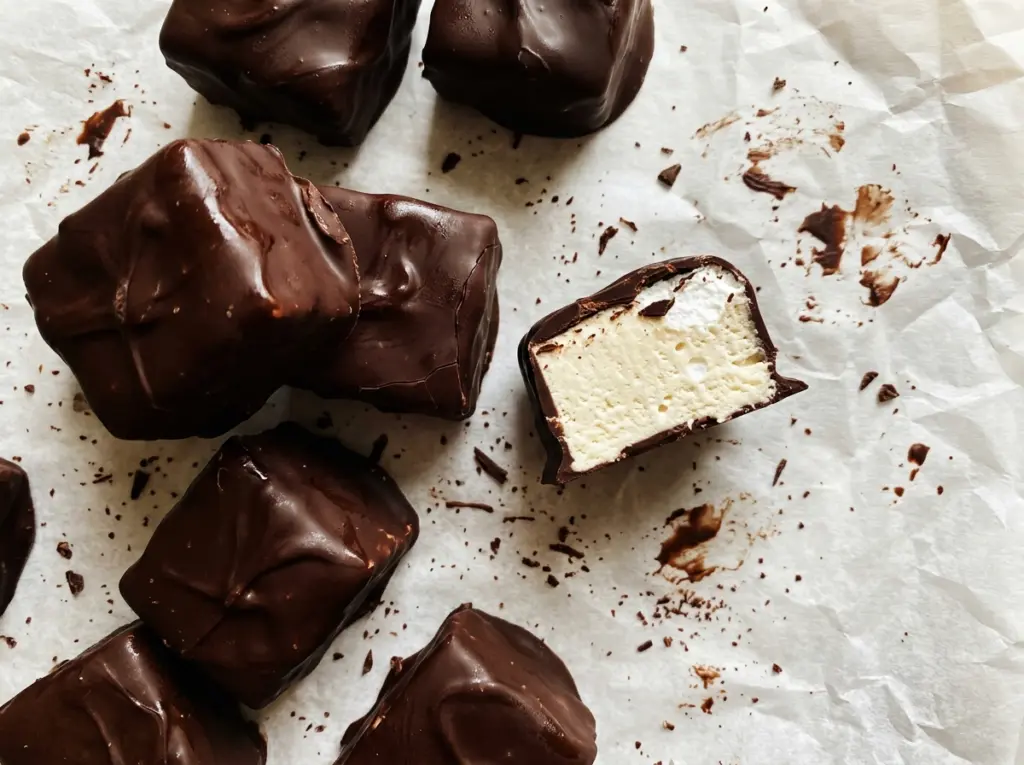
When melted chocolate meets Cool Whip, the mixture turns thick and fluffy, almost like a truffle filling. That texture is what makes Cool Whip Candy feel more special than its short ingredient list suggests: a soft, airy center tucked inside a crisp chocolate shell. The centers need a good freeze before cutting, but the hands-on work is simple, and the microwave does the melting in short bursts.
I fold the topping into the chocolate in three additions rather than stirring it all in at once. That keeps the mixture even without knocking out all of its lightness. Once the slab is firm, the pieces are easy to dip, and a little coconut oil helps the coating flow around them. Each finished square has a clean snap outside and a soft, chocolatey middle.
Kitchen Note
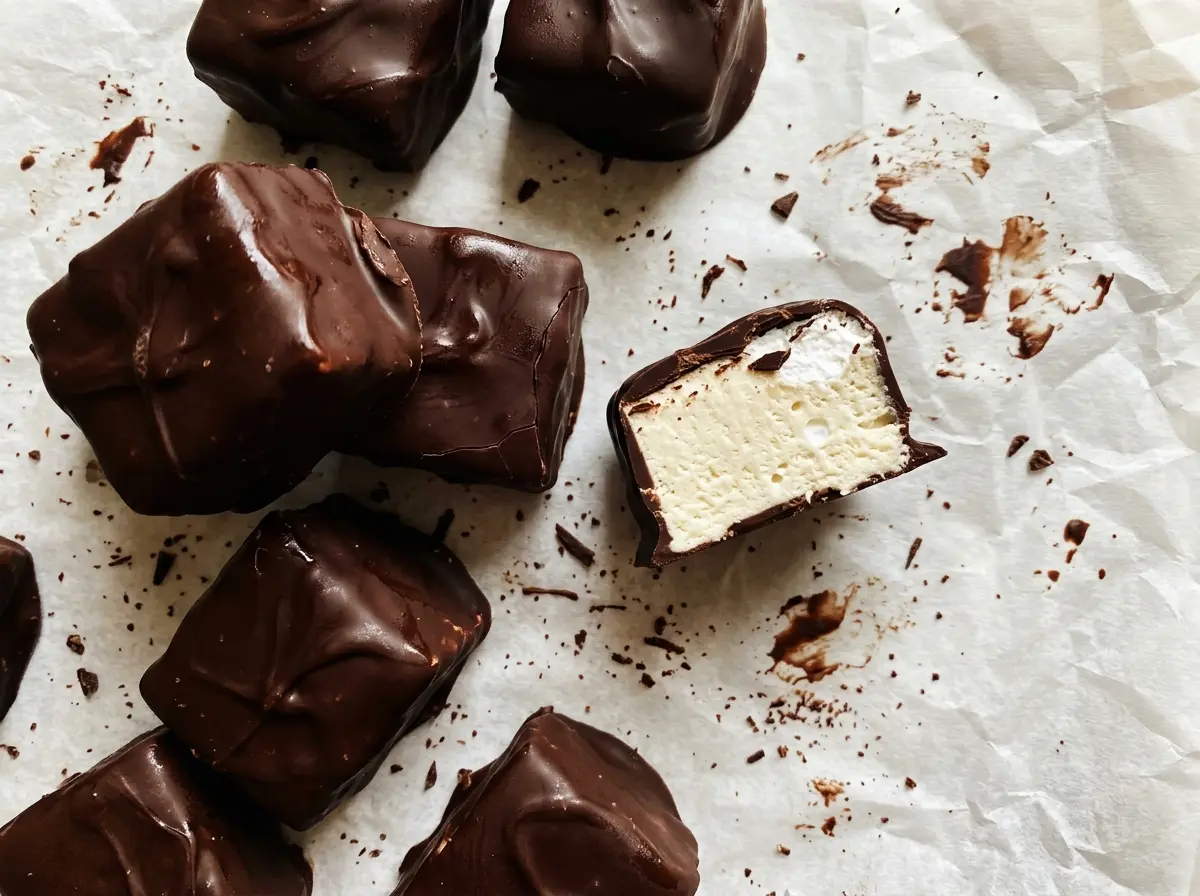
Leave enough parchment overhang to lift the frozen slab out in one piece. Pulling it up by the paper is much easier than trying to pry a firm chocolate center from the pan.
Save these Cool Whip Candy squares for a make-ahead treat with a fluffy chocolate center and a crisp semisweet shell.
Why the Center Turns Dense If the Chocolate Is Too Hot
Cool Whip is airy, so the temperature of the melted chocolate matters before the two are combined. Chocolate that’s still hot can loosen the topping and leave you with a runnier, heavier center instead of a fluffy one. After melting the first portion, let it stand for five minutes; it should still be fluid, but warm rather than hot.
Folding in three additions helps the chocolate and topping come together gradually. Start by easing in a portion of the Cool Whip, then fold in the rest in two more additions until no obvious white streaks remain. Scraping around the bottom and up through the middle helps combine everything without beating the mixture. Stop once it’s evenly chocolate-colored. A few extra stirs won’t improve the texture, and vigorous mixing can deflate it.
The finished mixture should spread into the lined pan rather than pour like a thin sauce. Freezing gives it time to firm up for neat cuts; it isn’t a shortcut to skip just because the center looks thick in the bowl. Wait until the slab is firm before cutting, then keep the pieces frozen while you get the coating ready.
What the Chocolate, Cool Whip, and Coconut Oil Each Do
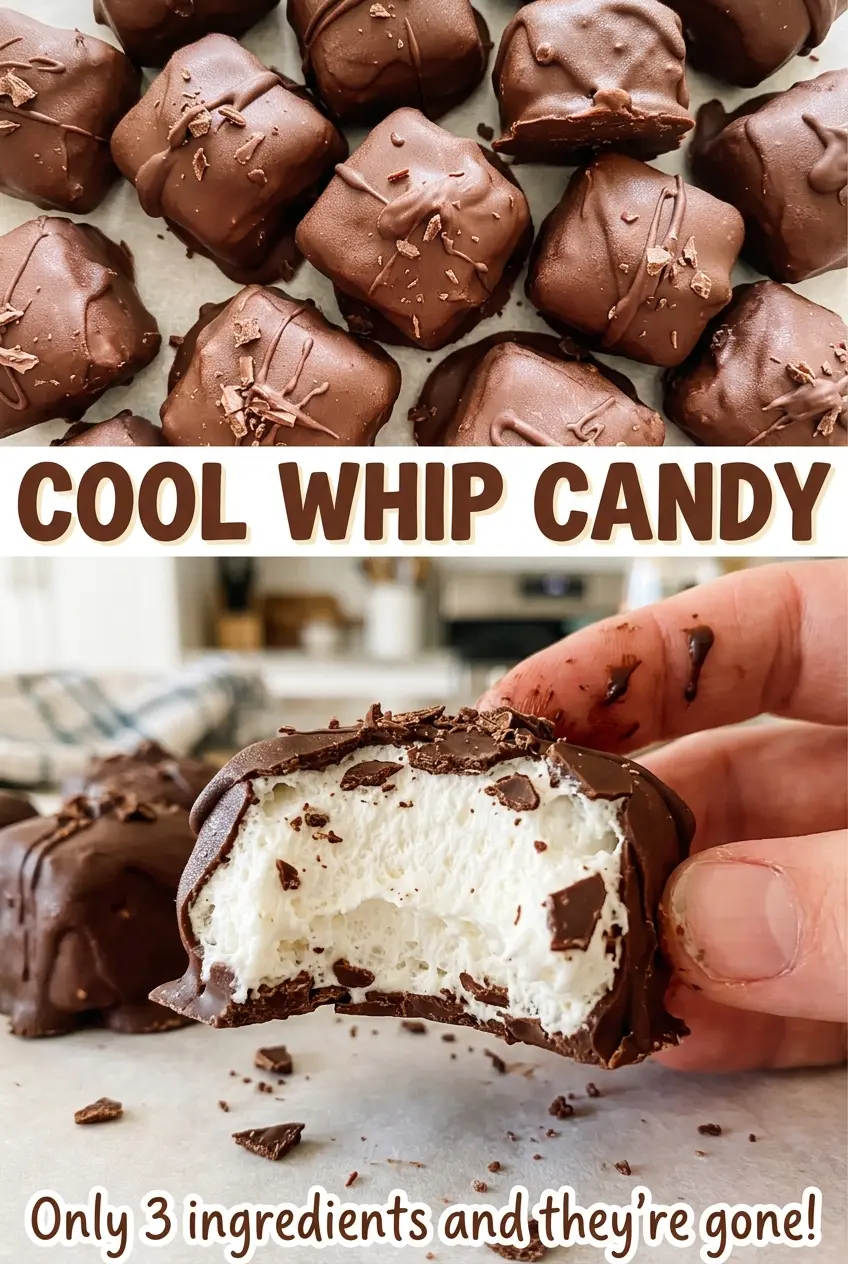
- Semisweet chocolate chips — These bring structure to both the center and the outer shell, with enough cocoa flavor to balance the sweetness of the whipped topping. Use chips you enjoy eating; there’s no need for an expensive specialty chocolate here. Divide them between the center and coating so each part has the chocolate it needs.
- Cool Whip — Thawed whipped topping gives the center its soft, airy texture. Thaw it in the refrigerator, then set it out for 20 minutes before folding it in. A frozen or partly frozen tub won’t blend evenly. A similar frozen whipped topping can work in the same amount, though the center’s sweetness and texture may vary a little by brand.
- Refined coconut oil — A small amount loosens the chocolate coating so it’s easier to dip the cold pieces and lets excess chocolate drip back into the bowl. Refined coconut oil has a neutral taste, unlike unrefined coconut oil, which can add a noticeable coconut flavor. Keep the amount measured; adding more changes how the coating sets.
From Fluffy Center to Firm, Dipped Candy
Line the Pan and Melt the Center Chocolate
Line an 8×8-inch pan with parchment paper, leaving enough overhang to lift out the candy later. Put 2 cups of the chocolate chips in a microwave-safe bowl and heat at 50% power in 30-second intervals, stirring after each interval. Keep going until the chocolate is smooth, with no unmelted chips visible. Let it cool for five minutes so it’s warm, not hot, before adding the topping.
Fold, Spread, and Freeze the Center
Add the thawed Cool Whip to the chocolate in three additions, folding after each one. The mixture will look fluffy and evenly chocolate-colored when it’s ready; stop folding once the streaks are gone. Spread it into the prepared pan, pushing it into the corners so the slab is even. Freeze for two hours, until firm enough to lift and cut cleanly.
Cut the Slab and Keep the Pieces Cold
Line a rimmed baking sheet with parchment paper. Lift the firm center from the pan using the paper overhang, then cut it into 36 pieces. If the slab starts to soften while you work, pause and return it to the freezer rather than trying to dip soft pieces. Put the cut candies back in the freezer while you prepare the coating.
Melt the Coating and Dip Each Piece
Combine the remaining 2 cups of chocolate chips with the coconut oil in a microwave-safe bowl. Heat at 50% power in 30-second intervals, stirring each time, until smooth. Dip the frozen pieces, let the excess chocolate drip back into the bowl, and place each one on the lined baking sheet. If the coating thickens before you’ve finished, briefly rewarm it at 50% power; refrigerate the dipped candy for 20 to 30 minutes, until the coating is firm.
Three Easy Ways to Change the Chocolate Candy
Use bittersweet chips for a darker candy
Swap bittersweet chocolate chips for the semisweet chips in both the center and coating, keeping the same total amount and dividing it as before. The result has a more pronounced cocoa taste and a less sweet finish. The chips still need to be melted gently in short microwave intervals.
Make smaller, bite-size pieces
Cut the frozen slab into more than 36 pieces for smaller candies. They’ll be quicker to eat and have more chocolate shell in proportion to each bite, so work briskly and return the cut pieces to the freezer before dipping. The listed coating amount is intended for the standard 36 pieces, so smaller pieces may use less coating.
Try another frozen whipped topping
A different brand of frozen whipped topping can stand in for Cool Whip. Use an 8-ounce tub, thaw it in the refrigerator, and set it out for 20 minutes before folding. The candy should still set, though the center may taste a little sweeter or feel slightly different depending on the topping.
Storage and Serving
- Refrigerator: Keep the candies in an airtight container for up to 4 days. The centers stay soft, while the chocolate shell is firm when cold.
- Freezer: Freeze the finished candies in an airtight container for up to 1 month, separating layers with parchment. Thaw them in the refrigerator to limit condensation on the coating.
- Serving: Serve chilled; reheating isn’t needed for these candies. Keep the remaining pieces refrigerated rather than leaving the whole batch out.
Questions That Come Up When Making Cool Whip Candy
Cool Whip Candy
Ingredients
Equipment
Method
- Set the thawed Cool Whip out for 20 minutes.
- Line an 8x8-inch pan with parchment paper, leaving enough overhang to lift out the candy.
- Microwave 2 cups of the chocolate chips in a microwave-safe bowl at 50% power in 30-second intervals, stirring each time, until smooth.
- Let the melted chocolate cool for 5 minutes, until warm but not hot.
- Fold the Cool Whip into the chocolate in three additions until evenly combined.
- Spread the mixture in the prepared pan.
- Freeze for 2 hours, until firm.
- Line a rimmed baking sheet with parchment paper.
- Lift the candy from the pan and cut it into 36 pieces.
- Return the pieces to the freezer while you prepare the coating.
- Melt the remaining 2 cups chocolate chips with the coconut oil in a microwave-safe bowl at 50% power in 30-second intervals, stirring each time, until smooth.
- Dip the frozen pieces in the melted chocolate, let excess chocolate drip back into the bowl, and place them on the prepared baking sheet.
- Briefly rewarm the coating at 50% power if it thickens before all the pieces are dipped.
- Refrigerate for 20 to 30 minutes, until the coating is firm.




