
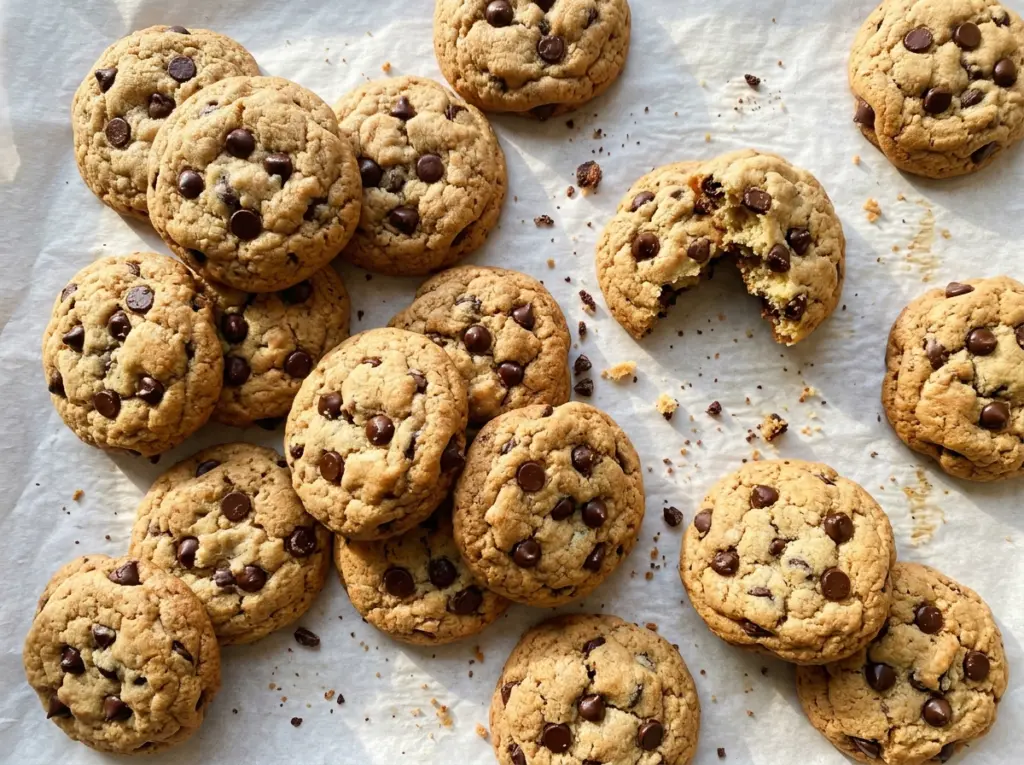
The first pan taught me not to wait for firm centers. At the end of baking, the edges turn lightly golden while the middle still looks soft, and that’s exactly when these dairy free chocolate chip cookies should come out of the oven. They finish setting on the baking sheet, so waiting for the centers to look fully baked can leave you with a drier cookie.
I cream softened dairy-free butter with both sugars until the mixture looks creamy, then mix in the egg and vanilla before adding the dry ingredients. That order gives the dough an even base without asking you to handle it more than necessary. A rounded tablespoon makes a cookie with a soft middle and plenty of chocolate in each bite.
This batch makes 30 cookies, with golden edges, tender centers, and semisweet chocolate throughout.
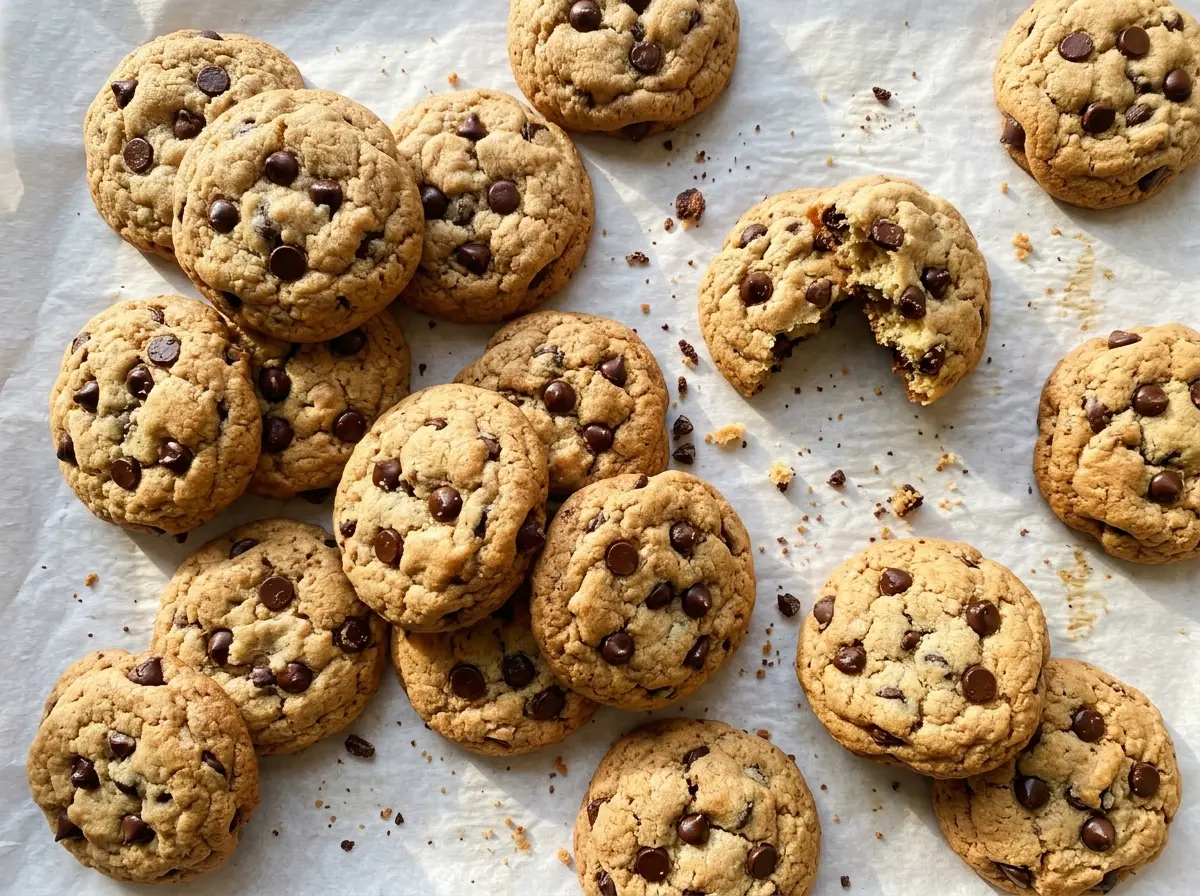
Kitchen Note
Bring the egg to room temperature before it goes into the creamed butter. A cold egg can make the mixture look uneven, while a room-temperature one blends in smoothly.
Save these dairy free chocolate chip cookies for a soft-centered batch with golden edges and plenty of semisweet chocolate.
Why These Cookies Need a Full Creaming, Even With Vegan Butter
Dairy-free butter sticks soften and cream much like conventional butter, but the texture of the mixture is your useful checkpoint here. Beat the butter with the two sugars on medium speed until it looks creamy, giving it the full two to three minutes. If you stop while the mixture still looks dense and streaky, the dough won’t have the same even starting point.
The sugar should be worked into the softened butter, not left as separate sandy patches. Once the mixture is creamy, the egg and vanilla help bring the wet ingredients together before the flour mixture goes in. Add that flour mixture on low speed and stop as soon as you no longer see dry streaks. Continuing to beat after the flour disappears can make the cookies tougher than you want.
This is also why stick-style dairy-free butter matters more than chasing a particular brand. The recipe is built around softened sticks that can be creamed; spreadable tub products have a different consistency and can change how the dough behaves. The dough should look cohesive after the flour is mixed in, then the chocolate chips get stirred through.
What Gives These Dairy-Free Cookies Their Tender, Chewy Bite
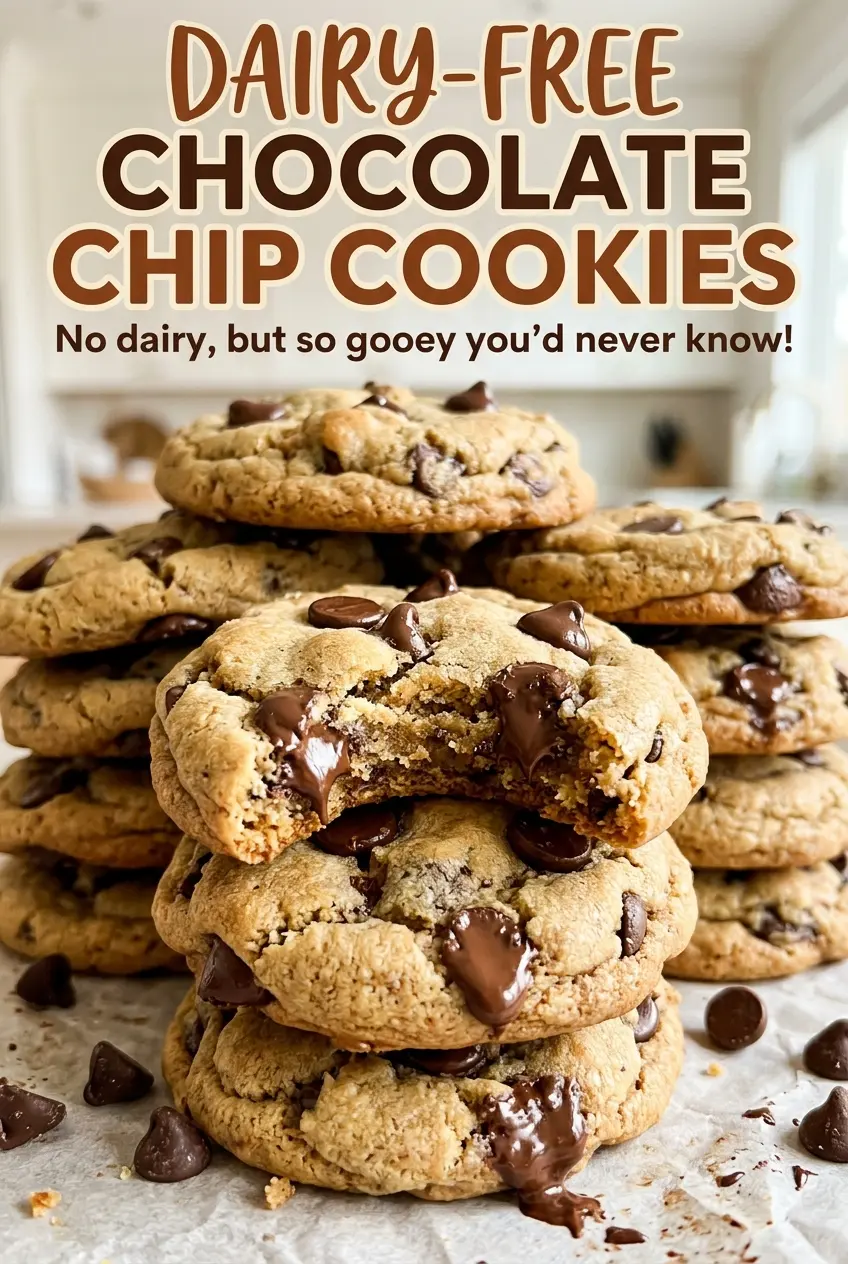
- All-purpose flour — It gives the cookies enough structure to hold their shape around the chocolate. A standard bag works well; sifted or specialty flour isn’t needed. If you need a gluten-free version, use a 1:1 gluten-free baking blend designed to replace all-purpose flour.
- Dairy-free butter sticks — Choose a stick-style vegan butter, rather than a soft spread from a tub, so it can cream with the sugars. A different brand of dairy-free sticks is the most straightforward swap; let it soften before mixing, but don’t use it melted.
- Light brown and granulated sugars — The brown sugar brings a deeper, softer cookie texture, while granulated sugar balances it. Dark brown sugar can replace light brown sugar in the same amount for a stronger molasses note; the cookies will taste a little richer.
- Egg and vanilla — The egg helps bind the dough, and vanilla rounds out the sweetness. Keep the egg in this version for the most reliable texture; the recipe is dairy-free, not egg-free.
- Dairy-free semisweet chocolate chips — Their sweetness fits the dough without overwhelming it. Choose chips labeled dairy-free, and use a brand you enjoy eating on its own; premium chips aren’t required for a good cookie.
Mixing and Baking the Dough Without Overworking It
Whisk the Dry Ingredients Evenly
Whisk the flour, baking soda, and salt together in a medium bowl before they meet the wet mixture. Break up any visible lumps so the baking soda and salt aren’t concentrated in one spot. Set the bowl aside while you cream the butter and sugars. This small bit of mixing helps the dry ingredients distribute evenly through the dough.
Cream the Butter and Sugars Until Smooth
Put the softened dairy-free butter, packed light brown sugar, and granulated sugar in a large bowl. Beat on medium speed for two to three minutes, until creamy rather than visibly streaky. Add the room-temperature egg and vanilla, then beat until combined. If the mixture looks a little uneven before the egg blends in, keep mixing just until it comes together.
Finish the Dough Gently
Add the flour mixture and mix on low speed only until no dry streaks remain. Scrape down the bowl if flour is hiding along the sides, then stir in the chocolate chips. Scoop rounded tablespoons of dough onto parchment-lined, large rimmed baking sheets, leaving about two inches between them. Crowding the dough gives the cookies less room to spread.
Bake for Golden Edges, Then Let Them Set
Heat the oven to 350°F and bake one sheet at a time for 9 to 11 minutes. Look for lightly golden edges and centers that still appear soft; don’t wait for the middle to look firm. Let the cookies cool on the baking sheet for five minutes, then transfer them to a wire rack to cool completely. Moving them too soon can break the tender centers.
Simple Ways to Adapt the Dough for Different Needs
Make a gluten-free batch
Replace the all-purpose flour with the same amount of a 1:1 gluten-free baking blend formulated for baking. The cookies may have a slightly more delicate crumb, so give them the full cooling time on the baking sheet before transferring them.
Double the batch for a larger bake
Double every ingredient to make about 60 cookies. Keep the dough portions the same size and bake one sheet at a time so each pan gets the same even heat and the edges brown at a similar pace.
Storage and Reheating
- Room temperature: Keep completely cooled cookies in an airtight container for up to four days. They’ll soften a little as they sit.
- Freezer: Freeze cooled cookies in an airtight freezer-safe container for up to two months. Thaw at room temperature before serving.
- Reheating: Warm a cookie briefly in the microwave if you want the chocolate soft again. Use short bursts and stop as soon as it’s warm; extended heating can make the cookie tough.
Questions That Come Up With Dairy-Free Chocolate Chip Cookies
Dairy Free Chocolate Chip Cookies
Ingredients
Equipment
Method
- Heat the oven to 350°F.
- Line 2 large rimmed baking sheets with parchment paper.
- Whisk the flour, baking soda, and salt together in a medium bowl.
- Beat the vegan butter, brown sugar, and granulated sugar in a large bowl with an electric mixer on medium speed for 2 to 3 minutes, until creamy.
- Beat in the egg and vanilla until combined.
- Mix in the flour mixture on low speed just until no dry streaks remain.
- Stir in the chocolate chips.
- Scoop rounded tablespoons of dough onto the prepared sheets, spacing them about 2 inches apart.
- Bake one sheet at a time for 9 to 11 minutes, until the edges are lightly golden and the centers still look soft.
- Cool the cookies on the baking sheet for 5 minutes.
- Transfer them to a wire rack to cool completely.




