
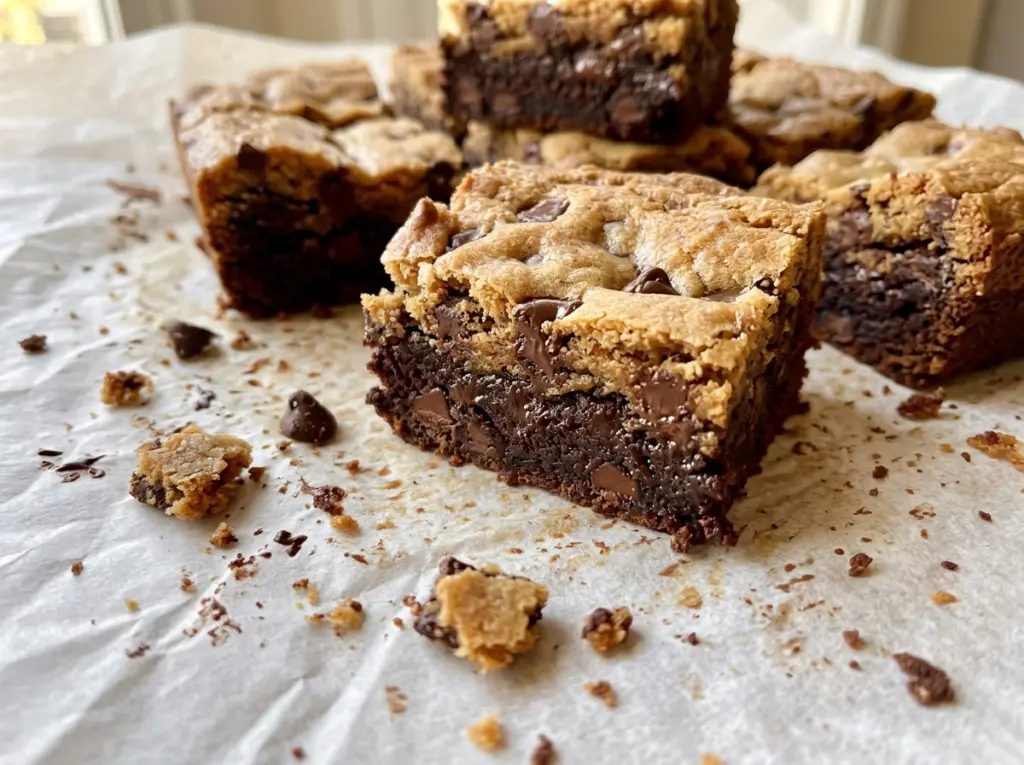
The cookie dough should feel soft enough to press into the pan, while the brownie batter pours over it in a smooth, dark layer. Getting those two textures in the same square is what makes brookies fun—and what can make them a little fussy if the batters get treated alike. These fudgy chewy brookies keep a chocolate chip cookie base under a cocoa-rich brownie top, so each bite has a clear contrast instead of turning into one blended, cakey bar.
I make the cookie dough first and press it into the parchment-lined pan before mixing the brownie layer. That order gives the bottom a level foundation and keeps the brownie batter from sinking into loose cookie dough. The layers bake together, but they start with different textures: the cookie dough is thick, and the brownie batter is smooth enough to spread across it.
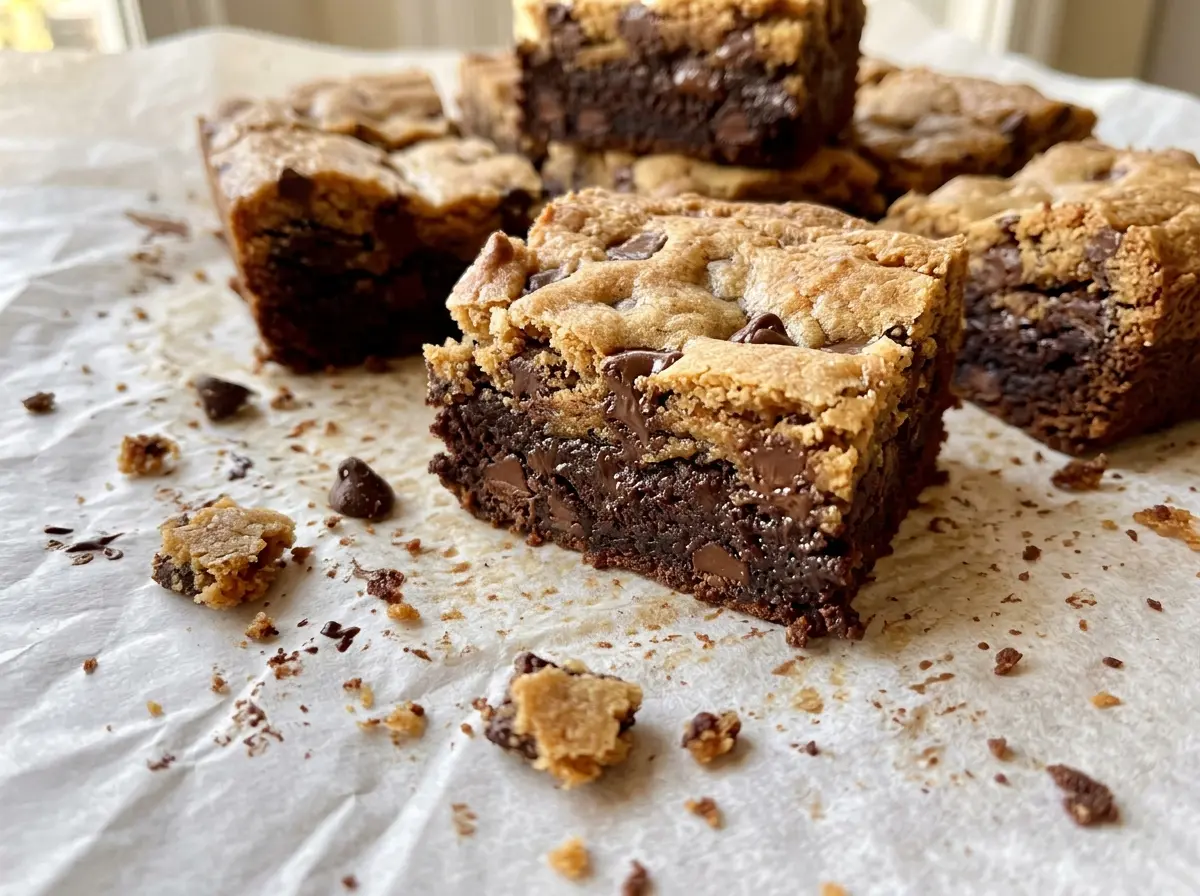
Once the pan is in the oven, I watch for set edges and a tester that comes out with a few moist crumbs from the brownie layer. Letting the pan cool completely before cutting is worth the wait; the squares hold their two distinct layers and show off that fudgy center.
Kitchen Note
Don’t rush the cooling. I leave the pan on a wire rack for the full two hours, then use the parchment overhang to lift the slab out without bending the cookie base.
Save these fudgy chewy brookies for a bake with two distinct layers: a chocolate chip cookie base and a cocoa brownie top.
Why Brookies Need Two Different Mixing Styles
These layers share a pan, but they don’t share a mixing method. The cookie base starts with softened butter beaten with two sugars, which makes a creamy dough sturdy enough to press into an even layer. The brownie top starts with melted butter whisked with sugar and cocoa. That mixture is smooth and fluid, so it spreads over the dough without needing to be pressed down.
Keeping the batters separate also protects the texture contrast. Once flour goes into the cookie mixture, mix only until the dry patches disappear; extended mixing can make the base firm rather than tender. The brownie flour gets folded in just until combined, too. A few extra stirs aren’t helpful here: the goal is a cohesive batter that still bakes into a fudgy top, not a tough one. Different butter states and gentle flour mixing are doing the work that makes these bars read as cookie and brownie in the same bite.
What Gives the Cookie Base and Brownie Top Their Character

- Butter — The cookie layer needs softened butter so it creams with the sugars; the brownie layer uses melted butter for a smooth cocoa batter. Unsalted butter keeps the salt level controlled. Let the softened portion become pliable, not greasy or melted.
- Brown and granulated sugars — Packed light brown sugar brings moisture and a deeper sweetness to the cookie dough, while granulated sugar helps both layers sweeten and gives the brownie batter its familiar texture. Pack the brown sugar into the measuring cup for a consistent result.
- Eggs and vanilla — The cookie layer uses one egg to bring its dough together, while the brownie batter uses two eggs for its richer structure. Use large eggs, as listed, and add the vanilla after the eggs are incorporated.
- All-purpose flour and baking soda — All-purpose flour gives the cookie dough enough body to hold the brownie layer. Baking soda belongs in the cookie mixture, not the brownie batter; keep the two dry mixtures separate so the layers bake as intended.
- Unsweetened cocoa powder — Cocoa gives the brownie layer its chocolate flavor without adding more melted chocolate. Break up any stubborn lumps while whisking it with the melted butter and sugar so the batter spreads smoothly.
- Semisweet chocolate chips — Chips bring distinct pockets of chocolate to both layers. A standard bag is fine; what matters most is folding them in evenly so you don’t end up with one corner crowded with chips and another with very few.
Build the Cookie Base Before Spreading the Brownie Top
Cream the Sugars Into the Softened Butter
Beat the softened butter with the packed brown sugar and granulated sugar until creamy, about two minutes. The mixture should look cohesive rather than like separate butter and sugar. Beat in the egg and vanilla until combined. If the butter is melted instead of softened at this stage, the dough won’t have the same texture for pressing into the pan.
Make a Thick, Even Cookie Layer
Whisk the cookie flour, baking soda, and salt together in a separate bowl before mixing them into the butter mixture. Stop as soon as no dry flour remains; overworking the dough after the flour goes in can leave the base dense. Fold in the chocolate chips, then press the dough into an even layer in the prepared 9×13-inch pan. Check the corners, where a thick mound of dough can make the base bake unevenly.
Whisk a Smooth Brownie Batter
Whisk the melted butter, granulated sugar, and cocoa powder until smooth. Add the eggs one at a time, whisking each in before adding the next, then whisk in the vanilla. Fold in the flour and salt just until combined, followed by the chocolate chips. If the batter still has visible dry flour, fold gently a little longer; once it’s incorporated, stop.
Layer, Bake, and Check the Center
Spread the brownie batter evenly over the cookie dough so the top reaches the edges of the pan. Bake at 350°F for 32 to 38 minutes. The edges should look set, while a tester inserted into the brownie layer should come out with a few moist crumbs; wet batter means it needs more time. Cool completely on a wire rack before lifting the slab with the parchment overhang and cutting it into 24 squares.
Two Easy Ways to Adapt These Brookies
A gluten-free batch
Replace the all-purpose flour in both layers with a cup-for-cup gluten-free baking blend that includes xanthan gum. Keep the flour quantities the same as listed for each layer. The crumb may be a little more delicate, so let the pan cool fully before lifting and cutting it.
A darker chocolate bite
Use bittersweet chocolate chips in place of the semisweet chips in both layers. The bars will taste less sweet and more chocolate-forward, while the two-layer format stays the same. Keep the listed chip quantities and fold them into their respective batters.
Storage and Reheating
- Refrigerator: Keep the cut squares in an airtight container for up to 5 days. Chilling firms the brownie layer, so let a square sit at room temperature briefly if you prefer a softer bite.
- Freezer: Freeze fully cooled squares in an airtight freezer-safe container, with parchment between layers, for up to 2 months. Thaw at room temperature before serving.
- Reheating: For a warm square, microwave it briefly, then check the center before adding any more time. Long heating can make the cookie base hard and the brownie top dry.
The Brookie Questions That Come Up Most
Fudgy Chewy Brookies
Ingredients
Equipment
Method
- Preheat the oven to 350°F.
- Grease a 9x13-inch baking pan and line it with parchment paper, leaving overhang on two sides.
- In a large bowl, beat the softened butter, brown sugar, and granulated sugar until creamy, about 2 minutes.
- Beat in the egg and vanilla extract until combined.
- In a medium bowl, whisk together the flour, baking soda, and salt.
- Mix the dry ingredients into the butter mixture just until no dry flour remains.
- Fold in the chocolate chips.
- Press the dough into an even layer in the prepared pan.
- In a medium bowl, whisk the melted butter, granulated sugar, and cocoa powder until smooth.
- Whisk in the eggs, one at a time.
- Whisk in the vanilla extract.
- Fold in the flour and salt just until combined.
- Fold in the chocolate chips.
- Spread the brownie batter evenly over the cookie dough.
- Bake for 32 to 38 minutes, until the edges are set and a tester inserted into the brownie layer has a few moist crumbs.
- Cool completely in the pan on a wire rack, about 2 hours.
- Lift out using the parchment and cut into 24 squares.




