

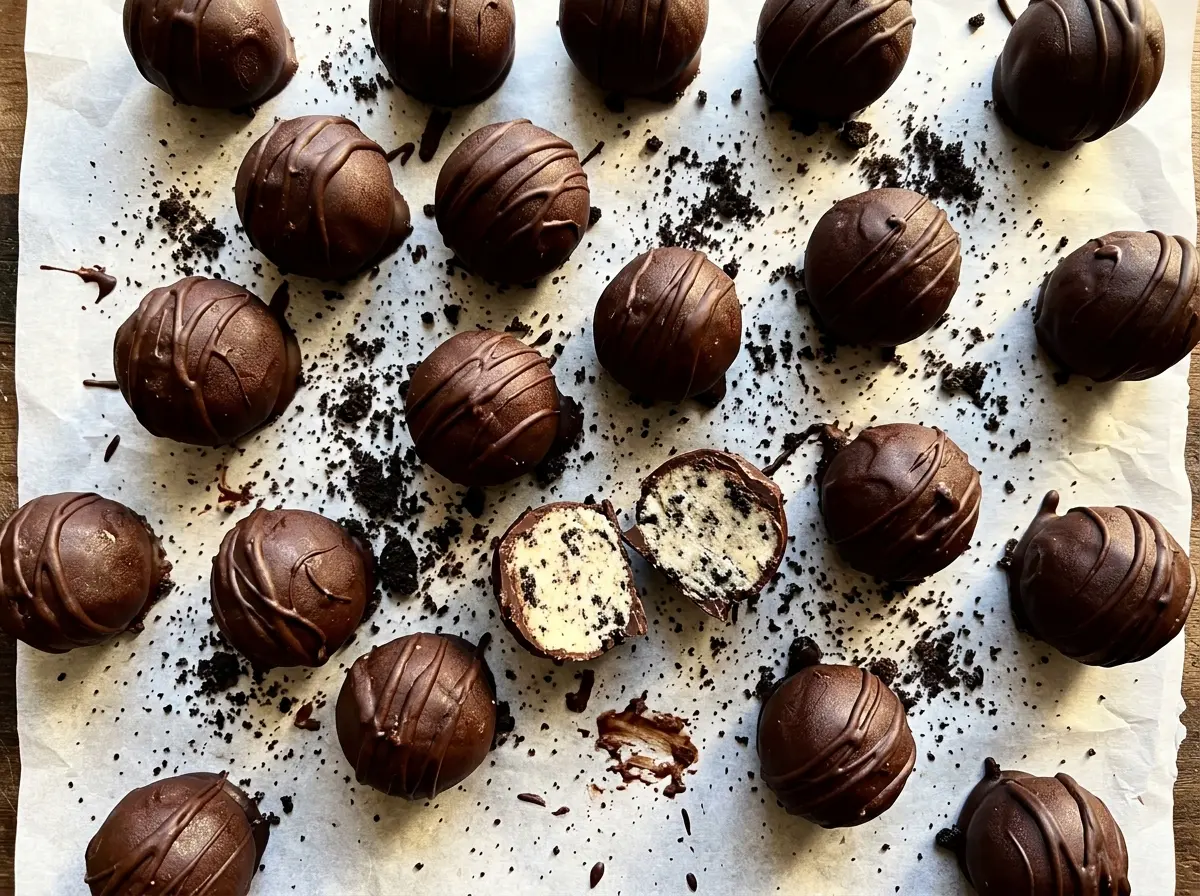
A spoonful of cookie crumbs disappears into softened cream cheese, and a few pulses turn the dark mixture into a thick, even dough. That’s the part I love about these Gluten Free Oreo Balls: the centers come together quickly, then a smooth semisweet chocolate shell makes them feel like a little more than a cookie truffle.
For the best texture, the cookies need to be finely crushed before the cream cheese goes in. Big pieces can leave the mixture uneven, while fine crumbs blend into a center that’s easy to scoop and roll. Once the balls are firm from a rest in the refrigerator, they’re much easier to coat without losing their shape. The finished centers are soft and creamy under a crisp chocolate coating.
Kitchen Note
Let each dipped ball pause over the bowl so the extra chocolate can drip back before it goes onto the parchment. That brief moment helps keep a thick puddle of chocolate from forming underneath.
Save these Gluten Free Oreo Balls for a make-ahead treat with creamy cookie centers and a crisp chocolate shell.
Why Fine Cookie Crumbs Make These Centers Hold Together
It’s easy to assume the cream cheese will bind the cookies no matter how roughly they’re crushed. But the texture of the crumbs makes a difference here. Fine, even crumbs mix into the cream cheese throughout, giving each scoop a consistent texture. Larger pieces can leave weak spots in the mixture, so the balls don’t roll as neatly and the center can feel lumpy.
Pulse the cookies until they look like fine, dark crumbs rather than a mix of crumbs and chunks. Then process with the softened cream cheese only until the mixture is evenly combined. The goal isn’t to whip air into it or make it fluffy; you want a dense, cohesive mixture that holds its shape when rolled. If you see pale streaks of cream cheese, keep processing briefly until those disappear. Taking care at this stage makes the later scooping and coating much less fussy.
What the Cookies, Cream Cheese, and Coating Each Contribute

- Gluten-free sandwich cookies — The cookies provide both the chocolate flavor and the crumb structure, so use the gluten-free Oreo version for the intended result. A different gluten-free chocolate sandwich cookie can work in the same quantity, though its cookie size or filling ratio may change how firm the mixture feels. Choose crisp cookies and crush them thoroughly.
- Cream cheese — This is the binder that turns the crumbs into a soft, rollable center, and its tang keeps the filling from tasting one-note sweet. Full-fat cream cheese gives the most familiar rich texture. Neufchâtel can stand in at an equal quantity, but the centers may be a little softer.
- Semisweet chocolate chips — They make a sweet but balanced shell and are convenient to melt. A good-quality gluten-free chip is worth choosing because chocolate is the first flavor you notice on the outside. Gluten-free dark chocolate chips work as an equal-quantity swap for a less-sweet, more cocoa-forward coating.
- Refined coconut oil — A little oil loosens the melted chips so they coat the balls more smoothly; refined coconut oil keeps its flavor neutral. If you don’t want to use coconut oil, an equal quantity of vegetable shortening also helps thin the coating, though the finish may be less glossy.
From Fine Crumbs to a Clean Chocolate Shell
Crush the Cookies Until Even
Line a rimmed baking sheet with parchment before you start, so it’s ready when the mixture is shaped. Pulse the cookies in a food processor until the crumbs look fine and uniform. Stop to check for larger pieces rather than relying only on the sound of the processor. Those remaining chunks are easy to miss until you start rolling.
Blend in the Cream Cheese
Add the softened cream cheese to the cookie crumbs and process until the mixture is evenly combined. The finished mixture should look consistently dark, without visible pale streaks or dry pockets of crumbs. Scrape down the bowl if needed so everything gets incorporated. Avoid stopping while the cream cheese is still in separate patches.
Roll and Chill the Centers
Scoop the mixture by the tablespoon and roll each portion into a ball. Arrange them on the parchment-lined baking sheet, leaving a little room between them. Refrigerate for 1 hour, until the balls feel firm; a soft center is more likely to lose its shape when dipped. If the mixture sticks to your hands as you roll, work steadily and return the shaped balls to the refrigerator for their full chill.
Melt, Dip, and Set the Coating
Combine the chocolate chips and refined coconut oil in a medium microwave-safe bowl. Microwave at 50% power in 30-second increments, stirring after each, until the chocolate is smooth. Dip each chilled ball, then return it to the prepared baking sheet. Refrigerate for about 20 minutes, until the coating is set and no longer looks wet.
Minty, Dairy-Free, or Half-Size: Three Ways to Change These Oreo Balls
Make a Mint-Chocolate Batch
Replace the regular gluten-free chocolate sandwich cookies with gluten-free mint chocolate sandwich cookies. The center will have a clear mint note against the same semisweet shell, without changing the mixing or dipping method.
Make Them Dairy-Free
Use dairy-free gluten-free chocolate sandwich cookies, dairy-free cream cheese, and dairy-free semisweet chocolate chips. Keep the refined coconut oil in the coating. Plant-based cream cheese can make the centers softer, and the flavor will vary by brand, but the same cookie-ball and chocolate-coating format works.
Make a Half Batch
For about 18 balls, use 18 gluten-free cookies, 4 ounces of cream cheese, 8 ounces of semisweet chocolate chips, and 1/2 tablespoon of refined coconut oil. The smaller amount is easier to manage when you want a modest batch, and the steps stay the same.
Storage and Serving
- Refrigerator: Keep the balls in an airtight container and eat within 3 to 4 days. The centers stay creamy, though the coating may lose some of its snap over time.
- Freezer: Freeze the set balls in a single layer until firm, then transfer them to an airtight container with parchment between layers. They keep well for up to 2 months; thaw them in the refrigerator.
- Serving: Serve chilled, especially if the room is warm. Since the centers contain cream cheese, return leftovers to the refrigerator rather than leaving them out.
Questions That Come Up While Making Gluten Free Oreo Balls
Gluten Free Oreo Balls
Ingredients
Equipment
Method
- Line a rimmed baking sheet with parchment paper.
- Pulse the cookies in a food processor until finely crushed.
- Add the cream cheese and process until the mixture is evenly combined.
- Scoop the mixture by the tablespoon and roll into balls.
- Arrange the balls on the prepared baking sheet.
- Refrigerate for 1 hour, until firm.
- Combine the chocolate chips and coconut oil in a medium microwave-safe bowl.
- Microwave at 50% power in 30-second increments, stirring after each, until smooth.
- Dip each chilled ball in the melted chocolate, letting excess drip back into the bowl.
- Return the coated balls to the baking sheet.
- Refrigerate for about 20 minutes, until the coating is set.




