
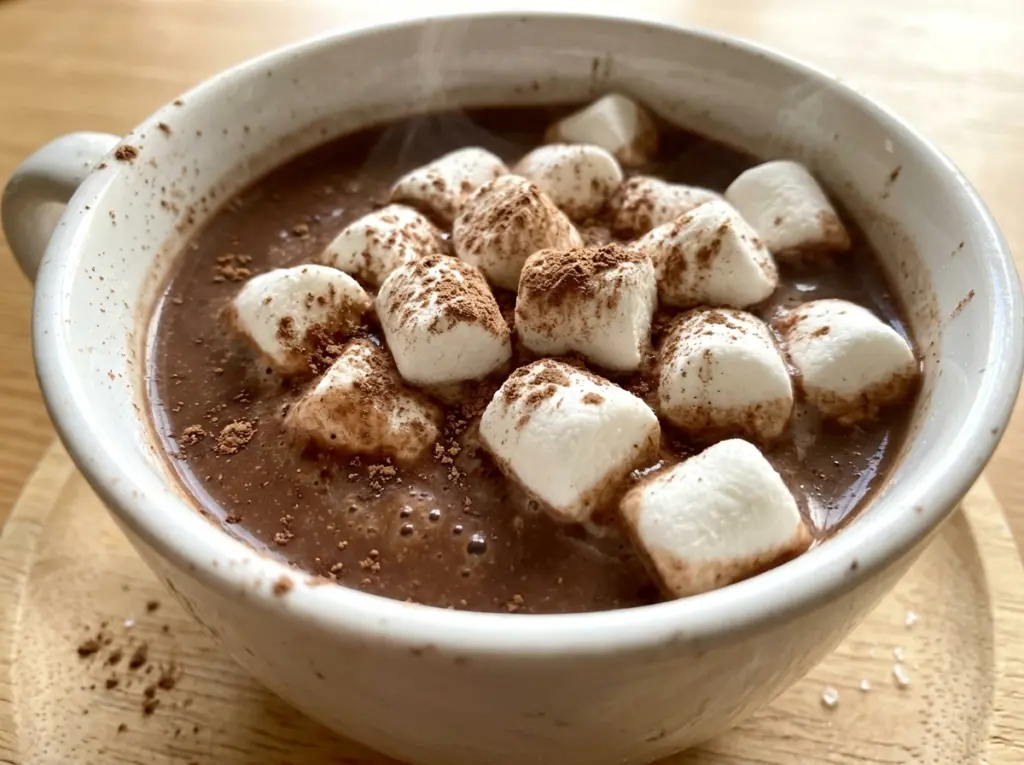
As the milk warms, a thin veil of steam rises before you see a bubble at the edge of the pan. That’s the moment to pay attention: hot chocolate should be steaming and ready to drink, not bubbling away on the stove.
For this homemade hot chocolate, cocoa powder brings the familiar toasted chocolate taste, while finely chopped semisweet chocolate melts into the milk for a rounder, silkier cup. The sweetness stays balanced instead of tasting like a mug of melted candy. I like how the finished drink feels rich without needing cream or a pile of toppings.
It’s a simple stovetop treat, but the order matters. Take your time with the warm milk, then let the chopped chocolate melt after the pan comes off the heat. Each cup is smooth, deeply chocolatey, and best served hot.
Kitchen Note
Finely chopped chocolate melts quickly once the pan is off the heat. Keep the pieces small and whisk for about a minute; larger chunks can leave you waiting while the drink cools.
Save this homemade hot chocolate for a cold evening: it’s smooth, chocolatey, and made right on the stovetop.
Why the Cocoa Needs a Smooth Paste Before the Milk Goes In
Cocoa powder doesn’t dissolve the way sugar does. If you whisk it straight into a full pan of milk, it can float in dry clumps that are hard to break up, leaving little bitter pockets in an otherwise smooth drink. Starting with the sugar, cocoa, and salt together, then whisking in just part of the milk, gives the cocoa enough liquid to turn into a loose, even paste.
Keep whisking until you don’t see dry streaks or small lumps before you add the rest of the milk. This short pause makes a difference because the cocoa gets evenly dispersed before the saucepan is full. It also lets you see whether the mixture is smooth while it’s still easy to reach every bit of the bottom and sides with a whisk.
Once the remaining milk is in, you’re warming a well-mixed base rather than trying to chase cocoa clumps around a larger volume. It’s a small bit of setup, but it’s what gives the finished hot chocolate an even cocoa taste from the first sip to the last.
What the Cocoa and Semisweet Chocolate Each Bring to the Mug

- Unsweetened cocoa powder — This gives the drink its concentrated cocoa character without adding sweetness. Use cocoa that smells fragrant and chocolatey; an old, flat-smelling tin will make a flat-tasting mug. Dutch-process or natural unsweetened cocoa both work, though their flavor and color differ slightly.
- Semisweet chocolate — Melted chocolate adds body and a softer, fuller texture that cocoa powder alone won’t provide. A good-quality baking bar is worth choosing here, but there’s no need for an expensive specialty bar. Finely chopping it helps it melt evenly.
- Whole milk — Whole milk gives the drink a creamy feel and carries the cocoa and chocolate well. Two-percent milk works if that’s what you have; expect a lighter, less plush cup. The recipe uses the milk in two additions so you can first smooth out the cocoa mixture.
- Granulated sugar — Sugar balances the bitterness of unsweetened cocoa and semisweet chocolate. Keep the amount steady for the intended sweetness, or use the milk-chocolate variation below if you prefer a sweeter, gentler chocolate taste.
- Vanilla extract — Stirred in at the end, vanilla rounds out the chocolate without taking over. Standard pure or imitation vanilla extract both work in this drink.
Warm the Milk Gently, Then Melt the Chocolate Off the Heat
Whisk the Cocoa Into a Smooth Base
In a 2-quart saucepan, whisk together the sugar, cocoa powder, and kosher salt. Pour in 1/2 cup of the milk and whisk until the mixture is smooth, scraping the bottom of the pan as you go. Look for a loose paste with no dry cocoa visible before moving on. If you still see small lumps, keep whisking now rather than hoping they’ll disappear later.
Heat Until Steaming, Not Boiling
Whisk in the remaining 3 1/2 cups of milk, then set the saucepan over medium heat. Warm it for 5 to 7 minutes, whisking often so the mixture heats evenly and doesn’t sit undisturbed on the bottom. The cue you want is visible steam and hot milk, not a rolling boil. If bubbles begin breaking across the surface, lower the heat so the milk doesn’t boil.
Finish With Melted Chocolate and Vanilla
Take the pan off the heat before adding the finely chopped semisweet chocolate. Whisk until the chocolate has melted and the drink looks smooth, about 1 minute; a few flecks mean it needs more whisking. Stir in the vanilla extract after the chocolate is fully melted. Serve the hot chocolate while it’s warm and silky.
Three Easy Ways to Adjust the Chocolate in Your Cup
Use bittersweet chocolate for a darker cup
Swap the semisweet chocolate for the same amount of bittersweet chocolate. The drink will taste less sweet and more intensely chocolatey, with a slightly firmer, less candy-like finish.
Make a dairy-free version with oat milk
Replace the whole milk with an unsweetened, full-bodied oat milk and use semisweet chocolate labeled dairy-free. The result will be a little less creamy than the whole-milk version, but oat milk gives it enough body to stay satisfying. Warm it gently and whisk often.
Make it sweeter with milk chocolate
Replace the semisweet chocolate with milk chocolate for a softer, sweeter flavor. Since milk chocolate has more sweetness, start with less granulated sugar than the listed amount, then taste once the chocolate has melted and adjust to your preference.
Storage and Reheating
- Refrigerator: Cool and refrigerate leftovers within 2 hours in a covered container. They’ll keep for up to 3 days; the chocolate may settle or firm up as it chills.
- Freezer: Freeze in an airtight, freezer-safe container for up to 2 months. The thawed drink may separate, so thaw it in the refrigerator and whisk it well as it reheats.
- Reheating: Warm gently in a saucepan over low heat, whisking until smooth and steaming. Don’t bring it to a boil, which can make the texture less pleasant.
Questions I Get Asked About This Stovetop Hot Chocolate
Homemade Hot Chocolate
Ingredients
Equipment
Method
- In a 2-quart saucepan, whisk together the sugar, cocoa powder, and salt, then whisk in 1/2 cup of the milk until smooth.
- Whisk in the remaining 3 1/2 cups milk and heat over medium heat for 5 to 7 minutes, whisking often, until hot and steaming but not boiling.
- Remove the pan from the heat, add the chopped chocolate, and whisk until melted and smooth, about 1 minute.
- Stir in the vanilla extract and serve hot.




