
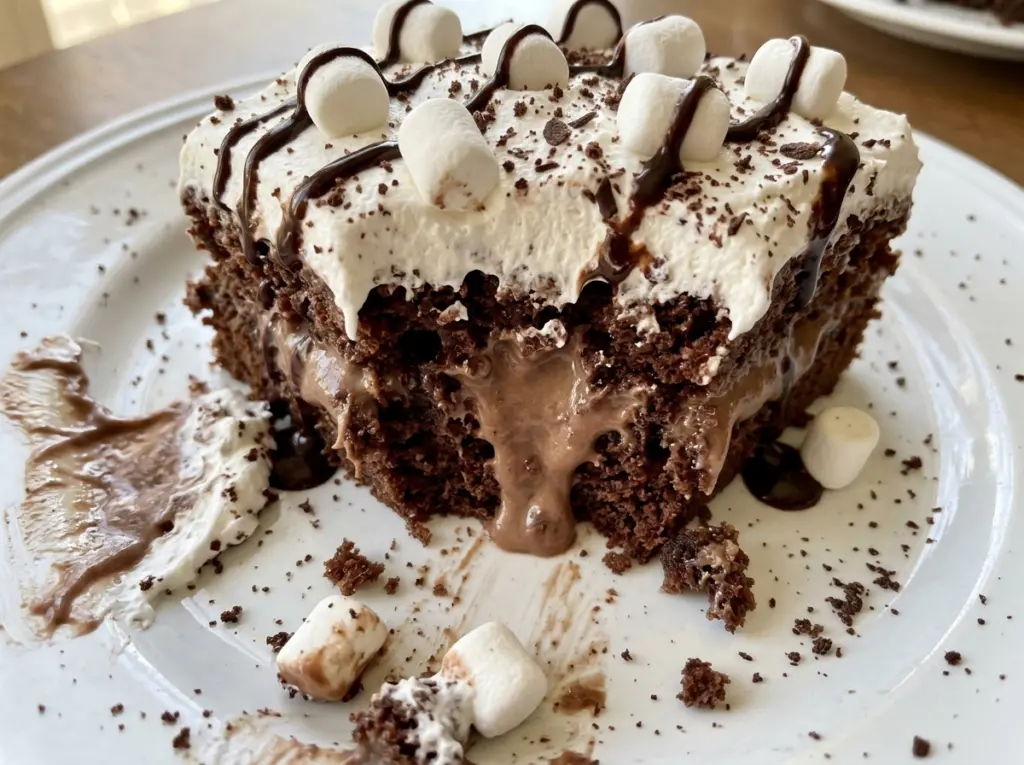
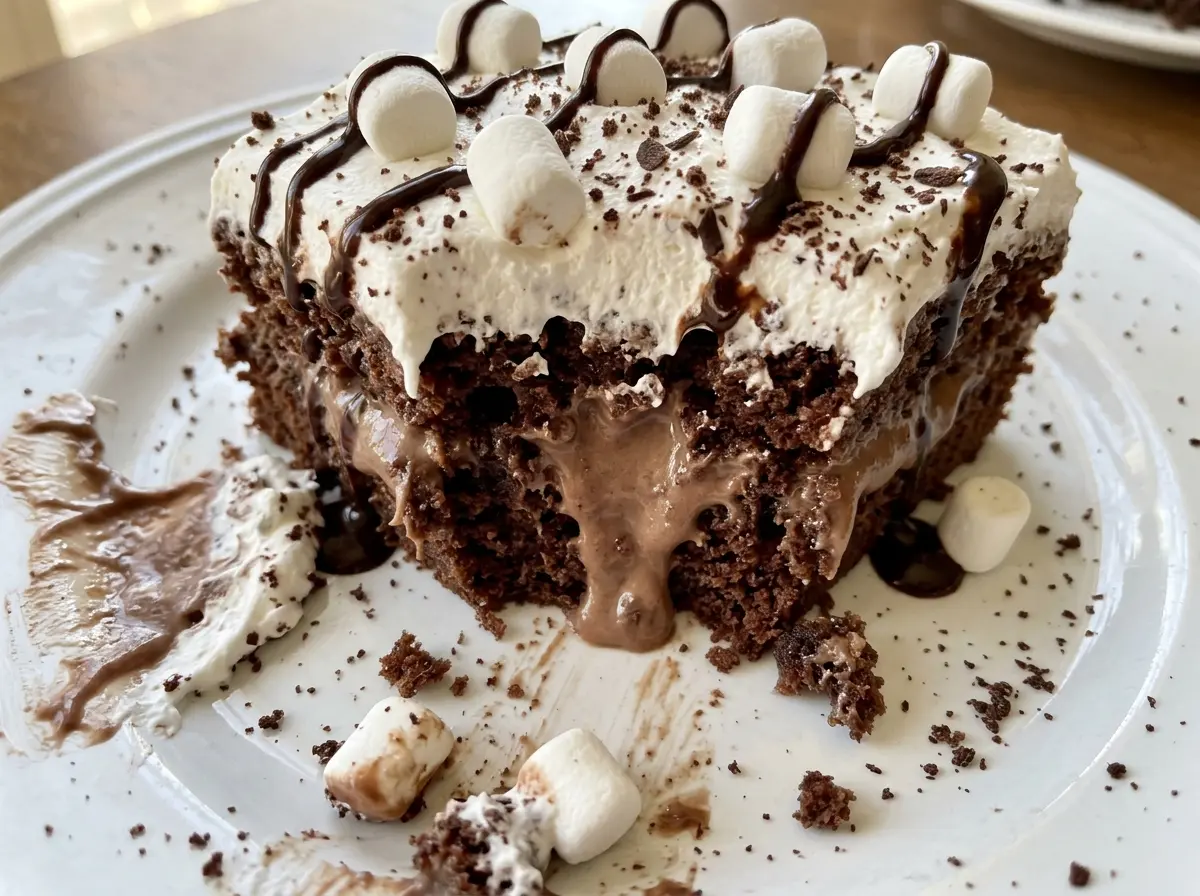
The batter pours into the pan in a thin ribbon, and after baking the cake is sturdy enough to hold a sweet cocoa soak without turning soggy. That balance is what I wanted from this Hot Cocoa Poke Cake: tender chocolate cake, hot cocoa filling in every slice, and a cloud of whipped cream finished with mini marshmallows.
The timing after baking matters more than it might seem. Poke the cake while it’s still warm, then pour the warm filling over it slowly so it has time to travel into the holes instead of rushing across the surface. Once the cake is completely chilled, the filling settles into the crumb and the cream stays neatly on top. Each forkful tastes like a mug of hot cocoa tucked into a soft slice of cake.
Kitchen Note
After the boiling water goes in, the batter looks much thinner than a typical cake batter. Leave it that way; it should pour easily into the pan, and adding extra flour would throw off the cake’s texture.
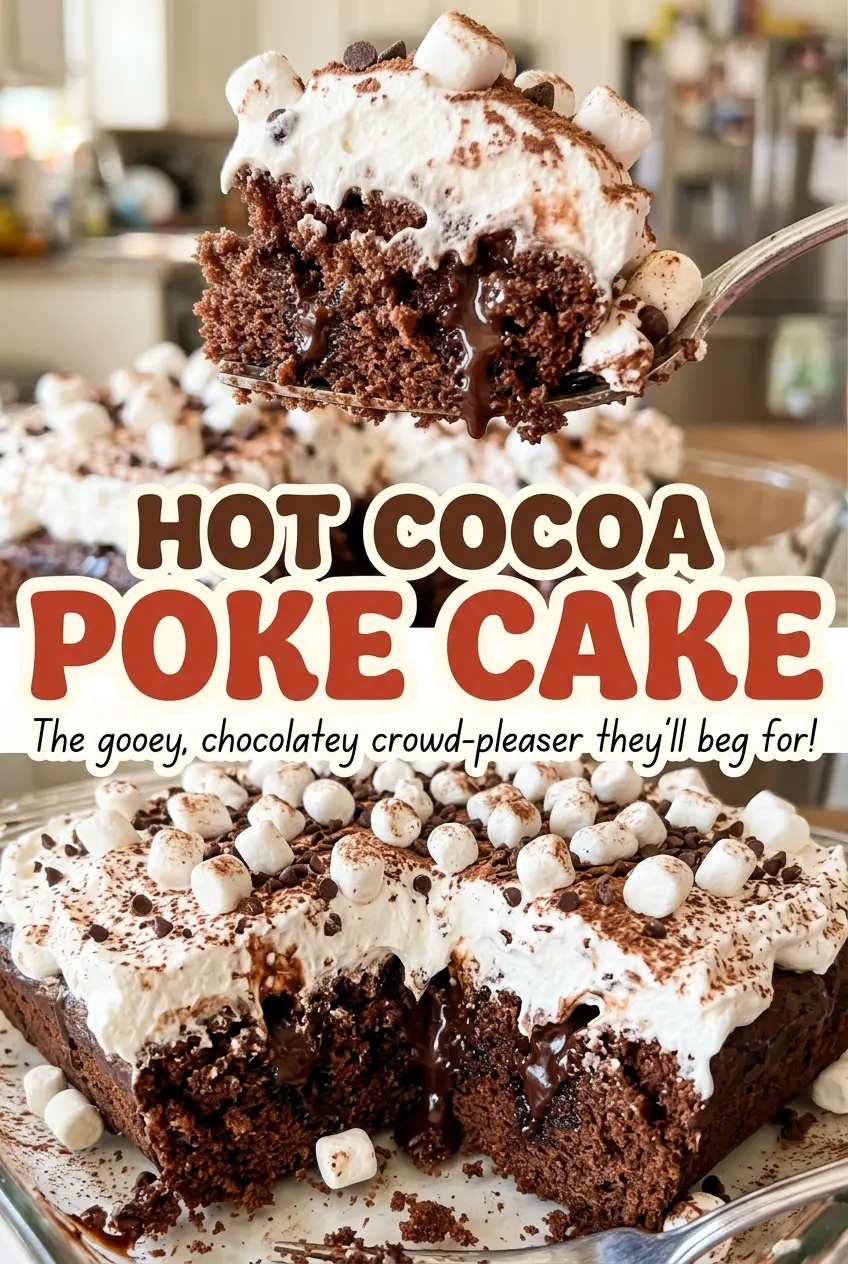
Save this Hot Cocoa Poke Cake for a bake-ahead chocolate dessert with cocoa filling, whipped cream, and mini marshmallows.
Why the Holes Need to Be a Grid, Not a Row
A poke cake only works when the filling has enough places to travel. If the holes are too far apart, some bites get plenty of cocoa filling while the cake between them stays mostly plain. Poke them about 1 inch apart across the whole surface and the filling has a more even route through the cake.
Spacing also helps the cake hold together. A few huge openings can leave weak spots, while a regular pattern spreads the filling without turning the top into one continuous trench. The wooden spoon handle makes holes wide enough for the mixture to enter, but the cake still has plenty of crumb between them to support the topping and cut into squares.
The filling isn’t meant to sit in a thick layer above the cake. It belongs in those channels, with just enough on the surface to connect them. That’s why an even pattern gives you a slice that tastes cocoa-rich from top to bottom, rather than one with a sweet stripe and dry patches.
Which Cocoa Belongs in the Cake—and Which Goes in the Filling
- Unsweetened cocoa powder — This gives the cake its chocolate base without adding sweetness beyond the measured sugar. A standard, inexpensive unsweetened cocoa works; keep sweetened hot cocoa mix out of the cake batter because it isn’t a one-for-one stand-in. Dutch-process cocoa can behave differently with the baking soda, so stick with unsweetened cocoa powder for the intended rise.
- Hot cocoa mix — This is what makes the filling taste like a mug of cocoa rather than a plain chocolate soak. The mix already brings its own sweetness and cocoa flavor, so a dark or flavored variety will shift the character of the filling. Choose one you enjoy drinking; there’s no need for a premium brand.
- Sweetened condensed milk — Its thick, sweet consistency gives the filling body and helps it cling inside the cake instead of disappearing into the crumb. Evaporated milk isn’t an equivalent swap; it’s thinner and unsweetened, so the filling would lose both richness and sweetness.
- Whole milk, eggs, and vegetable oil — Together they give the cake enough moisture and structure to stay tender after soaking. Use large eggs and whole milk as listed, and measure the oil carefully; reducing it can leave the crumb dry once the filling has settled in.
- Cold heavy cream — Heavy cream whips into a topping that can hold its shape over the chilled cake. Keep it cold, and use a chilled bowl as directed; lighter pourable dairy products won’t whip into the same stable topping.
- Mini marshmallows — Their small size scatters across the cream without weighing down each slice. They also give the top the familiar hot-cocoa look and a soft, chewy contrast to the whipped cream.
How to Soak the Cake Without Losing Its Crumb
Mix and Bake a Pourable Chocolate Batter
Heat the oven to 350°F and grease a 9×13-inch baking pan. Whisk the flour, granulated sugar, cocoa powder, baking powder, baking soda, and kosher salt in a large bowl, then add the eggs, whole milk, vegetable oil, and vanilla. Beat with an electric mixer on medium speed for 2 minutes, carefully stir in the boiling water until combined, and pour the thin batter into the pan. Bake for 30 to 35 minutes; a toothpick in the center should come out with a few moist crumbs, not wet batter.
Make the Holes While the Cake Is Warm
Let the cake cool in the pan for 10 minutes, then poke holes about 1 inch apart across the surface with the handle of a wooden spoon. Warm the water in a small saucepan over medium heat until it’s steaming, then whisk in the hot cocoa mix and sweetened condensed milk until smooth. Pour the filling slowly over the warm cake, spreading it across the surface so it runs into the holes instead of collecting in one spot. Cool the filled cake for 30 minutes, cover it, and refrigerate for at least 2 hours until it’s completely chilled.
Whip the Cream Only After the Cake Is Cold
Beat the cold heavy cream, powdered sugar, and vanilla in a chilled bowl until medium-stiff peaks form. Stop at that stage; the cream should hold its shape when you lift the beaters, not look grainy or separated. Spread it over the completely chilled cake, then scatter the mini marshmallows across the top. Keep the finished cake refrigerated until serving.
Small Flavor Changes That Still Taste Like Hot Cocoa
Use peppermint hot cocoa mix
Swap the regular hot cocoa mix for peppermint hot cocoa mix in the filling, keeping the same amount. The cake stays chocolate-forward, with a cool mint note in the soaked center; the topping and marshmallows can stay as they are.
Choose a darker hot cocoa mix
A dark chocolate hot cocoa mix makes the filling taste more cocoa-rich and less like a sweet milk chocolate drink. Keep the listed quantity the same so the filling keeps its intended balance and pours smoothly over the warm cake.
Leave the marshmallows off
Skip the mini marshmallows and keep the whipped cream topping for a smoother, less chewy finish. You’ll still get the cocoa-soaked cake and creamy top, just without the marshmallow layer.
Keeping and Serving
- Refrigerator: Cover the cake and refrigerate it for 3 to 4 days. The marshmallows soften as they sit against the whipped cream, but the cake remains moist.
- Freezer: I don’t recommend freezing the finished cake; whipped cream can lose its smooth texture after thawing, and the marshmallows may become sticky.
- Serving: Serve it cold from the refrigerator. Don’t leave the whipped-cream-topped cake sitting out for an extended period.
Questions That Come Up Before the First Slice
Hot Cocoa Poke Cake
Ingredients
Equipment
Method
- Heat the oven to 350°F.
- Grease a 9x13-inch baking pan.
- Whisk the flour, granulated sugar, cocoa powder, baking powder, baking soda, and salt in a large bowl.
- Add the eggs, milk, oil, and vanilla, then beat with an electric mixer on medium speed for 2 minutes.
- Carefully stir in the boiling water until combined.
- Pour the thin batter into the prepared pan.
- Bake for 30 to 35 minutes, until a toothpick inserted in the center comes out with a few moist crumbs.
- Cool the cake in the pan for 10 minutes.
- Poke holes about 1 inch apart across the cake with the handle of a wooden spoon.
- Warm the water in a small saucepan over medium heat until steaming.
- Whisk in the hot cocoa mix and sweetened condensed milk until smooth.
- Slowly pour the filling over the warm cake.
- Spread the filling so it runs into the holes.
- Cool for 30 minutes.
- Cover the cake and refrigerate for at least 2 hours, until completely chilled.
- Beat the heavy cream, powdered sugar, and vanilla in a chilled bowl until medium-stiff peaks form.
- Spread the whipped cream over the chilled cake.
- Scatter the mini marshmallows on top.
- Keep refrigerated until serving.




