
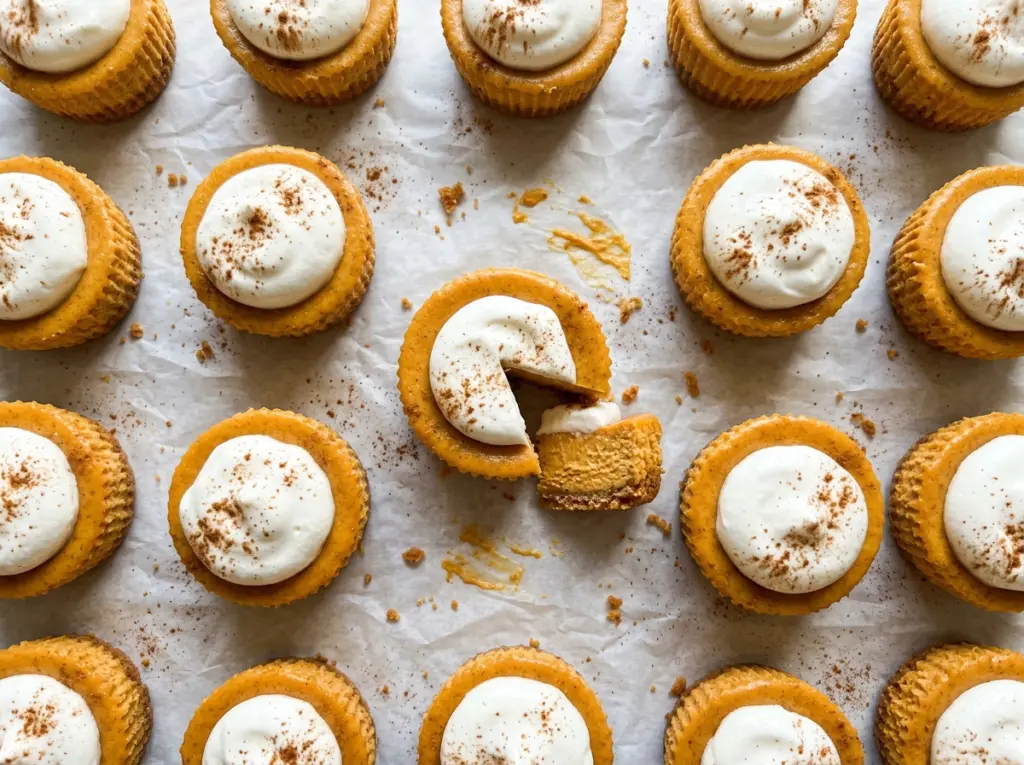
The graham crumbs stop looking dusty once the melted butter coats them; pressed into paper liners, they make a compact little base for each cheesecake. I make these Mini Pumpkin Cheesecakes when I want pumpkin-spice flavor in neat portions, without slicing a full-size cake. The muffin-pan shape gives every serving its own crust and creamy center, and the liners help keep those crumbs together when you lift one out.
After chilling, the filling turns smooth and cool, with pumpkin and spice balanced by the tang of cream cheese. I like how the small size lets the graham crust show up in every bite instead of disappearing under a thick slice. Give the cheesecakes time in the refrigerator before serving, and you’ll have a tender pumpkin center with a buttery crumb base.
Kitchen Note
Room-temperature eggs blend into the filling more smoothly than cold ones. I add them one at a time and stop mixing as soon as each disappears, so the batter stays smooth without getting overworked.
Save these Mini Pumpkin Cheesecakes for a make-ahead dessert with creamy pumpkin filling and a buttery graham crust.
Why Pumpkin Cheesecake Needs More Support Than Plain Cheesecake
Pumpkin puree brings extra moisture to a cheesecake filling. Without enough structure, that moisture can leave the centers too soft to hold their shape once the liners come away. A small amount of all-purpose flour helps the filling set while keeping the texture creamy rather than dense.
That balance matters more in a mini cheesecake than it might seem. Each portion has a lot of filling relative to its little crust, and there isn’t a broad slice to support a loose center. The flour works alongside the eggs and cream cheese, giving the pumpkin mixture enough body to chill into a tidy, tender dessert. It shouldn’t taste floury; the amount is there for structure, not as a flavor.
Use plain pumpkin puree here, not a sweetened pumpkin pie mix. The mix already contains sweetener and spices, so it would throw off the measured balance of this filling. Keeping the pumpkin plain lets the cream cheese stay tangy and the pumpkin spice come through clearly.
What Each Ingredient Brings to These Little Cheesecakes
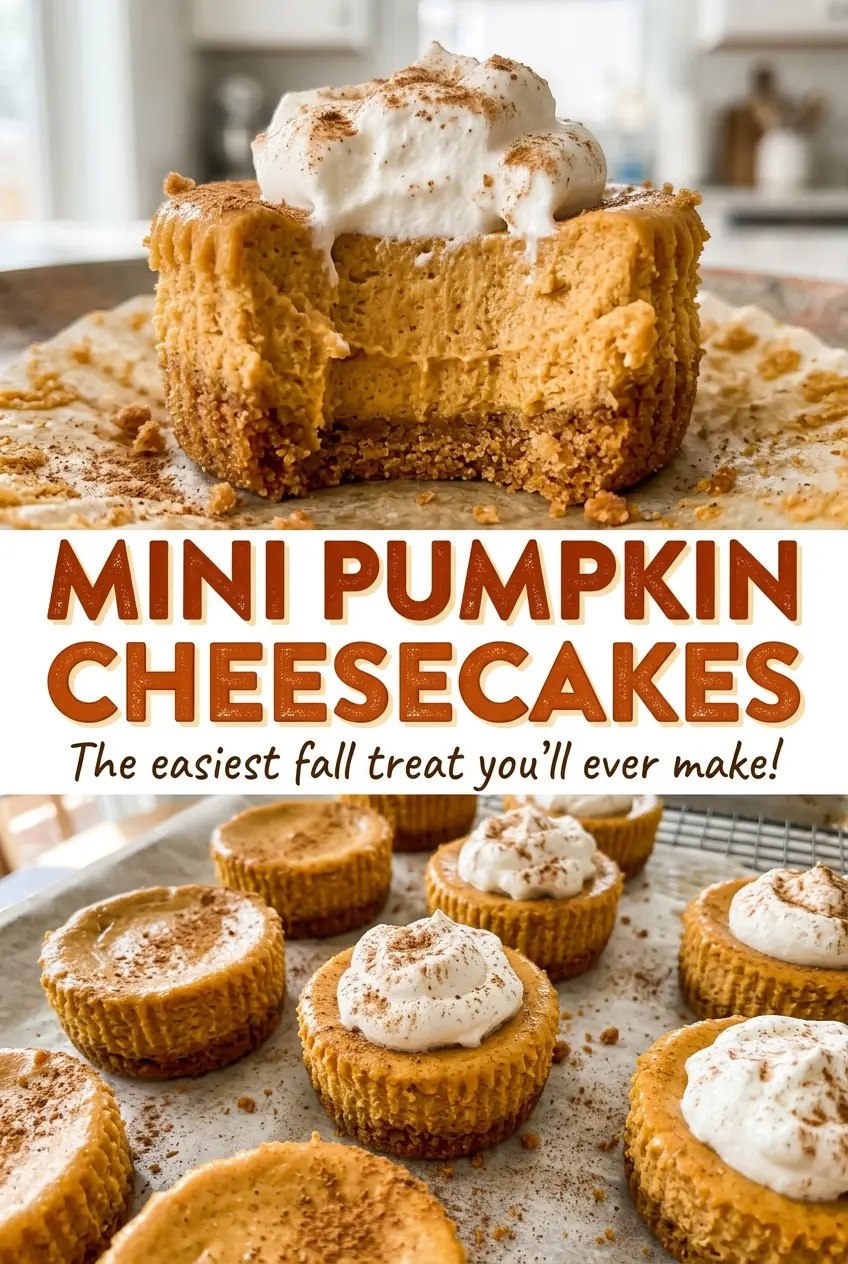
- Graham cracker crumbs — Fine, evenly sized crumbs make a base that presses together without loose gaps. Store-brand crumbs work well; there’s no need to seek out a specialty brand. For a gluten-free version, use gluten-free graham-style crumbs.
- Cream cheese — This is the rich, tangy foundation of the filling, so use plain cream cheese rather than a flavored or whipped spread. Standard packaged cream cheese is fine; it doesn’t need to be premium. Reduced-fat versions can make the filling softer and less rich.
- Pumpkin puree — Plain puree gives the filling its pumpkin flavor and moisture. Choose a can labeled pumpkin puree, not pumpkin pie filling, which is already sweetened and spiced. The recipe uses puree straight from the can, so there’s no prep beyond measuring it.
- All-purpose flour — Flour helps the moist pumpkin filling hold its shape after chilling. A gluten-free 1:1 baking flour is the most useful swap if you need one; choose a blend intended to replace all-purpose flour cup for cup.
- Eggs and pumpkin pie spice — Room-temperature eggs blend more evenly into the filling, while the spice gives the pumpkin its familiar warm character. Ground spice that still smells fragrant is what matters; a fresh, expensive brand isn’t necessary.
Build the Crust and Filling in the Right Order
Press a Firm Graham Cracker Base
Heat the oven to 325°F and line a standard 12-cup muffin pan with paper liners. Stir the graham cracker crumbs, sugar, and melted butter until every crumb looks evenly moistened rather than dusty. Divide the mixture among the liners and press it firmly across each bottom; loose, shallow crumbs are more likely to scatter when you serve the cheesecakes. Bake the crusts for 5 minutes, then set the pan aside while you mix the filling.
Beat the Cream Cheese Until Smooth
Beat the softened cream cheese with the sugar in a large bowl until the mixture looks smooth. Scrape down the sides and bottom of the bowl as needed, where small patches of cream cheese can hide. If you move on while visible lumps remain, they’re difficult to work out once the wetter ingredients are added. A smooth base now gives you a more even filling later.
Mix in Pumpkin, Then Add the Eggs
Beat in the pumpkin puree, flour, pumpkin pie spice, and vanilla until they’re combined. Add the eggs one at a time, mixing just until each is incorporated. Stop once the batter looks uniform; beating longer than needed can add extra air and make the filling less even. Scrape the bowl once more if you see streaks of plain cream cheese around the edges.
Fill Each Liner Three-Quarters Full
Divide the filling among the crusts, filling each paper liner about three-quarters full. Leaving that bit of space keeps the filling from reaching the very top as it bakes. Try to distribute the batter evenly so the cheesecakes finish at roughly the same time. Wipe any drips from the pan before it goes into the oven.
Bake to a Slight Center Jiggle
Bake at 325°F for 18 to 22 minutes. The edges should look set, while the centers still have a slight jiggle; don’t wait for the centers to look completely firm in the oven. Cool the cheesecakes in the pan for 30 minutes, then refrigerate them for at least 4 hours before serving. That chill finishes the set and gives the filling its cool, creamy texture.
Three Easy Ways to Change Up These Pumpkin Minis
Make Them Gluten-Free
Replace the graham cracker crumbs with gluten-free graham-style crumbs, and use a gluten-free 1:1 all-purpose baking flour in the filling. The crust may have a slightly different crunch depending on the crumbs, but the pumpkin filling stays creamy.
Use Sweet Potato Instead of Pumpkin
Swap in the same amount of plain sweet potato puree for the pumpkin puree. The result is a little earthier and less distinctly pumpkin-flavored, with a similarly creamy filling. Use smooth puree rather than chunky mashed sweet potato so the batter stays even.
Make the Spice More Subtle
Replace the pumpkin pie spice with an equal amount of ground cinnamon. You’ll get a gentler, more familiar cinnamon note without the layered flavor of a spice blend, while keeping the pumpkin and cream cheese as the focus.
Make-Ahead and Storage
- Refrigerator: Keep the cheesecakes covered for 3 to 4 days. The crust gradually softens as it sits against the filling.
- Freezer: Freeze the fully chilled cheesecakes until firm, then wrap them individually and store in an airtight container for up to 2 months. Thaw overnight in the refrigerator.
- Serving: Serve chilled; reheating isn’t needed and would soften the filling and crust.
Questions That Come Up With Mini Pumpkin Cheesecakes
Mini Pumpkin Cheesecakes
Ingredients
Equipment
Method
- Heat the oven to 325°F.
- Line a standard 12-cup muffin pan with paper liners.
- Stir the graham cracker crumbs, 2 tablespoons granulated sugar, and melted butter together until evenly moistened.
- Divide the crumb mixture among the liners.
- Press the mixture firmly into the bottoms.
- Bake the crusts for 5 minutes.
- Set the pan aside while you make the filling.
- Beat the cream cheese and 1/2 cup sugar in a large bowl until smooth, scraping down the bowl as needed.
- Beat in the pumpkin, flour, pumpkin pie spice, and vanilla until combined.
- Mix in the eggs one at a time just until incorporated.
- Divide the filling among the crusts, filling each liner about three-quarters full.
- Bake the cheesecakes at 325°F for 18 to 22 minutes, until the edges look set and the centers still have a slight jiggle.
- Cool the cheesecakes in the pan for 30 minutes.
- Refrigerate for at least 4 hours before serving.




