
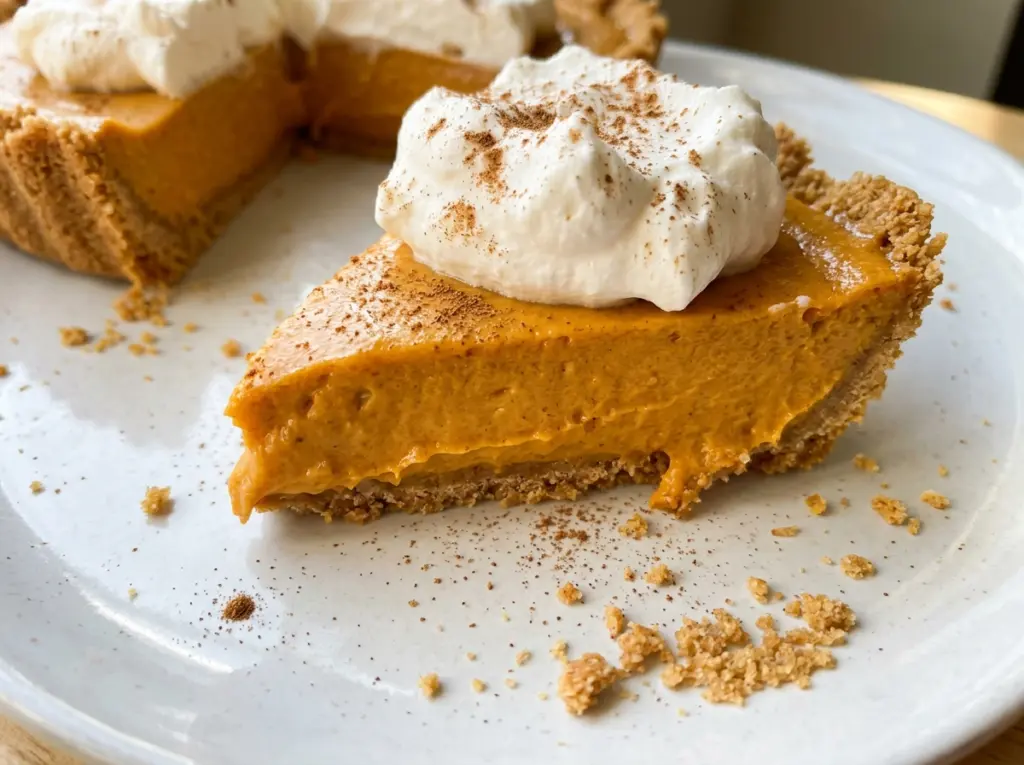
The whisk starts to drag through the bowl once the cold milk and instant pudding mix have had their two minutes together. That thick base is what lets a no-bake pumpkin pie set without an oven. I mix in pure pumpkin and pumpkin pie spice next, then fold in thawed whipped topping for a filling that’s creamy rather than heavy.
The order matters: get the pudding thick first, and wait to fold in the whipped topping until the pumpkin mixture is smooth. When everything is evenly combined, spoon it into the prepared graham cracker crust and give it time in the refrigerator to set. The finished pie is cool and soft, with a sweet graham crust beneath the pumpkin filling.
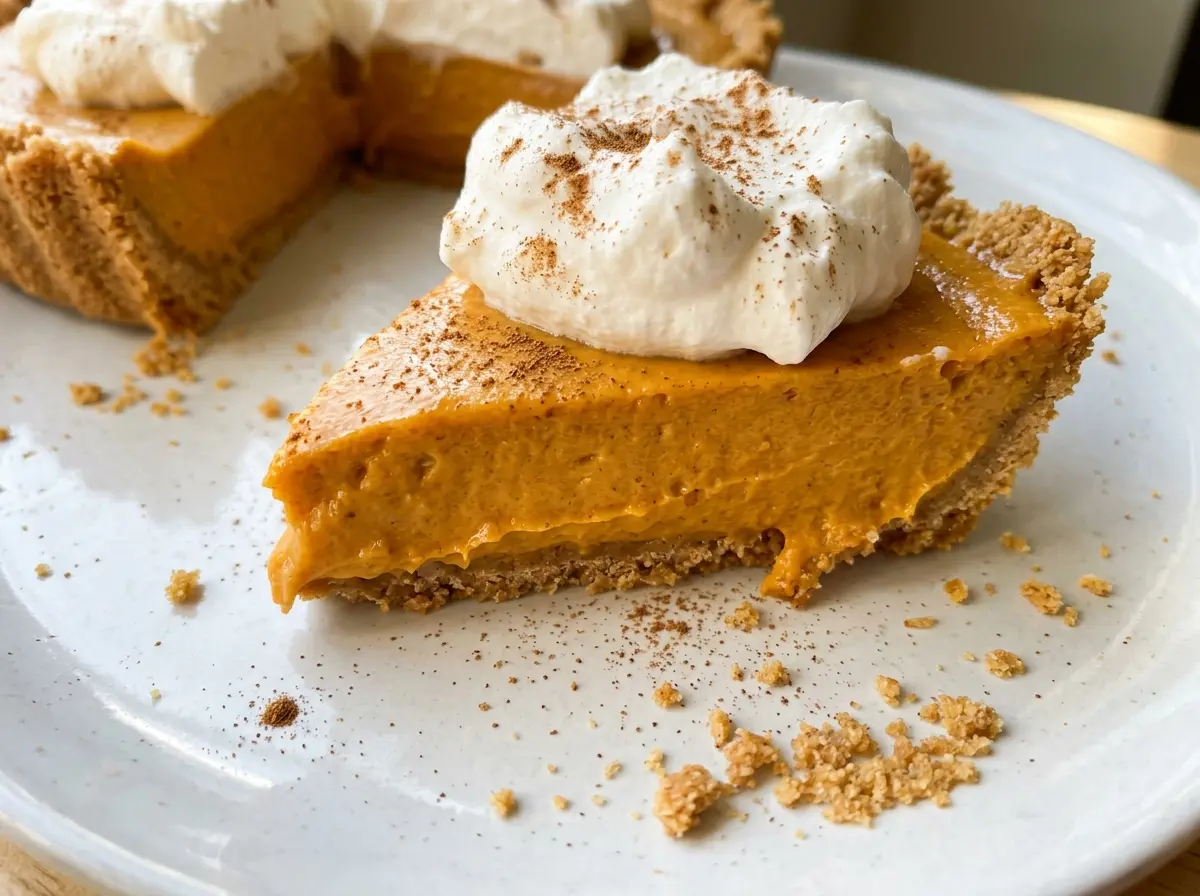
Kitchen Note
Fold the thawed whipped topping in after the pumpkin mixture is smooth. Stop when the filling has an even color and no white streaks remain; stirring vigorously at this point can take away some of its light texture.
Save this no-bake pumpkin pie for a make-ahead dessert with a cool, creamy filling and a graham cracker crust.
Why Pumpkin Needs a Cold-Setting Base in a No-Bake Pie
A baked pumpkin pie firms as its filling cooks. This one has no oven time, so the filling needs another way to hold its shape. Pure pumpkin brings the pumpkin flavor and moisture, but it won’t set into a sliceable pie on its own just from chilling. Instant vanilla pudding mix thickens with cold milk, giving the pumpkin mixture structure before the pie goes into the refrigerator.
The balance between those ingredients is doing real work. Too much liquid in a no-bake filling can leave it soft, while the pudding mix needs to thicken before the pumpkin is whisked in. That’s why I start with cold whole milk and pudding mix alone, whisk until thick, and only then add the pumpkin and spice. The filling should be smooth and substantial before the whipped topping goes in. Once chilled, it holds its shape while staying softer and lighter than a baked custard pie.
There’s no baking time to rescue a filling that hasn’t thickened in the bowl. Pay attention to that first change in texture, and the rest of the assembly is straightforward.
What Pure Pumpkin Adds That Pumpkin Pie Filling Doesn’t
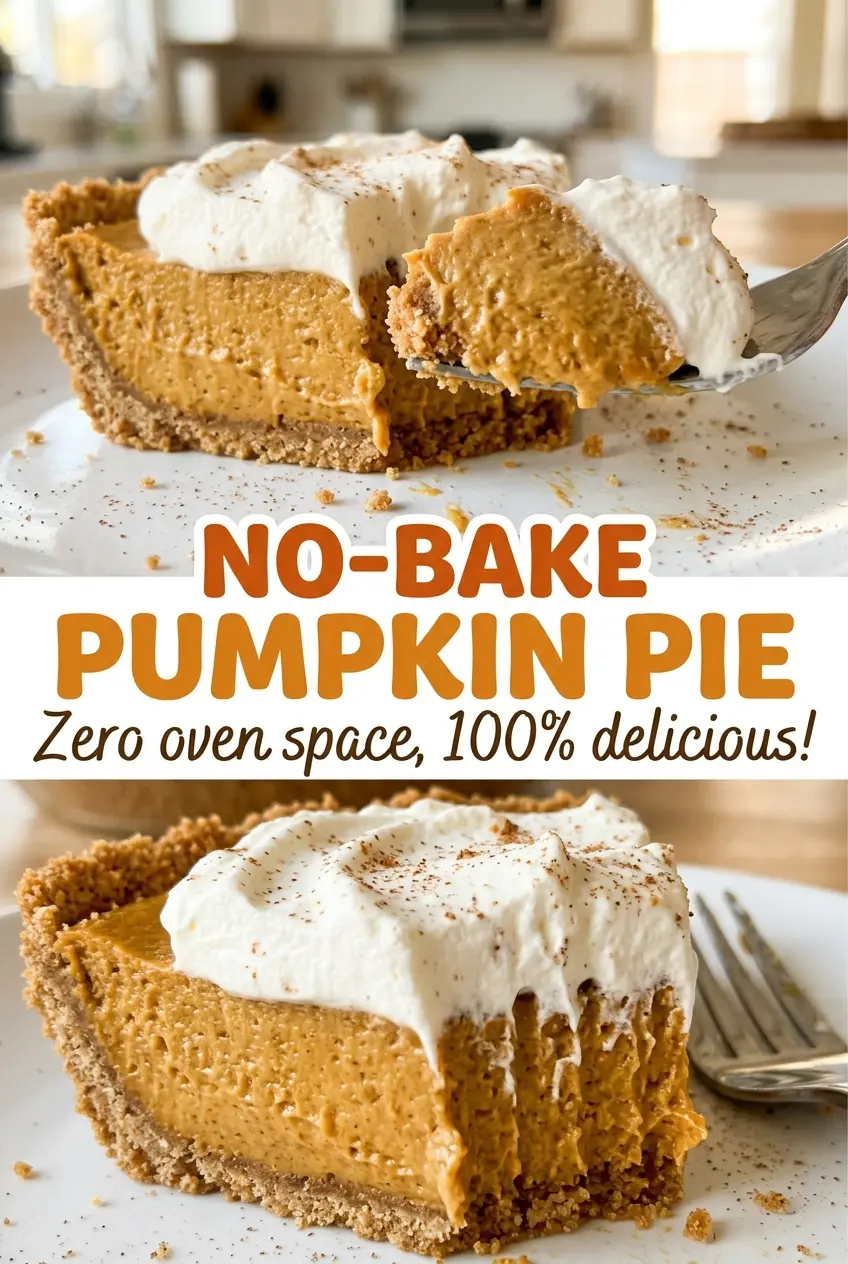
- Pure pumpkin — It gives the pie pumpkin flavor without pre-added sugar or spice, so the filling’s sweetness and seasoning come from the other ingredients. Use a can labeled pure pumpkin, not pumpkin pie filling, which is already sweetened and seasoned. A standard canned option works well here; there’s no need for a specialty brand.
- Instant vanilla pudding mix — The instant mix thickens the filling while it chills and adds vanilla flavor. Use instant pudding, not a cook-and-serve mix, since this filling isn’t cooked. Keeping the milk cold helps the mixture thicken at the start.
- Pumpkin pie spice — This gives the pumpkin its familiar warm seasoning in one blend. A fresh, fragrant jar makes the spice more noticeable, but any standard pumpkin pie spice works. Use the blend rather than adding individual spices, which would change the balance.
- Frozen whipped topping — Thaw it before folding it in so it combines evenly with the pumpkin mixture. The topping lightens the filling, so whipped topping isn’t interchangeable with a liquid dairy ingredient here. A regular store-brand tub is fine.
- Prepared graham cracker crust — The ready-made 9-inch crust holds the chilled filling and adds a sweet, crumbly contrast. Keep it intact when filling; a cracked crust can make it harder to serve neat slices. The prepared crust keeps this a true no-bake pie.
Build the Filling Before You Fill the Crust
Thicken the Pudding Base
In a large bowl, whisk the cold whole milk and instant vanilla pudding mix for 2 minutes. The mixture should look thicker than milk and begin to resist the whisk. Don’t add the pumpkin while the base is still loose; the pudding needs this time to thicken first. Scrape the bottom and sides as you whisk so dry mix doesn’t stay tucked in the bowl.
Whisk in Pumpkin and Spice
Add the pure pumpkin and pumpkin pie spice to the thickened pudding base. Whisk until the color is even and the mixture looks smooth, with no streaks of plain pumpkin or spice clumps. If the filling looks mottled, keep whisking before moving on. This is the point to get the pumpkin mixture uniform, before the airy topping is folded in.
Fold, Fill, and Chill
Fold in the thawed whipped topping until it’s evenly combined. Use a folding motion rather than beating the mixture; stop when the filling has an even color. Spoon it into the prepared graham cracker crust and spread the top evenly. Cover the pie loosely with plastic wrap and refrigerate for at least 4 hours, until set.
Two Ways to Change the Format Without Changing the Filling
Make Crustless Pumpkin Cups
After folding the filling together, divide it among small serving cups instead of spooning it into the graham cracker crust. Refrigerate the cups until the filling is set. You’ll keep the same creamy pumpkin texture, but lose the sweet, crumbly crust; this format is handy when you want individual portions.
Make a Pumpkin-and-Topping Layer
For a more defined finish, fold most of the thawed whipped topping into the pumpkin mixture and spread the remaining topping over the filled crust. The pumpkin layer will be a little denser than when all the topping is folded through, with a soft white layer on top. Keep the pie refrigerated while it sets.
Storage and Reheating
- Refrigerator: Keep the pie covered and refrigerated for up to 3 days. The crust may soften as it sits under the moist filling.
- Freezer: I don’t recommend freezing this pie. The pudding-based filling may turn watery or grainy after thawing, and the crust can lose its texture.
- Reheating: This pie is served cold, so don’t warm it. Heat will soften the filling and make the crust less sturdy.
Questions That Come Up With No-Bake Pumpkin Pie
No Bake Pumpkin Pie
Ingredients
Method
- In a large bowl, whisk the cold whole milk and instant vanilla pudding mix for 2 minutes, until thick.
- Whisk in the pure pumpkin and pumpkin pie spice until smooth.
- Fold in the whipped topping until evenly combined.
- Spoon the filling into the prepared graham cracker crust and spread it evenly.
- Cover loosely with plastic wrap and refrigerate for at least 4 hours, until set.




