
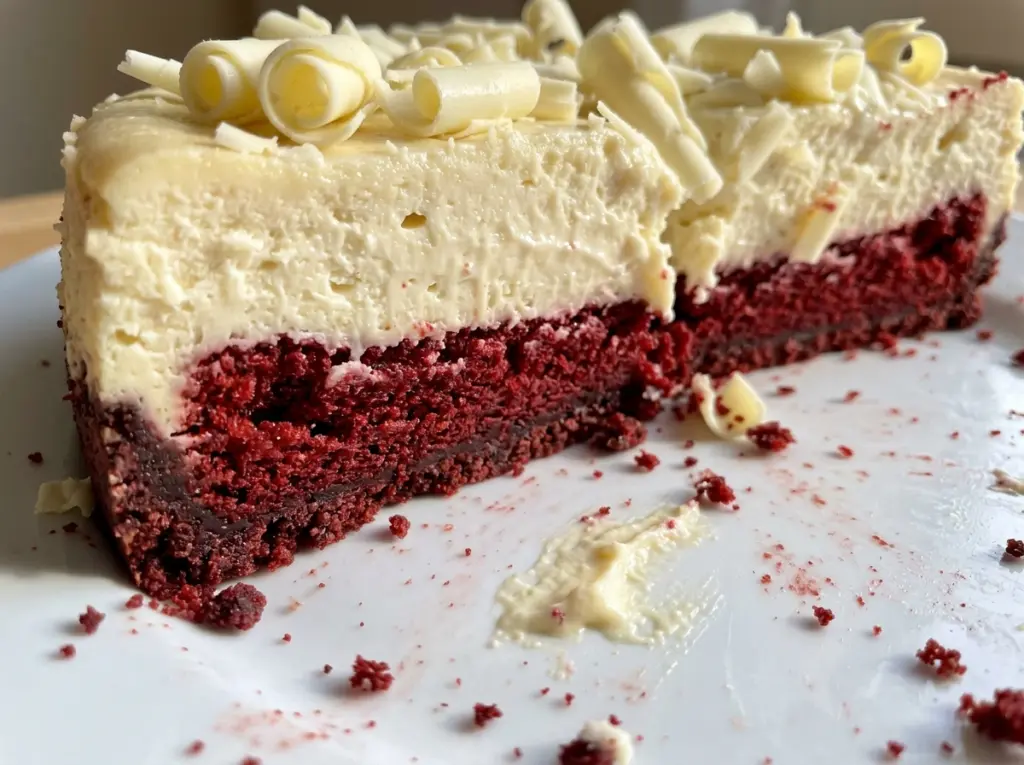
When the graham crust comes out of the oven, it should look a little darker at the edges and smell buttery, not toasted brown. I press the crumbs firmly into the pan so the base holds together under a thick slice of Red Velvet White Chocolate Cheesecake.
White chocolate gives the filling its creamy sweetness, while a small amount of cocoa keeps the red velvet taste familiar instead of turning it into a full-on chocolate cheesecake. Room-temperature sour cream and eggs blend in smoothly, and the water bath helps the center bake gently.
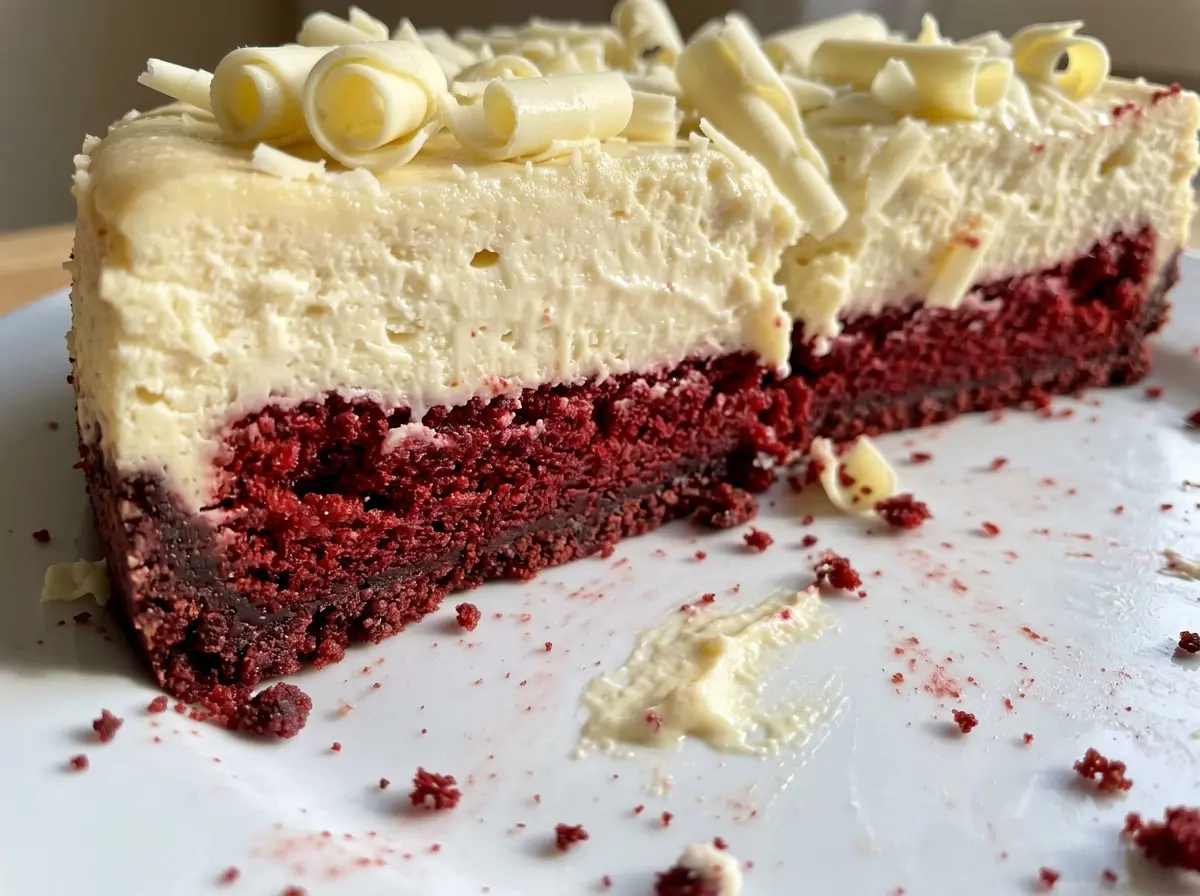
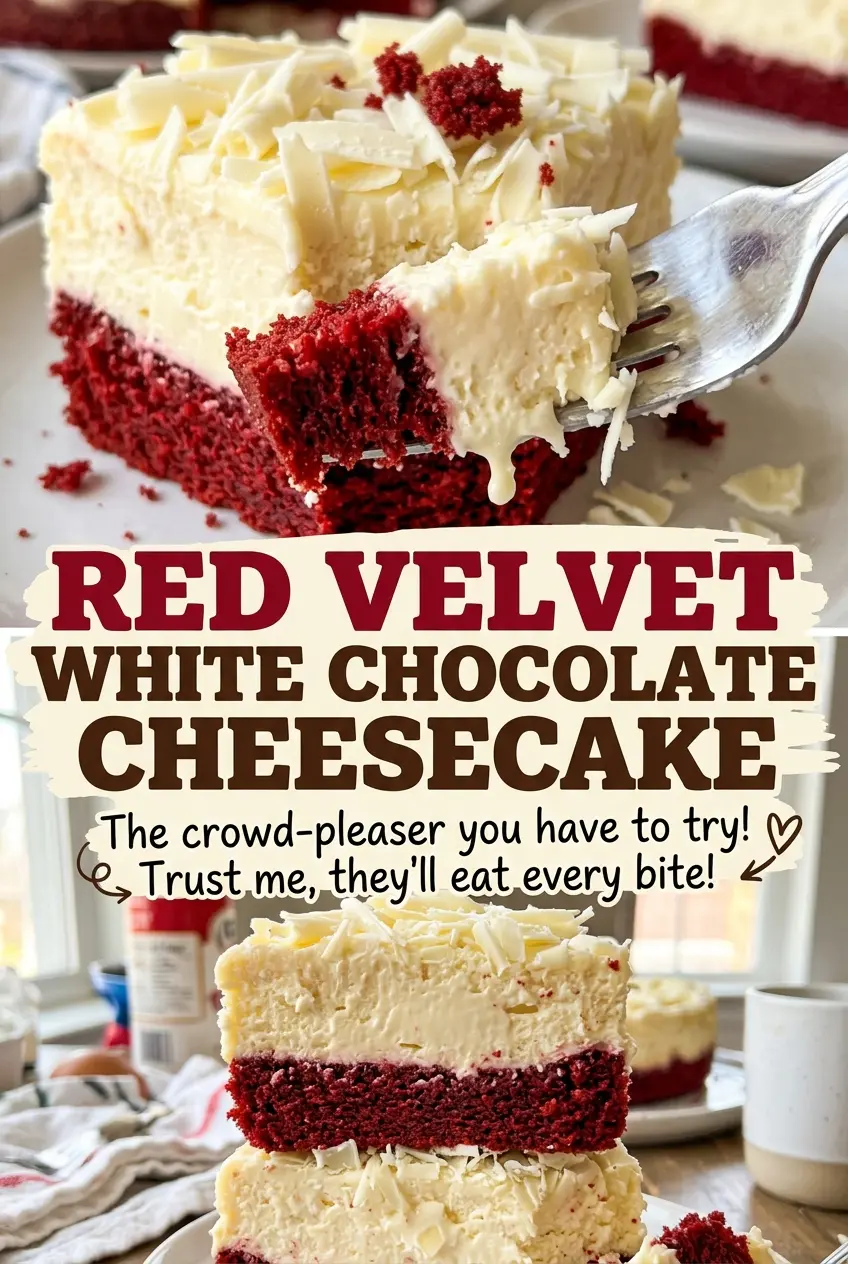
After its long, slow cool, the cheesecake cuts into clean slices with a tender middle and a buttery crumb underneath. The color is bold, but the flavor stays balanced and soft.
Kitchen Note
Let the melted white chocolate cool for the full 10 minutes before it goes into the filling. If it’s still hot, it can soften the cream cheese mixture and make the batter harder to blend evenly.
Save this Red Velvet White Chocolate Cheesecake for a celebration that calls for a creamy center, a red velvet crumb, and a buttery graham crust.
Why Red Velvet Needs Less Cocoa Than a Chocolate Cheesecake
Red velvet isn’t meant to taste like a deep, dark chocolate cake with red dye added. Here, the cocoa is intentionally restrained, so you get a gentle chocolate note without losing the tangy, creamy character that makes red velvet distinct. The white chocolate adds sweetness and body, while sour cream keeps the filling from tasting flat.
That balance also matters for the color. Cocoa naturally darkens the batter, and adding more would make the red less vivid while pushing the flavor toward chocolate cheesecake. The liquid red food coloring brings the recognizable color without asking the cocoa to do a job it can’t do. Each bite stays soft and tangy, with enough chocolate flavor to connect the cheesecake to red velvet rather than plain vanilla.
The graham crust brings a simple toasted note underneath all that creaminess. It doesn’t compete with the filling, which is exactly what you want from a cheesecake base: a little crunch and a buttery contrast, not another strong flavor to manage.
What to Buy for a Smooth, Deep-Red Cheesecake
- Graham cracker crumbs — Fine crumbs pack into a sturdy base more evenly than roughly crushed crackers. For a gluten-free version, swap in gluten-free graham-style crumbs in the same volume and keep the crust method the same.
- White chocolate — A baking bar chopped finely melts more smoothly than large chunks. White chocolate chips can stand in by weight, but they may take a little more stirring to turn completely smooth.
- Cream cheese — Let it soften before mixing so it doesn’t leave cold lumps in the batter. Neufchâtel can replace it package for package, though the finished filling will be a little less rich and may feel softer.
- Unsweetened cocoa and red food coloring — Choose unsweetened cocoa rather than hot cocoa mix, which contains sugar and other additions. Liquid coloring gives the batter its red shade without changing the filling’s texture; the cocoa supplies the restrained chocolate taste.
- Sour cream — Room-temperature sour cream blends easily and lends the filling its mild tang. Plain, full-fat Greek yogurt is the closest easy swap; use the same volume, and expect a slightly tangier finish.
- Eggs — Room-temperature eggs mix into the filling without forcing you to beat it longer. I wouldn’t replace them here; they help the cheesecake set into slices rather than staying loose and pudding-like.
Building the Crust, Filling, and Water Bath in the Right Order
Bake a Firm Graham Cracker Base
Heat the oven to 350°F, grease a 9-inch springform pan, and line the bottom with parchment. Stir the graham cracker crumbs with the melted butter and sugar until no dry patches remain, then press the mixture firmly over the pan bottom. Bake the crust for 8 to 10 minutes, then set it aside to cool. Once it’s out, lower the oven temperature to 325°F for the cheesecake.
Blend the Filling Without Beating in Extra Air
Melt the finely chopped white chocolate in a microwave-safe bowl at 50% power, stirring every 20 seconds until smooth. Beat the softened cream cheese with the sugar, cocoa, and salt on medium-low, scraping the bowl as needed so no firm bits hide along the sides. Mix in the melted white chocolate, red food coloring, vanilla, and room-temperature sour cream until smooth. Add the eggs one at a time on low speed, stopping as soon as each one is incorporated.
Seal the Pan Before Adding the Water
Wrap the outside of the springform pan with two layers of heavy-duty foil, covering the seam at the bottom as well as the sides. Set the wrapped pan in a large roasting pan before pouring in hot water; the water should come about 1 inch up the springform pan. Don’t fill the roasting pan first and then try to carry it to the oven, since the water can slosh over the foil and into the crust. The foil is a barrier, not a substitute for a careful pour.
Bake Until the Center Still Has a Small Jiggle
Bake for 1 hour 15 minutes to 1 hour 30 minutes, until the edges look set and the center still jiggles slightly when you nudge the pan. A completely firm center in the oven is likely to turn dry as the cheesecake cools. Turn off the oven, prop the door open, and leave the cheesecake inside for 1 hour. Take the pan out of the water bath, remove the foil, cool it on a rack to room temperature, then refrigerate for at least 6 hours before removing the sides and slicing.
Two Easy Ways to Adapt This Red Velvet Cheesecake
Make the Crust Gluten-Free
Use gluten-free graham-style crumbs instead of regular graham cracker crumbs. The crust keeps its buttery crunch, and the red velvet filling stays unchanged; check that the crumbs are finely ground so they press into a compact base.
Leave Out the Red Coloring
Skip the liquid food coloring for a naturally cocoa-tinted cheesecake. The texture and flavor stay much the same, but you’ll lose the vivid red velvet look and the slices will be pale brown.
Storage and Serving
- Refrigerator: Cover the cooled cheesecake and refrigerate it for up to 4 days. The crust gradually softens as it sits.
- Freezer: Freeze individual slices wrapped tightly in plastic wrap and then foil for up to 2 months. Thaw them overnight in the refrigerator.
- Serving: Serve chilled, and keep the cheesecake refrigerated when you’re not slicing it. Don’t leave it at room temperature for more than 2 hours.
Questions That Come Up While Making Red Velvet Cheesecake
Red Velvet White Chocolate Cheesecake
Ingredients
Equipment
Method
- Preheat the oven to 350°F.
- Grease a 9-inch springform pan.
- Line the bottom of the pan with parchment paper.
- Stir the graham cracker crumbs, melted butter, and 1/4 cup sugar together.
- Press the crumb mixture firmly over the bottom of the pan.
- Bake for 8 to 10 minutes.
- Cool the crust.
- Reduce the oven temperature to 325°F.
- Melt the white chocolate in a microwave-safe bowl at 50% power in 20-second intervals, stirring between intervals until smooth.
- Let the melted white chocolate cool for 10 minutes.
- Beat the cream cheese, 1 cup sugar, cocoa powder, and salt in a large bowl on medium-low speed until smooth, scraping the bowl as needed.
- Beat in the melted white chocolate, food coloring, vanilla, and sour cream until smooth.
- Mix in the eggs one at a time on low speed just until combined.
- Wrap the outside of the springform pan in two layers of heavy-duty foil, taking care to cover the seam.
- Set the pan in a large roasting pan.
- Pour hot water into the roasting pan until it reaches about 1 inch up the sides of the springform pan.
- Bake for 1 hour 15 minutes to 1 hour 30 minutes, until the edges are set and the center still jiggles slightly when the pan is nudged.
- Turn off the oven, prop the door open, and leave the cheesecake inside for 1 hour.
- Remove the springform pan from the water bath.
- Discard the foil.
- Cool the cheesecake on a rack until it reaches room temperature.
- Refrigerate for at least 6 hours.
- Remove the pan sides.
- Slice the cheesecake.




