
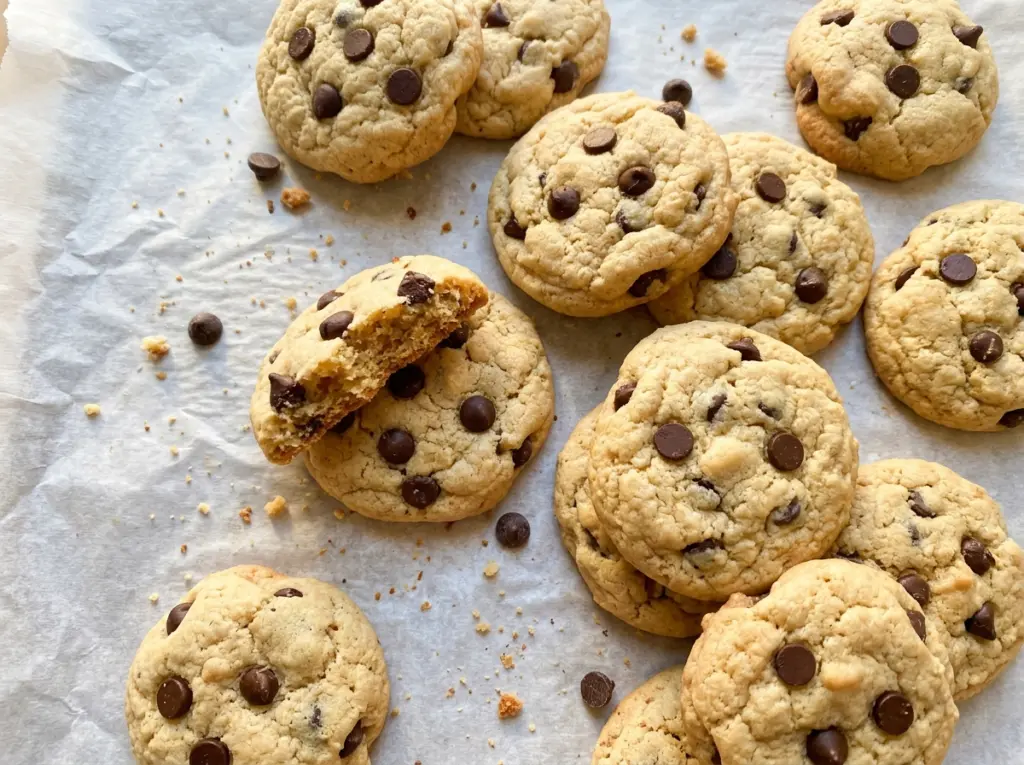
At the oven door, the edges are the first clue that these cookies are nearly ready. The tops may still look soft, but the bottoms should be lightly golden by the time the edges set. I start checking at the early end of the bake so the centers don’t dry out while I wait for a darker color.
These sugar free chocolate chip cookies get their sweetness from two kinds of erythritol-and-monk-fruit sweetener: a brown sugar-style blend and a granulated blend. The dough also gets a short rest in the refrigerator before baking. That half hour firms it up, making it easier to scoop and helping the cookies hold their shape as they bake. With sugar-free chocolate chips folded through the dough, each cookie has a soft center, lightly golden bottom, and chocolate in every bite.
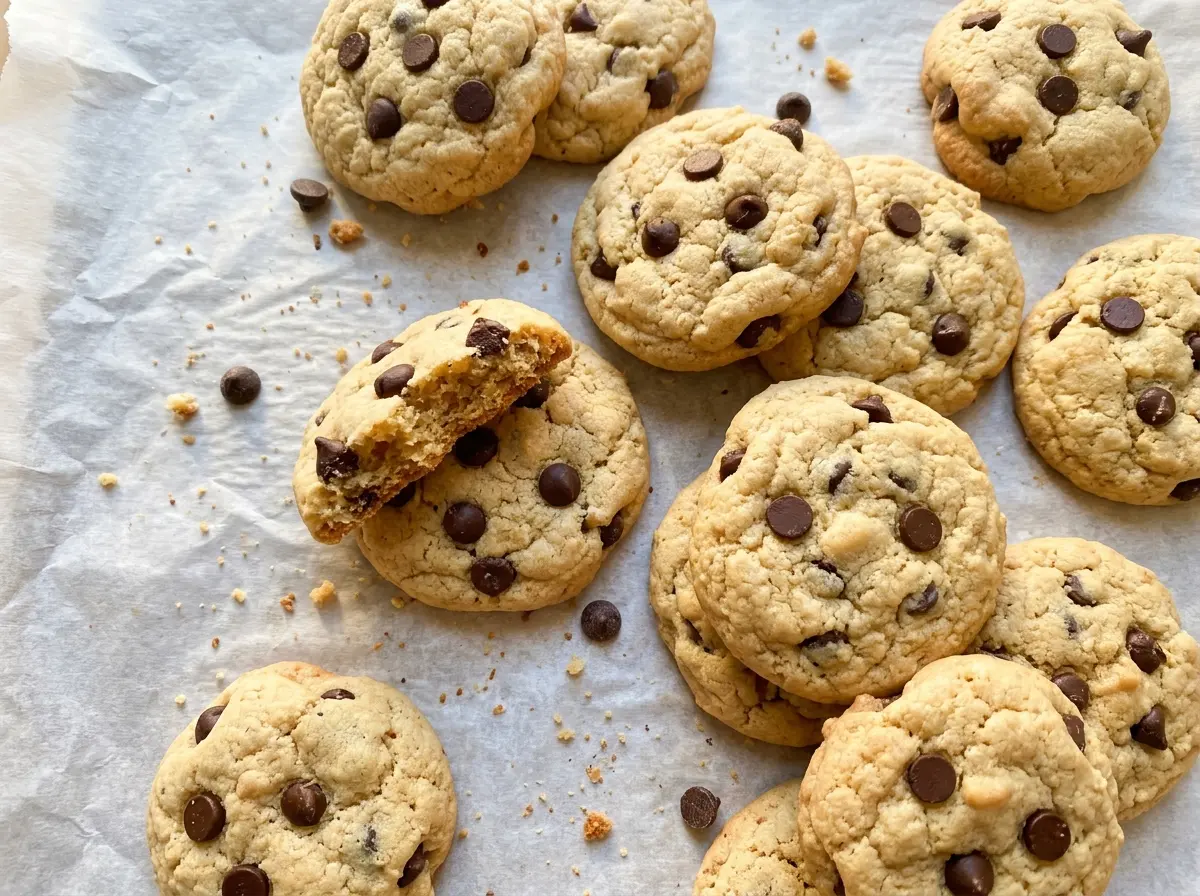
Kitchen Note
Between batches, let the baking sheet cool completely before adding more dough. A warm sheet starts softening the butter before the cookies even reach the oven, and the next batch can spread differently.
Save these sugar free chocolate chip cookies for a soft-centered treat with lightly golden bottoms and plenty of chocolate in every bite.
Why These Sugar-Free Cookies Need a Full Chill Before Baking
Right after mixing, this dough is soft from the creamed butter and sweeteners. Scooping it straight onto the baking sheet gives the butter less time to firm up, which can make the cookies spread more quickly in the oven. Refrigerating the covered dough for 30 minutes changes how it feels in your hands: the portions hold together neatly instead of slumping as you scoop.
That pause also makes it easier to keep the cookies consistent. Portion each one with the same 2-tablespoon measure, then leave about 2 inches between portions so they have room to bake. The dough shouldn’t be rock-hard after its chill; it should still be easy to scoop and shape. If it feels much firmer after a longer time in the refrigerator, give it a little time at room temperature until your scoop can portion it cleanly.
Chilling doesn’t mean the cookies will bake up crisp all the way through. The goal is dough that’s cool enough to handle and cookies that finish with set edges and tender centers. That short, measured rest helps the portions go into the oven in a more predictable shape.
What the Two Sweeteners and Butter Bring to the Dough

- Brown sugar-style and granulated sugar-free sweeteners — Use baking blends made with erythritol and monk fruit, in the two styles called for here. The brown sugar-style blend brings a warmer sweetness, while the granulated blend keeps the dough’s sweetness balanced; a liquid sweetener isn’t a direct swap because it changes the dough’s moisture.
- Unsalted butter — Softened butter creams smoothly with the sweeteners and gives the cookies their tender texture. Let it soften until it yields when pressed but isn’t shiny or melted; melted butter won’t cream the same way.
- All-purpose flour — This keeps the dough sturdy enough to portion while still baking into a soft cookie. Measure without packing the flour into the cup, since too much flour can leave the baked cookies dry and crumbly.
- Large egg — The egg binds the dough and adds moisture. Use a large egg for the intended balance; a smaller one may leave the dough drier and harder to bring together.
- Sugar-free chocolate chips — Their size and shape make them easy to fold through the dough. Choose chips labeled sugar-free if that matters to you, and keep them ready to fold in once the flour is mostly incorporated.
- Vanilla extract — It rounds out the sweetness without changing the dough’s consistency. The usual vanilla extract in your baking cupboard is all you need.
From Creamed Butter to Cookies With Set Edges
Cream the Butter and Sweeteners Until Smooth
Heat the oven to 350°F and line an 18×13-inch baking sheet with parchment paper. In a large bowl, beat the softened butter with both sweeteners for about 2 minutes, until the mixture looks creamy rather than lumpy. Beat in the large egg and vanilla extract until combined. If the butter is still cold, it won’t blend evenly; let it soften before you start.
Mix the Flour In Gently
Whisk the flour, baking soda, and fine salt together in a medium bowl so the leavening is distributed before it reaches the wet mixture. Add the dry ingredients to the butter mixture and mix only until combined; stop when no loose flour is visible. Overmixing at this point can make the cookies tougher. Fold in the sugar-free chocolate chips so they are spread through the dough without beating it further.
Chill the Covered Dough
Cover the bowl and refrigerate the dough for 30 minutes. This is a useful time to get the baking sheet and parchment ready if you haven’t already. When the dough comes out, it should be cool and manageable, not so stiff that portions crumble apart. Keep the bowl covered during the chill so the surface doesn’t dry out.
Bake in Batches and Let the Cookies Set
Scoop the dough into 2-tablespoon portions and arrange them about 2 inches apart on the prepared baking sheet. Bake in batches for 10–12 minutes, until the edges are set and the bottoms are lightly golden. The cookies are delicate straight from the oven, so leave them on the baking sheet for 5 minutes before transferring them to a wire rack. Let the baking sheet cool completely before the next batch.
Small Changes for Different Chocolate in Every Bite
Use Mini Sugar-Free Chocolate Chips
Swap the regular-size sugar-free chips for mini ones, keeping the same volume. Their smaller size spreads little bits of chocolate through more of the dough, so the cookies have a more even chocolate-to-cookie ratio without changing the dough itself.
Combine Two Sizes of Sugar-Free Chips
Use a mix of mini and regular-size sugar-free chips, keeping the total amount the same. The mini chips dot the dough with small chocolate flecks, while the larger ones leave more distinct pockets in each cookie. Fold the mix in just as you would the original chips.
Storage and Reheating
- Refrigerator: Keep cooled cookies in an airtight container for up to 1 week. They’ll feel firmer straight from the fridge, so let them come to room temperature for a softer bite.
- Freezer: Baked cookies freeze well in an airtight container for up to 2 months. Thaw them at room temperature before serving.
- Reheating: Warm a cookie in the microwave for about 5–8 seconds if you want the chocolate a little soft. Longer heating can make the cookie hot and dry, so use a short burst.
Questions That Come Up While Baking These Cookies
Sugar Free Chocolate Chip Cookies
Ingredients
Equipment
Method
- Heat the oven to 350°F and line an 18x13-inch baking sheet with parchment paper.
- In a large bowl, beat the butter and both sweeteners until creamy, about 2 minutes.
- Beat in the egg and vanilla.
- In a medium bowl, whisk together the flour, baking soda, and salt.
- Add the flour mixture to the butter mixture and mix just until combined.
- Fold in the chocolate chips.
- Cover and refrigerate the dough for 30 minutes.
- Scoop the dough into 2-tablespoon portions and space them about 2 inches apart on the baking sheet.
- Bake in batches for 10–12 minutes, until the edges are set and the bottoms are lightly golden.
- Let the baking sheet cool completely between batches.
- Cool the cookies on the baking sheet for 5 minutes.
- Transfer the cookies to a wire rack to cool.




