
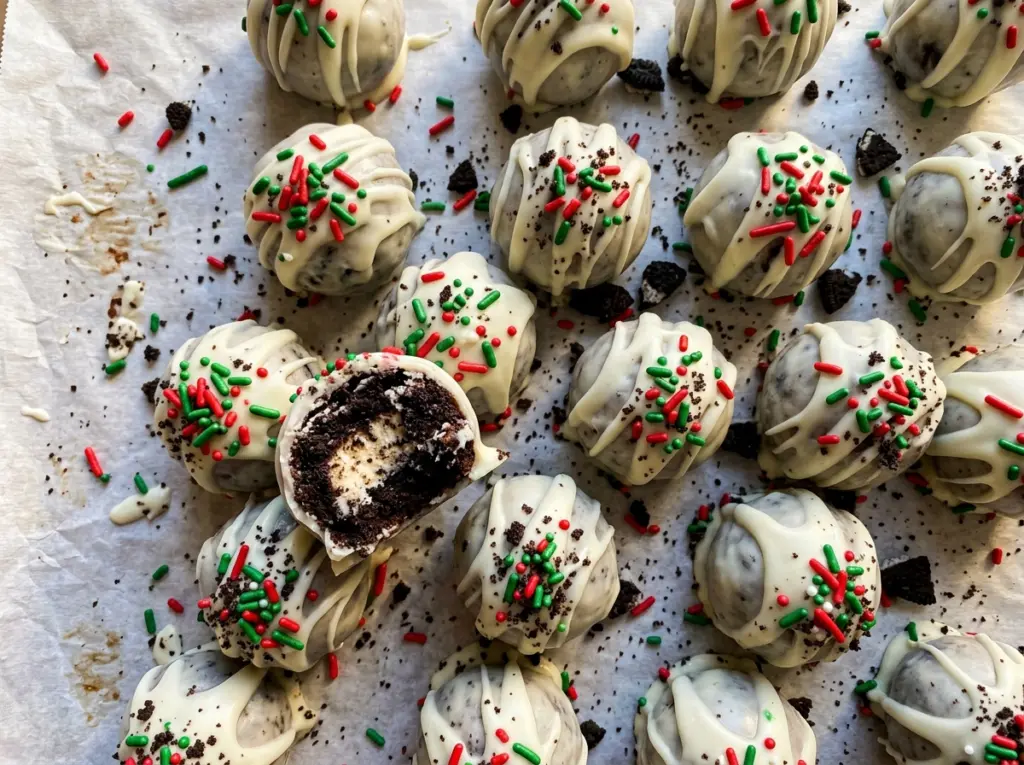
A chilled cookie-and-cream-cheese center should come out of the white coating with its round shape intact, not leave crumbs behind in the bowl. For these Christmas Oreo balls, that firm center is what makes dipping manageable and gives each one a smooth shell. The recipe makes 36, so there are plenty to decorate with red and green sprinkles.
I crush the cookies finely, mix them with softened cream cheese, and give the rolled centers a full chill before dipping. That order matters: the mixture is soft enough to shape before it firms up, while the candy coating stays smooth when melted gently. The finished Oreo balls are creamy inside, crisp on the outside, and bright with holiday color.
Kitchen Note
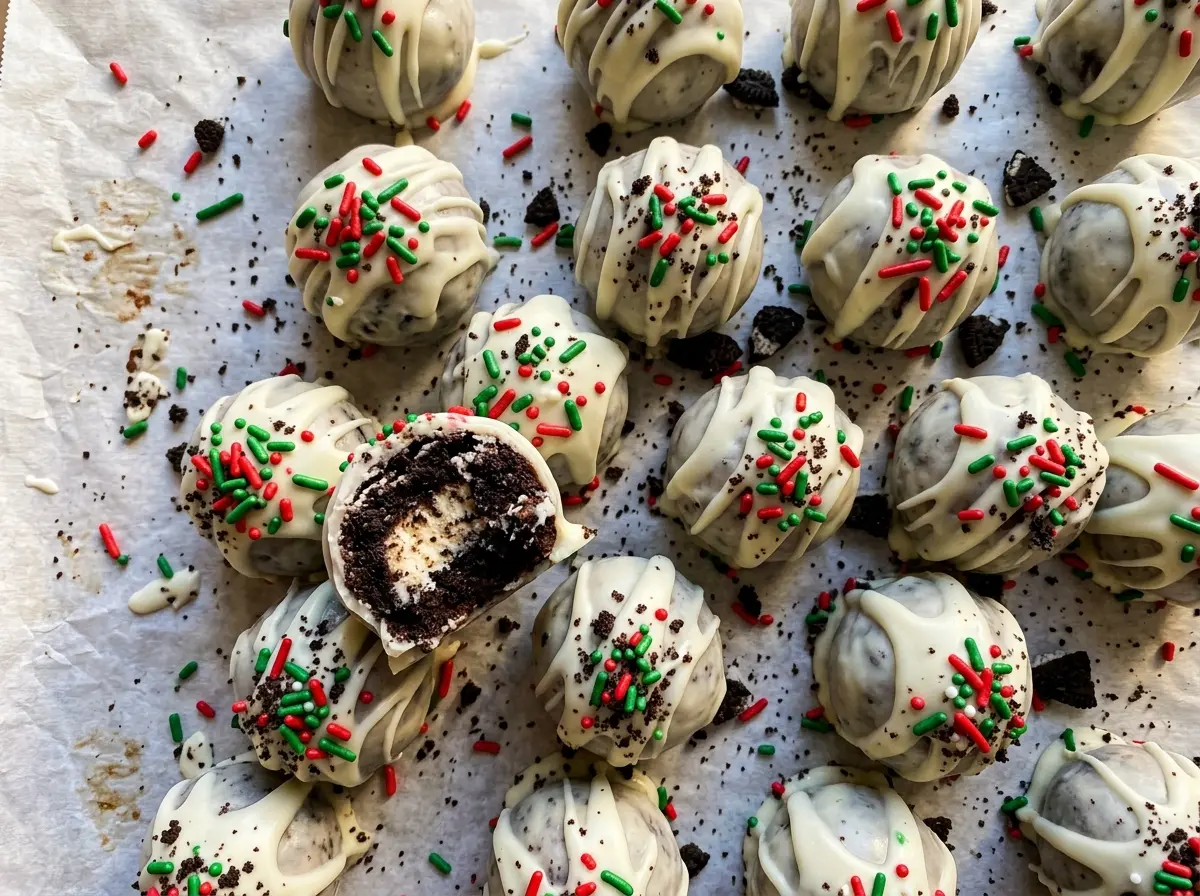
I set the sprinkles beside the melted coating before I start dipping. The chilled centers cool the coating quickly, so adding each sprinkle while the surface is still wet keeps it in place.
Save these Christmas Oreo balls for a festive treat with creamy centers, smooth white coating, and red-and-green sprinkles.
Why the Centers Need a Full Chill Before You Dip
The Oreo-and-cream-cheese mixture starts out soft enough to roll, but it needs time in the refrigerator before it can hold up to dipping. A firm center stays round as you lower it into the melted coating; a soft one is more likely to shed crumbs or lose its shape. Chilling also gives you a calmer pace at the coating stage, because you can work with one firm ball at a time rather than trying to repair a soft center in the bowl.
Use the texture cue, not just the clock: after an hour in the refrigerator, the balls should feel firm when you gently touch one. If they still feel soft, give them more time to chill before dipping. The centers don’t need to be frozen; the goal is a set, chilled surface that can be coated without smearing into the white candy coating.
What Each Ingredient Does in the Oreo Center and Coating

- Oreo cookies — The cookies provide the chocolate flavor and the fine crumbs that give the centers their structure. Crush them thoroughly in the food processor; large pieces make the mixture harder to roll smoothly. The standard cookies are the reliable choice here, since other sandwich cookies can differ in size and filling.
- Block cream cheese — Softened cream cheese binds the crumbs into a cohesive, creamy center. Let it soften before mixing so it blends evenly rather than leaving firm pieces in the mixture. A spreadable tub isn’t a dependable swap for the block: its softer texture can leave the centers less firm.
- White candy coating wafers — These melt into the smooth outer shell and are made for coating. Choose wafers that melt smoothly; ordinary white chocolate chips aren’t a direct substitute because they can behave differently when melted and dipped. There isn’t a reliable one-for-one dairy-free replacement that keeps this same center-and-shell texture.
- Red and green sprinkles — The sprinkles add color and a little crunch against the creamy center. Any red-and-green sprinkle shape works, so use the kind you like; just have them ready before dipping so they can go onto the coating while it’s wet.
From Fine Cookie Crumbs to a Set White Shell
Make a Smooth, Even Center Mixture
Finely crush the cookies in a food processor, then transfer the crumbs to a large bowl. Add the softened cream cheese and beat with a hand mixer until evenly combined. If you can still see separate patches of cream cheese or dry crumbs, keep mixing until the mixture looks uniform. That even texture makes it much easier to roll consistent balls.
Roll the Centers and Let Them Firm Up
Roll the mixture into 1-inch balls and arrange them on a parchment-lined baking sheet. Keep the portions close in size so they chill at a similar rate and make a tidy batch of 36. Refrigerate for 1 hour, until firm. If the balls still feel soft to the touch, wait before moving on to the coating.
Melt the Wafers Without Scorching Them
Put the candy coating wafers in a microwave-safe bowl and heat them at 50% power in 30-second intervals. Stir after every interval, even if the wafers still look mostly solid; the warmth from the melted coating helps soften the remaining pieces. Stop when the coating is smooth. Long, high-power heating can scorch the coating, so stick with the lower setting and short intervals.
Dip, Decorate, and Set
Dip each chilled ball in the melted coating and let the excess drip back into the bowl before returning it to the baking sheet. Add the sprinkles while the coating is wet so they adhere instead of sitting loosely on the surface. Once all the balls are coated, refrigerate them for 20 minutes, until the shell is set. The coating should look firm rather than glossy or tacky.
Two Ways to Give the Red-and-Green Finish a Different Look
Alternate the sprinkle colors
Keep the same white coating and red-and-green sprinkles, but place red on one ball and green on the next. The alternating finish makes the colors easy to distinguish while keeping every center and shell the same.
Mix both colors on each ball
Scatter both sprinkle colors over each freshly dipped ball for a busier, confetti-like look. This finish puts the colors together instead of separating them from one piece to the next.
Storage and Reheating
- Refrigerator: Keep the finished Oreo balls in an airtight container for up to 4 days. The centers stay creamy, while the coating may lose a little of its freshly dipped shine.
- Freezer: Freeze in an airtight container for up to 1 month, separating layers with parchment so the coating doesn’t rub off. Thaw in the refrigerator before serving.
- Reheating: These are served chilled and don’t need reheating. Warming them softens the cream cheese centers and can make the coating messy.
Questions That Come Up When Making Christmas Oreo Balls
Christmas Oreo Balls
Ingredients
Equipment
Method
- Finely crush the Oreo cookies in a food processor.
- Transfer the crumbs to a large bowl.
- Add the cream cheese and beat with a hand mixer until evenly combined.
- Roll the mixture into 1-inch balls and arrange them on a parchment-lined baking sheet.
- Refrigerate for 1 hour, until firm.
- Melt the candy coating wafers in a microwave-safe bowl at 50% power in 30-second intervals, stirring after each interval, until smooth.
- Dip each chilled ball in the melted coating, let the excess drip back into the bowl, and return it to the baking sheet.
- Immediately add sprinkles while the coating is wet.
- Refrigerate the Oreo balls for 20 minutes, until the coating is set.




